10 Gas Stove Repair Basics That Actually Work
Meta Description: Learn all about gas stove repair basics — here are 10 solutions that really work to get your burners, igniters and valves working again like new
Your Gas Stove Acting Up? What You Can Do About It
A gas stove is more than just one of the hardest-working appliances in your kitchen. You use it every day — for morning eggs, afternoon soups and late-night snacks. So when it starts misbehaving, it really disrupts your whole routine.
The good news? Most problems with gas stoves can be surprisingly easy to fix without a technician.
This guide explains 10 established gas stove repair essentials which homeowners do use to resolve appliance issues on a DIY basis. Whether your burner won’t light, your flame seems strange or your igniter keeps clicking for no reason — there’s a good chance you can fix it yourself.
Let’s get into it.
The Importance of Offering Gas Stove Repair Basics
Repair calls aren’t cheap. A typical appliance tech house call runs $100 to $300, not including parts. Understanding some basic gas stove repairs can save you money and time.
More important, it keeps you safe. A stove that is slightly broken becomes a stove that is seriously dangerous. Knowing what’s wrong informs your decision: “Can I fix this myself?” or “Should I just call a pro now?”
Here’s a quick overview of the most common gas stove issues and their frequencies:
| Problem | How Common | DIY Fixable? |
|---|---|---|
| Burner will not ignite | Very Common | Yes |
| Weak or unbalanced flame | Common | Yes |
| Igniter keeps clicking | Common | Yes |
| Smell of gas near stove | Less Common | Partially |
| Burner cap misalignment | Very Common | Yes |
| Clogged burner ports | Common | Yes |
| Faulty igniter switch | Less Common | Yes (with parts) |
| Oven not heating properly | Common | Yes |
| Dial issues | Less Common | Yes |
| Gas valve issues | Rare | Call a pro |
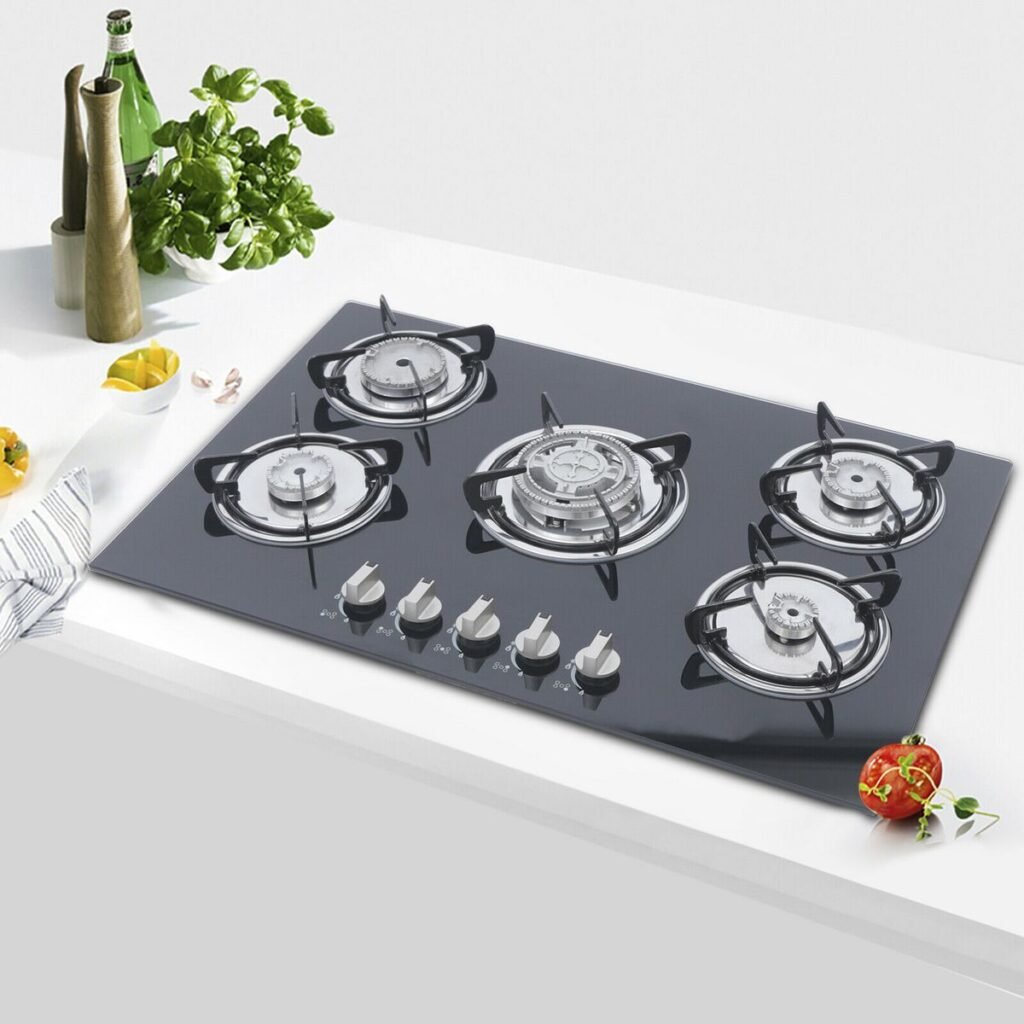
Fix #1 — Clean Those Burner Caps First (It’s Almost Always the Problem)
First thing before anything — clean burner caps.
This is the single most overlooked fix when it comes to gas stove repair basics. Burner caps rest on top of the burner head to evenly distribute the flame. When grease, food particles or spilled liquids clog the small holes — known as ports — the flame becomes uneven and weak or fails to ignite at all.
How to clean burner caps:
- Remove the grates and the burner caps
- Let them sit in warm soapy water for 20–30 minutes
- Grab a soft brush (an old toothbrush should do) to scrub the ports
- Use a paper clip straightened out to eliminate stubborn blockages
- Let them dry completely before replacing
Be sure they are completely dry before reinserting them. One of the common causes behind the igniter keep clicking after cleaning is moisture inside the burner.
Pro tip: Blockages should never be cleaned out with a toothpick, which can break off and make the interior worse.
Fix #2 — Realign the Burner Cap (Yup, It’s That Simple)
Here is a solution that seems too simple, and yet every time it works.
If your burner cap — the part that sits on top of the burner base — is sitting at an angle after you clean it or start cooking, your flame will be crooked or won’t light at all. The cap must cover the burner base evenly and sit flat.
Steps to realign:
- Turn off the burner completely
- Wait for it to cool down
- Lift off the burner cap
- Gently put it back down, ensuring that it sits evenly
- Test the ignition
That’s it. A misaligned cap is among the most common reasons people think their stove is broken — when it simply needs to be reset.
Fix #3 — Dry a Wet Igniter
Did you just scrub down your range, and now the igniter won’t stop clicking? Or maybe something boiled over?
It is very common for there to be water in the igniter. It makes the igniter spark again and again, even when the knob is off — or it stops sparking altogether.
How to dry it out:
- Wipe around the igniter tip with a dry cloth
- Hold a hair dryer on low heat, from a couple of inches away
- Air dry the burners uncovered for 30–60 minutes
- The burner cap can also be placed in a low-temp oven (170°F) for 30 minutes to draw out moisture
When dry, the clicking typically ceases naturally. If it doesn’t, go to Fix #4.
Fix #4 — Inspect the Igniter Itself and Clean
If drying does not solve the problem, then you need to examine the igniter closely.
That ceramic nub you see near the burner is your igniter. It creates the spark that ignites the gas. Over time, grease and food residue accumulates on the tip and impedes the spark.
Cleaning the igniter:
- Ensure the stovetop is completely off and cooled
- Gently scrub the igniter tip with a dry toothbrush
- Do not pour water directly onto the igniter
- For tough buildup, use a cotton swab dipped in rubbing alcohol
- Allow it to dry completely before trying
Be gentle. The ceramic igniter tip is fragile and may crack if scrubbed too vigorously.
⚠️ Gas Stove Safety: Know When to Quit and Call a Pro
Before proceeding, we should talk about safety.
Some issues are beyond basic gas stove repair fixes. Here are the cases where you need to stop, shut off the gas supply, and contact a licensed technician immediately:
- You smell gas and can’t find the source
- Gas smell persists after shutting off all burners
- You notice a yellow/orange flame (it should be blue)
- Hissing from the stove with burners off
- There was a loud pop when the burner lit
Such signs might indicate a gas leak or an improperly working valve — not things to handle at home. For more guidance on when to DIY and when to call in help, visit Gas Stove Repair Basics for detailed, reliable advice.
Fix #5 — Resolve a Weak or Yellow Flame
A healthy flame from a gas burner should be blue with only the slightest hint of yellow at the tip. If your flame is primarily yellow, orange or very weak, you have an air-to-gas ratio problem.
What causes this:
- Clogged burner ports (return to Fix #1)
- Blocked air intake
- Low gas pressure
How to fix it:
Most modern gas stoves include an air shutter on the burner tube — a small sliding wedge near where the knob attaches to the burner. The adjustment changes the proportion of air to gas.
- Remove the burner grate and burner cap
- Locate the small slotted shutter on the burner tube
- Loosen the screw slightly
- Adjust the airflow by sliding the shutter (more open = more air = bluer flame)
- Continue until the flame turns blue
If the shutter adjustment doesn’t help, and ports are clean but nothing’s improving, it might be a matter of gas pressure — something only a professional can solve.
Fix #6 — Fix a Burner That Sparks Only on One Side
This is a classic clog problem.
If only half the burner lights up, certain ports are blocked and others are open. The solution is the same as in Fix #1, but this time you want to pay closer attention to exactly which holes are clogged.
Targeted cleaning steps:
- Shine a light through the burner cap
- Check for blocked ports one by one
- Clear each blocked hole with a thin wire (straightened paper clip)
- Rinse and dry completely
Once cleaned, the flame should burn evenly around the entire ring of the burner.
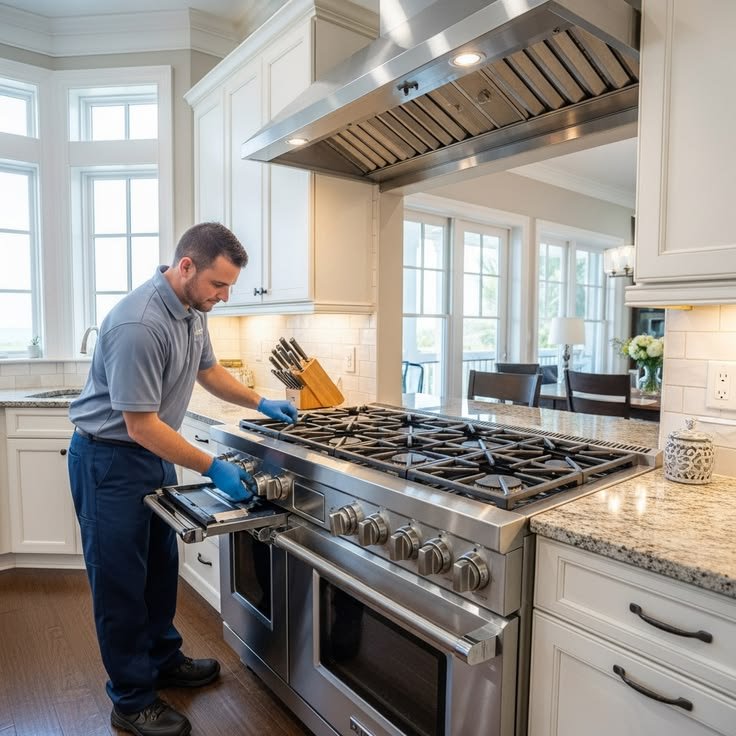
Fix #7 — Replace a Defective Igniter Switch
If the igniter doesn’t spark at all — even after a good cleaning and thorough drying — the igniter switch itself may have failed.
Inside the stove, each burner has its own igniter switch. Turn the knob, and it closes a switch that sends voltage to the igniter.
Signs the switch is bad:
- Some burners click but one never does
- You can hear the click module, but no spark on that burner
- Only a manual lighter can be used to light the burner
How to replace the switch:
- Unplug the stove from the socket
- Remove the burner grates and caps
- Unscrew the cooktop panel (2–4 screws underneath or on the side)
- Lift the cooktop to gain access to the wiring
- Identify the igniter switch linked to the faulty burner
- Disconnect the wires (take a photo first so you remember where they go)
- Install the new switch (be sure to match the model number on the old part)
- Reconnect wires and reassemble
Replacement igniter switches generally run $10–$30 online. It’s one of the more nuanced gas stove repair basics, but it can be done with basic tools.
Fix #8 — Fix a Stove Knob That Turns but Feels Stuck
A stiff or stuck control knob is frustrating — and potentially dangerous, since if you can’t shut off a burner properly, you have a serious problem.
Common causes:
- Grease and food buildup around the knob base
- A cracked or worn knob insert
- A damaged valve stem underneath
Fixing a sticky knob:
- Pull the knob straight off (most are press-fit)
- Soak it in warm soapy water
- Use a cotton swab and rubbing alcohol to clean the knob hole area
- Dry everything and reinstall
If the knob is cracked or broken: Replacement knobs are inexpensive — typically $5–$15. Find your stove’s model number (often found on a label inside the oven door) and order an exact match.
If the valve stem underneath is tight or grinds: That’s a deeper issue. The gas valve may need to be replaced — and that is a task for a qualified technician.
Fix #9 — Make Your Oven Igniter Work Again
Gas stove repair doesn’t start and stop with the burners on top. The most common reason your oven won’t heat is the oven igniter.
The oven igniter does two things: it glows to ignite the gas, and it operates as a safety sensor that opens the gas valve. When it starts to fail, the oven either doesn’t heat at all or takes forever to preheat.
Signs that your oven igniter is failing:
- Oven takes more than 5 minutes to preheat
- You can see the igniter glow orange, but the oven does not ignite
- The oven won’t turn on at all
How to check:
Look through the lower vent at an activated oven. Within 60–90 seconds you should see the igniter glowing bright orange. If it glows but there’s no flame after two minutes, it’s not strong enough to open the valve.
According to the U.S. Consumer Product Safety Commission, faulty igniters are among the leading causes of gas appliance malfunctions — making timely replacement all the more important.
Replacing the oven igniter:
- Unplug the stove
- Remove the oven racks and bottom panel
- Disconnect the igniter’s wire harness
- Remove the igniter from the burner bracket
- Fit the new igniter, reattach wires and reverse the process
- Reassemble and test
Replacement oven igniters range from $20–$50 depending on the model. This is one of the best bang-for-buck repairs you can do yourself.
Fix #10 — Recheck Gas Supply Connections
Not every time is the stove even the issue.
If several burners aren’t working, or if flame pressure dropped suddenly across the entire stove, the problem may be with the gas supply — not the stove itself.
Quick checks:
- Check that the gas shutoff valve behind the stove is fully open (handle parallel to pipe = open)
- Check if nearby gas appliances are functioning
- If you use propane, check the tank gauge
- Check the flexible gas line behind the stove for any obvious kinks or damage
Checking for small leaks at junctions:
Mix dish soap with water and brush the mixture on the connection joints. If bubbles appear, there’s a leak. Shut off the gas right away and call your gas company.
Never use a flame to test for gas leaks.
A Quick Comparison: DIY Fix or Call a Technician
| Problem | DIY Fix | Call a Pro |
|---|---|---|
| Clogged burner ports | ✅ | |
| Misaligned burner cap | ✅ | |
| Wet or dirty igniter | ✅ | |
| Weak/yellow flame | ✅ (most cases) | If it persists |
| Faulty igniter switch | ✅ | |
| Stuck or cracked knob | ✅ (surface fix) | If valve is damaged |
| Worn oven igniter | ✅ | |
| Gas smell/suspected leak | ✅ | |
| Gas valve replacement | ✅ | |
| Yellow flame with hissing | ✅ |
Tools You’ll Need for Basic Stove Repairs
You don’t need a huge workshop. These basic tools cover 90% of the gas stove repair basics in this guide:
- Phillips and flat-head screwdrivers — for removing cooktop panels
- Needle-nose pliers — to reach wire connectors
- Multimeter — for testing igniter continuity (not required but useful)
- Old toothbrush — great for scrubbing burner caps and igniters
- Rubbing alcohol + cotton swabs — to clean igniters
- Paper clips — for unclogging burner ports
- Dish soap + water — for testing connections for leaks
- Hair dryer — to dry wet igniters
Many of these are already around your home. The rest cost only a few dollars.
Frequently Asked Questions
Q: Are home repairs of a gas stove safe? Yes — for the majority of the fixes discussed here. Cleaning burners, replacing igniters and fixing knobs are all safe to attempt as DIY projects. What you should not attempt yourself is working on gas valves, main supply lines or anything that involves disconnecting gas fittings. Always unplug the stove before doing any internal work.
Q: Why does the igniter on my gas stove keep clicking even when I’m not using it? This is nearly always the result of moisture or food debris around the igniter. Dry it out thoroughly with a hair dryer and a cloth. However, if the clicking lasts more than an hour after drying, you may need to replace the igniter switch.
Q: How can I tell if my oven igniter is bad? When the oven is on, watch the igniter. If it glows but the oven doesn’t light after 90 seconds, the igniter is too weak — replace it. If it doesn’t glow at all, check the wiring connections first; if they’re fine, consider replacing the igniter or having the control board inspected.
Q: Can I keep using my gas stove if one burner is broken? You can still use the other burners while one is out of order. But don’t ignore it for too long — a faulty igniter or clogged burner can get worse over time. If you can, repair it within a few days.
Q: What if my gas stove flame is orange or yellow? A yellow or orange flame typically indicates a bad gas-to-air mixture. It might be a clogged burner port, low gas pressure or a blocked air intake. Start by cleaning the burner. If the flame remains yellow after cleaning, adjust the air shutter or have a technician check gas pressure.
Q: How often should I clean my gas stove burners? Clean the grates and burner caps after heavy cooking sessions. Do a full deep clean — soak the caps, clear the ports — at least once a month. Regular cleaning prevents most of the issues covered in this guide.
Q: Can a faulty gas stove igniter cause a gas leak? A malfunctioning igniter by itself will not create a gas leak. But if the igniter does not ignite the gas quickly enough, unburned gas can build up briefly, which is dangerous. Always make sure your igniter sparks consistently and fires up the gas quickly.
Wrapping Up — Most Stove Issues Have Easy Solutions
Gas stoves are made to stand the test of time, but they require regular maintenance and the occasional repair. The best part? Most problems boil down to the same few issues — clogged ports, dirty igniters, misaligned caps and worn-out parts that cost less than $50 to swap out.
By familiarizing yourself with these gas stove repair basics, you’re going beyond saving money. You’re making your kitchen safer and your cooking uninterrupted.
Tackle the easiest fixes first. Clean the burner caps. Realign them properly. Dry out the igniter. And nine times out of ten you’re going to solve the problem before you even get deeper into those steps.
And if you ever smell gas, see strange-colored flames that don’t disappear after cleaning, or hear hissing sounds — don’t wonder. Shut off the gas and call a professional. Some things are worth the service call.
But for everything else? Roll up your sleeves. You’ve got this.