Meta Description: Gas stove repair basics troubleshooting can save you hundreds of dollars. Learn 10 proven methods to fix common gas stove problems safely and efficiently at home.
Fixes for a Gas Stove Repair: 10 Troubleshooting Tips That Save Money
Is your gas stove acting up? Maybe a burner won’t light. Maybe the flame looks weird. Or maybe you smell gas, but there’s no ignition.
Take a breath before you reach for the phone to call a repair technician and spend $150–$300 on a service visit. Most common gas stove problems are surprisingly easy to fix on your own.
In this guide, I will walk you through 10 tried and tested gas stove repair basics troubleshooting methods that real homeowners use every single day. You don’t need fancy tools or technical expertise. All you need is patience, the right information, and a willingness to get your hands a bit dirty.
Let’s save you some money.
The Value of Learning Gas Stove Troubleshooting
Gas stoves are workhorses. They deal with daily cooking, high heat, spills, and grease — year after year. But even the sturdiest appliances eventually fall apart.
The good news? Most gas stove problems can be boiled down to a few categories. Once you know what to search for, identifying the issue gets a lot simpler.
Here’s a quick overview of the most common problems and how much they generally cost to repair through a professional compared to DIY:
| Problem | Pro Repair Cost | DIY Cost |
|---|---|---|
| Burner won’t ignite | $80–$150 | $0–$20 |
| Weak or uneven flame | $75–$120 | $0–$10 |
| Clicking won’t stop | $90–$160 | $0–$15 |
| Oven won’t heat | $100–$250 | $20–$60 |
| Gas smell near stove | $100–$200+ | $5–$15 (or call gas co.) |
| Igniter sparks but no flame | $80–$130 | $10–$30 |
As you can see, the savings quickly add up. Okay, let’s dive into the methods.
Method 1: Always Ensure Safety First
You should prioritize safety before you touch anything. This isn’t optional.
Do this every single time:
- Make sure all of the burner knobs are turned off completely
- Make sure no gas is actively leaking (if you strongly smell gas, leave the house and call your gas company)
- Disconnect the stove from the electrical outlet or turn off the circuit breaker
- Keep a fire extinguisher nearby
- Work in a well-ventilated space
Gas stove repair troubleshooting always starts with this. Failing to do so can turn a minor repair into a dangerous situation.
If you smell a slight gas odor — not strong, just faint — that is usually the result of a minor problem, like a dirty burner or worn seal. Generally speaking, you can keep troubleshooting very cautiously. But if the odor is strong or you feel faint, get out and immediately call 911 or your gas provider.
Method 2: Clean the Burner Caps and Heads First
This is the most underappreciated fix — and it repairs maybe 40 percent of all gas stove issues.
Food particles, grease, and debris clog the small holes in your burner caps. When those holes become clogged, gas cannot flow evenly. The result? Low flames, uneven heating, or a burner that won’t ignite at all.
How to Clean the Burner Caps Properly
- Let the stove cool down completely
- Lift off the burner grates
- Remove the burner caps (they simply pop off)
- Soak caps in warm soapy water for 20 to 30 minutes
- Scrub with a toothbrush or small wire brush to remove residue
- Clear each of the burner holes with a toothpick or straightened paperclip — never a toothpick, though, if it could break off inside
- Rinse, dry thoroughly, and reassemble
Tip: Ensure everything is really dry before the gas gets turned back on. Even a bit of moisture can mess with ignition.
This simple clean-up act is at the heart of gas stove repair basics troubleshooting. Do it first. You will be amazed at how well it works.
Method 3: Fix a Burner That Clicks but Won’t Ignite
You twist the knob and… nothing. No click, no spark, no flame.
It is, perhaps, the most common complaint. Here’s how to work through it, step by step.
Check the Igniter
The igniter is a tiny ceramic part located next to every burner. It provides the spark that ignites the gas. If it’s dirty, cracked, or wet, it won’t function right.
What to do:
- Inspect the igniter visually. Is it dark or coated with residue? Use a dry toothbrush to gently clean it
- Is it cracked or chipped? It probably needs to be replaced (generally $10–$25 for the part)
- Did you just clean your stovetop? Allow a few hours of drying time if moisture reached the igniter
Check the Wire Connection
Each igniter is wired on the bottom of the stove. If that wire is loose or corroded, the igniter won’t fire.
- Carefully pull the stove away from the wall
- Check the igniter wires under the cooktop
- Make sure every wire is securely connected to its igniter
Re-plug a loose wire if you find one. If it appears burned or corroded, replace the wire.
Method 4: Stop That Annoying Clicking Sound
Your stove keeps right on clicking even when you’re not using it. It’s maddening. Fortunately, it’s typically an easy fix.
That clicking sound is the igniter sparking over and over. It does this when:
- Moisture accumulates inside or immediately surrounding the igniter
- Food or debris is stuck on the igniter
- The burner cap has come out of alignment from cleaning or moving the stove
Quick Fixes for Non-Stop Clicking
| Cause | Fix |
|---|---|
| Wet igniter | Allow it to air dry; use a hair dryer on low setting |
| Debris on igniter | Clean with dry toothbrush |
| Misaligned burner cap | Reseat the cap properly — it should sit flat |
| Spilled liquid inside | Remove caps, dry thoroughly, reassemble |
In rare instances, the igniter switch itself fails and keeps sending a signal. If none of this fixes it, you may need to replace the switch. But keep it simple — moisture is to blame 80% of the time.
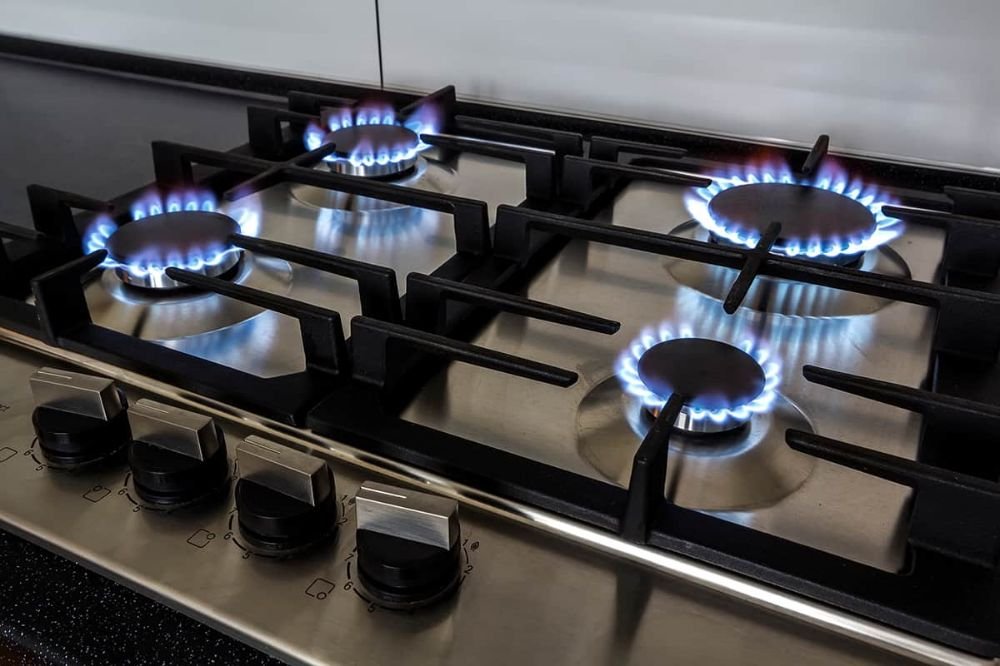
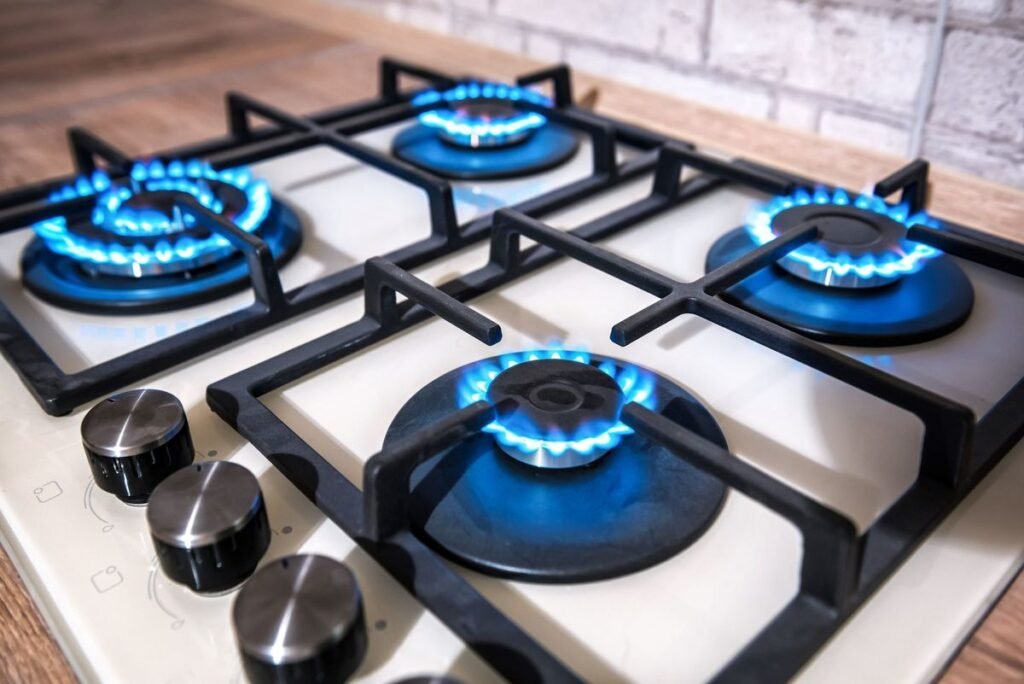
Method 5: Repair a Weak or Uneven Flame
A healthy gas flame should be blue with a slight yellow tip. If you notice a mostly yellow or orange flame, or if it is lopsided, something isn’t right.
What Different Flame Colors Mean
- Blue flame: Normal and efficient
- Yellow/orange flame: Incomplete combustion — generally blocked burner holes or an air-to-gas ratio issue
- Very low flame: Possible low gas pressure or plugged orifice
- Flame on one side only: Burner holes are clogged on one side
How to Fix It
- Clean the burner cap and head (see Method 2)
- Make sure the burner cap is seated flat — uneven placement makes for uneven flames
- If the flame is low on all burners, check whether other gas appliances in your home aren’t performing well either. This could be a supply pressure problem — call your gas utility
- For a single low-flame burner, the orifice (tiny gas hole) may be partially blocked. Gently clear it with a toothpick
Never use a metal drill bit or sharp object to enlarge a burner orifice. That permanently alters the gas flow and poses a safety risk.
Method 6: Deal With Oven Ignition Issues
When the stovetop is working but the oven won’t heat, it’s usually one of three things:
- The oven igniter is weak or failed
- The oven safety valve isn’t opening
- There’s a problem with the control board or thermostat
Testing the Oven Igniter
The oven igniter differs from the surface burner igniters. It’s a small glowing element inside the oven cavity.
How to check it:
- Turn the oven on and watch through the oven window (or peek briefly)
- You should see the igniter glow orange-red within 30–60 seconds
- If it glows but there’s no flame after 90 seconds, the igniter isn’t strong enough to open the safety valve — it needs replacement
- If it doesn’t glow at all, check the wire connections or use a multimeter to test
Oven igniters are a common wear item. Replacing one typically costs $20–$50 for the part and takes roughly 30 minutes with basic tools.
This is one of the key gas stove repair basics troubleshooting steps specific to oven issues.
Method 7: Handle Gas Smell Issues Carefully
A slight gas odor near your stove doesn’t always spell danger — but it’s always a signal for action.
Common Causes of Gas Smell
- Pilot light is out (on older stoves with standing pilots)
- Burner knob left slightly open — even a tiny bit lets gas through
- A worn burner valve — the gas control valve for each burner can degrade over time
- A loose gas connection behind the stove
What To Do
For a faint smell:
- Check all knobs — ensure that every one is in the completely “off” position
- Ventilate the kitchen
- Make sure that the pilot light (if present) has not gone out and relight it
- Apply a soap-and-water solution to the gas connection at the back of the stove. Bubbles = a leak. Call a professional immediately
For a strong smell:
- Do NOT flip any switches
- Do NOT use your phone inside the house
- Leave the house, leave the door open
- Call your gas company from outside
Never try to repair an active gas leak yourself. That’s the one job that always belongs to a professional.
Method 8: Relight a Pilot Light on Older Stoves
Most modern gas stoves have electronic ignition. But if your stove is older — particularly one manufactured before the mid-1990s — it may use standing pilot lights.
These tiny, always-on flames can get snuffed out from drafts, spills, or simply over time.
How to Relight a Pilot Light
- Ensure the gas supply is turned on
- Find the pilot light — typically beneath the cooktop or inside the oven compartment
- Wait 5 minutes if the pilot just went out (lets any accumulated gas dissipate)
- Hold a long lighter or match near the pilot opening
- Turn the pilot knob to the “pilot” or “light” position
- Hold it down while applying the flame — this keeps the thermocouple warm
- After 30 seconds, slowly release. The flame should stay lit
- If it keeps going out, the thermocouple may need cleaning or replacement
A thermocouple is a small safety device that senses the pilot flame. When it wears out, it cuts the gas off even with the pilot lit. Replacement thermocouples sell for only $5–$20 and are straightforward to swap out.
Method 9: Fix an Oven Temperature That’s Off
Your oven reads 350°F but the food keeps burning — or coming out undercooked. This is a calibration problem, and it’s more common than most people think.
How to Test Oven Accuracy
Pick up an oven thermometer (roughly $8–$12 at any hardware store). Place it inside, set the oven to 350°F, wait 20 minutes, and read the thermometer.
According to the U.S. Consumer Product Safety Commission, home appliances that malfunction or operate outside normal parameters should be inspected and corrected promptly to prevent hazards.
If it reads more than 25°F off, your oven needs to be recalibrated.
Recalibrating Your Oven
Most modern gas ovens can be calibrated directly from the control panel:
- Press and hold the “Bake” button for 5 seconds
- Digital models will show a calibration menu
- Use the arrow buttons to increase or decrease in 5°F increments
- Save the setting
For analog ovens (with a dial), there’s usually a small calibration screw behind the temperature knob. Turning it slightly adjusts the temperature range.
Consult your owner’s manual for model-specific instructions. This fix costs nothing and dramatically improves your cooking results.
Method 10: Know When to Call a Professional
Good troubleshooting also means understanding your limits. Some repairs are genuinely DIY-friendly. Others are not.
DIY-Safe Repairs
- Cleaning burner caps and igniters
- Replacing burner caps or grates
- Relighting pilot lights
- Replacing oven igniters (with basic tools and instruction)
- Recalibrating oven temperature
- Reconnecting a loose igniter wire
Call a Professional For These
- Active gas leaks of any kind
- Replacing gas valves or supply lines
- Electrical control board issues
- Any repair requiring disconnecting the gas line
- Problems you can’t diagnose after basic troubleshooting
A helpful rule of thumb: if the repair involves the gas supply itself — the pipes, valves, or connections that carry gas to your stove — that’s professional territory. Everything else on this list is fair game for a motivated homeowner.
Quick Reference: Gas Stove Problem Diagnosis Chart
| Symptom | Most Likely Cause | First Fix to Try |
|---|---|---|
| Burner won’t light | Dirty igniter or clogged burner | Clean burner cap and igniter |
| Constant clicking | Moisture or misaligned cap | Dry out igniter, reseat cap |
| Weak flame | Clogged burner holes | Clean burner head |
| Yellow/orange flame | Incomplete combustion | Clean burner, check alignment |
| Oven won’t heat | Weak oven igniter | Test igniter glow, replace if needed |
| Gas smell | Knob not fully off, or leak | Check knobs; soap test connections |
| Oven runs hot/cold | Calibration drift | Use oven thermometer, recalibrate |
| Pilot keeps going out | Bad thermocouple | Replace thermocouple ($5–$20) |
| Burner lights then dies | Clogged orifice | Clear orifice with toothpick |
| Uneven flame | Misaligned cap | Remove, clean, reseat properly |
Money Saved: A Real-World Breakdown
Let’s apply some actual numbers here. Say your issues over a year were a burner that won’t light, a clicking noise that just won’t stop, and an oven running 50°F hot.
Professional repair route:
- 3 service calls × $100 minimum = $300+
- Parts markup: add $30–$80
- Total: $330–$380
DIY troubleshooting route:
- Cleaning supplies you probably already own: $0
- Oven thermometer: $10
- Replacement igniter (if needed): $25
- Total: $10–$35
That’s a savings of $295–$370 on only three standard repairs. Over the lifespan of a stove, careful DIY troubleshooting can save well over $1,000.
FAQs: Gas Stove Repair Basics Troubleshooting
Q: Are gas stoves safe to fix yourself? Yes — for many repairs. Cleaning, replacing parts (igniters, caps, thermocouples), and recalibrating are all safe for a careful DIYer. Do not attempt repairs near gas supply lines or active leaks.
Q: How do I know if the igniter on my gas stove needs to be replaced? If the igniter is cracked, doesn’t spark at all, or sparks but fails to ignite the burner after cleaning, then a replacement is likely needed. You can also check continuity with a multimeter — anything outside 0–1100 ohms generally indicates the igniter is bad.
Q: My gas burner clicks but won’t ignite. Why? This usually means that gas isn’t getting to the igniter, or that the igniter can’t generate a strong enough spark. Begin with cleaning the burner cap and igniter. Make sure the burner cap is seated correctly. If still no luck, check the igniter wire connections.
Q: Is it safe to continue using my gas stove if one burner isn’t working? Yes. Gas stoves have independent burner systems. If one burner fails, it doesn’t affect the others. Just don’t use the broken one until it’s fixed.
Q: How often do I need to clean my gas burners? Wipe burner caps and grates after each use if you can. Perform a deep clean — soaking and scrubbing — at least once a month, or after any major spill.
Q: What does a yellow flame mean on a gas stove? A yellow or orange flame indicates incomplete combustion. The gas isn’t burning as efficiently as it should. This is most commonly caused by clogged burner holes or a misaligned cap. It can also emit small amounts of carbon monoxide, so have it repaired promptly.
Q: My oven heats up and then shuts off. What’s happening? That’s usually a sign that the oven igniter is too weak to keep the safety valve fully open. The temperature sensor could also be defective. Check the igniter first — if it glows but continuously cycles off, replacement is probably the answer.
Q: What is the average lifespan of a gas stove? A well-maintained gas stove should last 15–20 years or more. Routine cleaning and prompt attention to minor problems significantly extend the life of the appliance.
Wrapping It All Up
Gas stove problems can be frustrating — but they’re seldom as scary or costly as they might seem at first.
With the right approach to gas stove repair basics troubleshooting, you can handle most of the common issues yourself. Start with cleaning. Check the obvious stuff first. Work through the problem methodically. And know when a problem is genuinely beyond DIY territory.
The 10 methods in this guide cover the most common problems homeowners encounter. From a burner that won’t light to an oven that runs too hot, there’s a clear, step-by-step path toward solving all of them.
In short, a little knowledge is powerful. And with gas stove repairs, that knowledge can quite literally save you hundreds of dollars every year.
Always prioritize safety. If you suspect a gas-related problem, contact your local gas utility company or a licensed appliance repair technician.