Meta Description: Gas stove repair basics troubleshooting fixes can save your dinner in minutes. Discover 6 fast, easy solutions every home cook should know before calling a repairman.
6 Fast Gas Stove Repair Basics Troubleshooting Fixes That Saved My Dinner
It was Thursday night when it happened. I had guests arriving in an hour, a pot of pasta water on the stove, and my gas burner just… wouldn’t work. One burner wouldn’t light. Another kept clicking non-stop. The flame in the oven seemed barely there.
I panicked — for approximately 30 seconds.
Then I got my hands dirty and started troubleshooting. And honestly? I fixed every single issue before my guests walked through the door.
That night gave me insight: most gas stove issues do not require an immediate call to a repairman. With some know-how and a few basic tools, you can remedy a surprising number of problems yourself — quickly.
In this article, I’ll take you through the 6 gas stove repair basics troubleshooting fixes that saved my dinner that night. Whether your burner won’t light, your flame is inconsistent, or your stove continues to click away like a broken record, there’s a good chance one of these fixes is just what the doctor ordered.
Why Gas Stoves Go Haywire in the First Place
Before diving into solutions, it’s worth understanding why gas stoves break down.
Gas stoves are fairly simple machines. They draw in gas and air, ignite a spark, and create a flame. But that process requires a few key components to be kept clean and properly aligned.
These are the most frequent offenders:
- Burner ports clogged with food debris and grease
- Boilovers getting moisture into the igniter
- Misaligned burner caps after cleaning
- Worn or dirty igniter electrodes
- Weak or blocked gas flow
- Faulty thermocouples in the oven
The good news? These are mostly matters that can be corrected without any special knowledge.
What You’ll Need Before You Get Started
Don’t worry — it’s not a complicated toolkit. Here’s what I used:
| Tool / Supply | Purpose |
|---|---|
| Toothbrush or small stiff brush | Cleaning burner ports |
| Toothpick or paperclip | Unclogging small holes |
| Dish soap + warm water | General cleaning |
| Dry cloth or paper towels | Drying components |
| Screwdriver (flathead) | Removing burner caps and grates |
| Compressed air can (optional) | Blowing out debris |
That’s it. Nothing fancy. Let’s get into the fixes.
Fix #1 — The Burner That Won’t Light
This was the first challenge I faced that night. I twisted the knob, heard a click, but no flame. Just a sad little tick tick tick and — nothing.
What’s Actually Going On
Nine times out of 10, a burner that doesn’t light has a clogged burner port. Those little holes around the burner head get filled up with food, grease, or dried-up boilovers. If the holes are blocked, gas cannot escape evenly — and the spark has nothing to ignite.
The Fix
- Turn the stove off completely and wait for it to cool down.
- Remove the grate and lift off the burner cap (the round disc that sits on top of the burner base).
- Examine the small holes around the burner head. If they appear tarred up or blocked, that’s your issue.
- Gently stick a toothpick or straightened paperclip through each hole to remove debris.
- Follow this up with a dry toothbrush to brush out loosened particles.
- Do not put water on it at this point — moisture makes it worse.
- Reassemble and test.
Most of the time this resolves the issue straight away. The burner lights on the first go.
Pro tip: Do not use a wooden toothpick that could splinter off inside the port. A metal paperclip does a much better job.
Fix #2 — The Burner That Just Keeps Clicking
This one is maddening. You’ve already lit the burner. The flame is going. But the igniter just clicks… clicks… clicks.
Why It Keeps Clicking
The igniter clicks when it senses moisture or when food residue is touching the electrode. It’s essentially a circuit that remains “open” because something wet or dirty is creating interference.
This typically only occurs just after a massive boilover. Liquid or water gets under the burner cap and keeps the igniter firing.
The Fix
- Turn off the stove and remove the burner grate and cap.
- Zoom in on the igniter electrode — that little white ceramic bump next to the burner.
- If it appears wet, dirty, or has food on it — that’s your problem.
- Gently wipe the electrode with a dry cloth.
- For tough residue, dip a cotton swab in rubbing alcohol and scrub gently around the base of the electrode.
- Let everything dry completely — 15–20 minutes or so.
- Reassemble and test.
If clicking still continues after drying, try using a hairdryer on a low setting to speed up drying around the igniter area. This little trick has saved me several times.
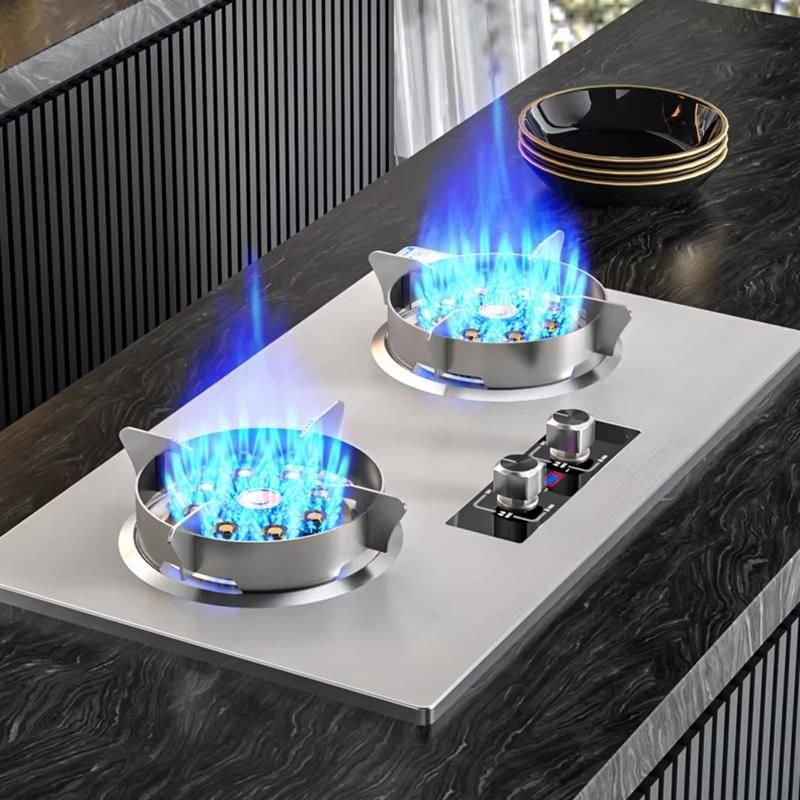
Fix #3 — Flames That Are Weak or Irregular
You switch on a burner and rather than a robust, uniform ring of blue flame, you get a sad, sputtering mess. The flame is really tall in some places. In others, it barely exists. It takes twice as long and cooks unevenly.
The Real Reason Behind This
Two common culprits here:
- Blocked burner ports (like Fix #1, except only some of the holes are blocked)
- Burner cap not sitting correctly — this is very common after cleaning
The Fix — Clogged Ports
Run through the same port-cleaning steps as in Fix #1. Use a toothpick and push through every single hole around the burner head — even those that look perfectly okay. Sometimes a partial clog is harder to see.
The Fix — Off-Center Burner Cap
This one surprises a lot of people.
After you wash your stove or wipe things down, it’s easy to replace the burner cap just a little off-center. Even a tiny misalignment can ruin the gas flow and give you uneven flames.
- Turn off the stove and allow it to cool.
- Remove the burner cap.
- Check the burner base underneath. Usually, there are tiny notches or alignment guides.
- Carefully replace the cap, ensuring it sits flat and centered.
- Give it a gentle press to make sure it’s seated correctly.
- Test the flame.
When the cap is aligned correctly, you get a nice, even blue ring. If you see orange-tipped or yellow flames rather than blue, that can also indicate a gas-air mixture problem — which we’ll touch on shortly.
Flame Color and What It Means — Quick Reference
| Flame Color | What It Means | Action Needed |
|---|---|---|
| Blue with small yellow tips | Normal | None |
| Mostly blue, even ring | Perfect combustion | None |
| Orange or yellow flames | Too much air or dirty ports | Clean burner, check alignment |
| Very low, barely visible | Low gas pressure or clog | Clean ports, check gas supply |
| Lifting off the burner | Too much air in mixture | Adjust air shutter |
Fix #4 — The Oven Doesn’t Heat Up or Heats Unevenly
This was the one that scared me the most that night. I had a casserole to bake, and when I turned on the oven it rarely got hot. And when it did, things were heating unevenly — burnt on one side, raw on the other.
Two Possible Causes
1. A Dirty or Failing Igniter
Gas ovens have an igniter that lights the gas and also signals the gas valve to open. If the igniter is weak, the gas valve might not fully open — meaning less heat, longer preheat times, and uneven cooking.
2. A Blocked Burner or Gas Flow Problem
Similar to stovetop burners, oven burners can become caked with grease and food debris after continued use.
The Fix — Oven Igniter Check
- Pull out the oven racks and the oven floor panel (usually just lifts out or has two screws).
- Find the igniter — it’s a small rectangular or rod-shaped piece near the burner.
- Switch on the oven and observe the igniter. It should turn bright orange within 30–60 seconds.
- If it glows a dull red or does not glow within 90 seconds, the igniter is weak and should be replaced.
Replacing an oven igniter is a simple fix for the most part. The part itself costs $20–$60 online (simply search your stove’s model number). It snaps or screws into place and usually involves no more than a couple of wires.
The Fix — Cleaning Oven Burners
- With the oven totally off and cool, remove the floor panel.
- Locate the oven burner tube.
- Clean any debris, grease buildup, or blockages along the tube with a soft brush.
- If necessary, wipe down the whole interior.
- Replace the panel and test.
Fix #5 — Smell of Gas Without a Visible Issue
This one takes a cool head. You come into the kitchen and smell gas, but everything looks fine. No burner is on. Nothing obvious is wrong.
First things first: this situation needs to be taken seriously.
When to Act Immediately vs. When to Troubleshoot
| Situation | What to Do |
|---|---|
| Strong gas smell throughout the house | Leave immediately, call gas company from outside |
| Faint smell near stove only | Investigate carefully |
| Smell appears after cooking | Likely residual — ventilate and monitor |
| Smell persists after airing out | Call a professional |
What’s Causing a Faint Gas Smell Near the Stove?
A faint smell near the stove is typically caused by a burner knob that’s been turned slightly without being lit, or a tiny gap around one of the burners that lets trace gas escape.
The Fix
- Check every knob to ensure each is fully in the OFF position. Occasionally, a knob ends up between settings.
- Check the burner caps — ensure they’re all seated properly (misaligned caps can allow gas to escape without igniting).
- Open a window or turn on the range hood to ventilate.
- Mix a small amount of dish soap and water and rub it around the gas connection points at the back of the stove. If you see bubbles forming, there is a leak — do not use the stove and call a professional.
For a deeper understanding of how gas stove components work together, Gas Stove Repair Basics is a great resource to bookmark for ongoing maintenance tips and repair guidance.
Fix #6 — Burner Ignites But Flame Goes Out Right Away
You get a flame going, you let go of the knob, and — poof — it goes out. This is a frustrating one, especially when you’re in a hurry.
The Thermocouple Is Most Likely the Culprit
On gas stoves and ovens with a safety feature known as a thermocouple (or flame sensor), there’s a small sensor near the burner that senses whether or not a flame is present. If it doesn’t sense heat after a few moments, it cuts off the gas supply — which is actually a safety feature working against you in this case.
This commonly happens when:
- The thermocouple is dirty or corroded
- The thermocouple is slightly misaligned
- The thermocouple has failed and must be replaced
The Fix
- Clean the thermocouple. Lightly sand or rub the tip of the thermocouple sensor with fine-grit sandpaper or a dry cloth. Clear away any corrosion or residue buildup.
- Check its position. The tip of the thermocouple needs to sit directly in the flame path. If it’s bent away or shifted, the flame won’t heat it properly.
- Gently bend it back toward the flame zone if needed — be careful, these are fragile.
- If cleaning and repositioning don’t fix it, you may need to replace the thermocouple. These are low-cost components (often $10–$25) and are widely available.
Hold the knob trick: Most gas stoves require you to hold down the burner knob for 10–15 seconds after lighting to give the thermocouple time to heat up. Try this before assuming something is broken.
According to the U.S. Consumer Product Safety Commission, gas appliance maintenance and proper ventilation are key factors in preventing home appliance hazards — making regular stove checkups an important safety habit.
How I Decide Which Fixes to Make — A Simple Flowchart
Now, when something goes wrong with my stove, I run through this mental checklist:
Is there a gas smell? → Yes → Check knobs, ventilate, soap test. If the smell is strong, leave and call your gas company. → No → Continue below.
Does the burner spark? → No spark → Check igniter electrode for moisture or debris. → Spark but no flame → Clean burner ports.
Flame present but problematic? → Uneven flame → Check cap alignment and clean ports. → Flame goes out → Thermocouple issue. → Oven not heating well → Check oven igniter glow.
This straightforward logic flow resolves about 90% of typical gas stove problems.
Safety Rules to Never Skip
Before trying any of this troubleshooting, keep these safety basics in mind:
- Always turn the stove off and let it cool down before touching anything.
- Never use metal tools that could scratch or damage the igniter electrode.
- Never pour water directly onto igniter components.
- If you ever smell a strong gas odor, don’t attempt to diagnose it yourself — leave and call your gas company.
- If you’re at all unsure about anything involving the gas line or internal valves, stop and call a licensed technician.
The majority of the fixes above involve cleaning and repositioning. None of this requires you to touch gas lines or internal valves.
When to Call a Professional
These fixes work for surface-level problems. But some situations really do need a pro:
- The internal gas valve in the stove is defective
- You cannot stop a gas leak with basic steps
- Replacing the oven igniter does not fix the heating issue
- Electrical components of the ignition system fail
- The stove is very old and multiple systems are failing at once
A professional appliance repair technician typically charges $75–$150 for a service visit, with parts on top of that. Knowing when to DIY and when to call saves both money and stress.
FAQs — Gas Stove Repair Basics Troubleshooting
Q: Can I safely troubleshoot a gas stove on my own? Yes — for surface-level problems such as dirty burners, wet igniters, and misaligned caps. Do not touch internal gas valves or lines unless you have been trained to do so.
Q: My gas stove clicks even when it’s off. Why? This typically indicates that moisture has found its way into the igniter. Make sure the area around the electrode is thoroughly dry — even under the burner cap.
Q: How often should I be cleaning my gas burners? A light cleaning every 1–2 weeks prevents most clogging issues. Heavy cooks would do well to deep clean (removing caps and cleaning ports) once every month or two.
Q: My oven takes over 20 minutes to preheat. Is that a repair issue? Possibly. A sluggish preheat is often a sign of a weak oven igniter. When the oven is on, watch for a dull red glow instead of a bright orange.
Q: Should I clean my igniter with water? No. Water is a primary contributor to igniter issues. Use a dry cloth or rubbing alcohol on a cotton swab instead.
Q: What does an orange flame mean on a gas stove? Orange or yellow flames indicate incomplete combustion. This is often due to dirty burner ports or a misaligned cap. It can also indicate excess air — if cleaning doesn’t fix the problem, check the air shutter.
Q: What is the lifespan of gas stove igniters? If properly cared for, stovetop igniters can last the life of the stove. Oven igniters have a life expectancy of 5–10 years and are among the most common oven repairs.
Bringing It All Home — What That Dinner Taught Me
Here’s the straight truth: before that chaotic Thursday, I would have immediately called a repairman the moment my stove acted up.
Now I know better.
Most gas stove problems boil down to three things: dirt, moisture, and misalignment. Master those, and you’ve addressed the lion’s share of problems that will ever cross your path.
The 6 gas stove repair basics troubleshooting fixes I’ve covered here — clogged burner ports, wet igniters, uneven flames, oven heating issues, gas smells, and thermocouple problems — account for about 90% of what a home cook will ever encounter.
My guests arrived. Dinner was served. And the stove worked just fine all evening.
You’ve got this too. Keep those burners clean, dry those igniters after a boilover, and always make sure to check that cap alignment. A little maintenance goes a long way — and knowing how to troubleshoot quickly means dinner never has to be delayed.