Meta Description: Safety checks, to remember before touching any appliance. Discover 8 Protective Checklists that safeguard you, your home and family at every instance.
8 Smart Gas Oven Repair Safety Checks Before Professional Maintenance
If the gas stove goes out, your first instinct is to get it repaired quickly. But you certainly never want to begin a repair before first checking for safety. Gas appliances can leak or spark — and even explode under the wrong circumstances.
The good news? A couple of basic safety checks can keep you entirely safe.
These gas stove maintenance essentials aren’t rocket science. They take just a few minutes. But they can save your life or prevent a house fire.
This guide takes you through 8 simple safety checks you should do every single time — before you touch a single screw or burner part.
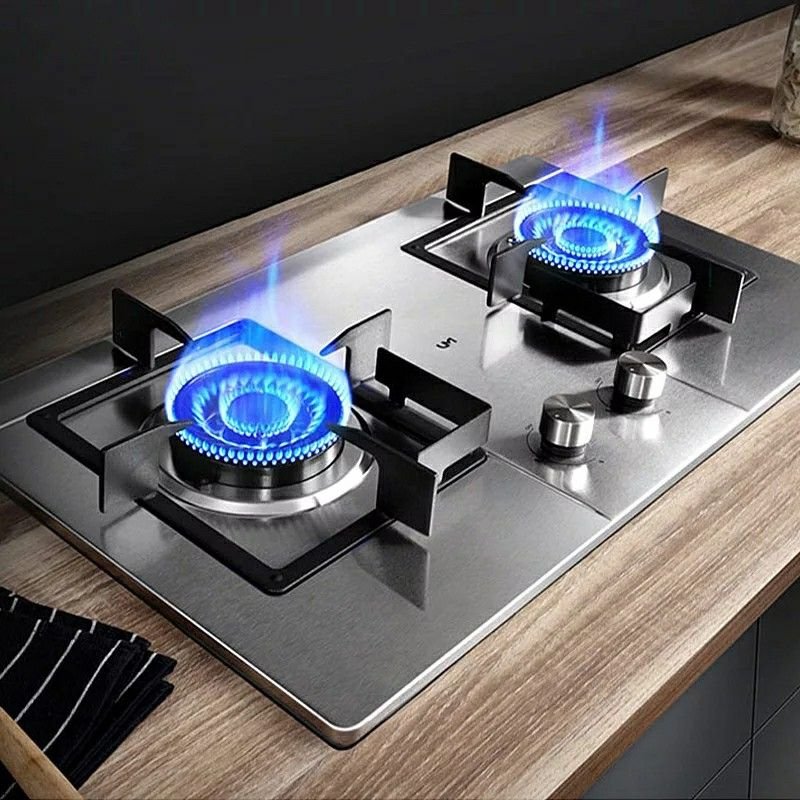
Why Gas Stove Repairs Are All About Safety
Gas stoves are not as simple to fix as a broken lamp or replace like a cabinet handle. They involve natural gas or propane — both of which are super flammable. A small error can result in a gas leak, carbon monoxide accumulation, or a fire.
Cooking equipment is the leading cause of home fires in the United States, according to the U.S. Fire Administration. Most of those fires are caused by gas appliances that have been incorrectly repaired or poorly maintained.
Which is why a proper safety check needs to kick off every repair — whether big or small.
The same goes for just replacing a burner cap or cleaning out a clogged igniter. Safety first. Always.
Safety Check #1 — Turn Off the Gas Supply Fully
This is the single most important step of all.
The first thing you will want to do is turn off the gas supply for your stove. Do not take for granted that it is already off. Don’t skip this step, even if it’s a small repair.
How to Locate the Gas Shutoff Valve
The shutoff valve is most often found behind the stove or underneath a nearby counter. It is a small lever or knob on the gas line that leads to your stove.
- Lever valve: Turn it 90 degrees until it is perpendicular to the pipe. That means it is off.
- Round knob valve: Twist it clockwise until you hit resistance.
If you can’t locate the valve behind the stove, look for your home’s main gas shutoff near the meter outside.
What Happens If You Bypass This Step
Not shutting off the gas is the leading cause of accidental gas fires when doing DIY repairs. A hot wire from a loose connection can quickly spark leaking gas.
Always shut off the gas. Confirm it is off. Then proceed.
Safety Check #2 — Open Windows in the Kitchen
Open windows and doors in your kitchen before starting any work. Switch on your kitchen exhaust fan, if you have one.
Why? Because there might be traces of gas already in the air — particularly if your stove has been leaking at all before you realized the problem.
Simple Ventilation Steps
- Crack at least two windows open in the kitchen or adjacent room.
- Run the range hood or an exhaust vent.
- Ventilate the space for at least 5 minutes before starting any work.
- Do not light any flame or use electrical switches during this time.
Outside air sweeps out trapped gas in the room. This significantly decreases the chance of starting a fire while working.
Safety Check #3 — Quickly Test for Gas Leaks
Even after closing the valve, you should still look for any residual gas leaks before opening up the stove.
A small leak that you didn’t know about might make your repair job far more dangerous.
The Soapy Water Method
This is the simplest and most foolproof at-home method.
What you need: Dish soap and water in a spray bottle or bowl.
What to do:
- Combine a couple drops of dish soap with water.
- Apply the soapy solution across all gas connections and around the valve area.
- Watch for bubbles forming on the surface.
- Bubbles = gas leak. No bubbles = safe to proceed.
Use a Gas Leak Detector
If you do this sort of repair regularly, buy a handheld gas leak detector. They run between $20 and $60 and are totally worth it. They beep or glow when they detect gas.
Do not use an open flame to check for a gas leak. That is very dangerous and should never be done.
| Leak Detection Method | Cost | Reliability | Best Used For |
|---|---|---|---|
| Soapy Water | Free | High | One-time checks |
| Gas Leak Detector (handheld) | $20–$60 | Very High | Regular repairs |
| Professional Inspection | $50–$150 | Highest | Complex issues |
Safety Check #4 — Disconnect the Stove From Electrical Power
Many gas stoves made today are still electrically powered. They use it for the electronic igniters, oven light, digital display, and control board.
Even if your stove is gas, it most likely has an electric element. And that electric current can give you a jolt when you’re working.
Steps to Disconnect Power Safely
- Gently pull the stove out from the wall.
- Find the power cord and disconnect it from the wall socket.
- If the stove is hardwired (no visible cord), go to your home’s circuit breaker and flip the switch for the kitchen or stove circuit into the OFF position.
Why This Matters More Than People Think
Most people think only of the gas and ignore electricity. But there is a real risk of electric shock during a repair. Igniter circuits are capable of generating enough current to hurt you when you accidentally touch them with the stove still powered.
Be sure to unplug, or shut off power to the unit, before opening any part of the stove.
Safety Check #5 — Allow the Stove to Cool All the Way Down
This one seems obvious, but you’d be surprised how many people ignore it.
If you used the stove recently for cooking, the burners, grates, oven interior, and internal parts can stay hot for 30 to 45 minutes or longer. You can burn yourself on a hot stove and ruin the pieces you are replacing.
How Long Should You Wait?
| Part of the Stove | Approximate Cooling Time |
|---|---|
| Burner grates | 20–30 minutes |
| Burner caps and heads | 25–35 minutes |
| Oven interior | 45–60 minutes |
| Igniter area | 15–20 minutes |
If you have used the stove in the past hour, simply wait before starting your repair — that’s a great rule of thumb. Before grabbing anything or touching any grates, lightly press the back of your hand near them to detect heat.
Safety Check #6 — Get the Right Tools and Keep Them Dry
Using the wrong tools — or wet tools — is a safety hazard that many do not take into account.
Wet hands or wet tools close to gas connections can slip, with the very real risk of breaking a connection. It also presents a risk of electric shock near any wiring.
Basic Tools Needed for Gas Stove Repairs
Most common repairs will require at least the following tools:
- Flat-head screwdriver
- Phillips-head screwdriver
- Adjustable wrench or pliers
- Needle-nose pliers
- Multimeter (to test igniters or wiring)
- Flashlight or headlamp
- Dry, clean cloths
What to Avoid
- Getting wet — dry off everything before you start.
- Metal tools around live wires — make sure the power is turned off before using metal tools near any wiring.
- Improvised tools — using a butter knife as a screwdriver is both damaging and dangerous.
The right setup makes the job quicker, safer, and cleaner.
Safety Check #7 — Consult Your Stove’s Manual or Search by Model Number
This safety check is frequently overlooked — but it’s one of the smartest things you can do.
Each gas stove model differs slightly in the details. Valve location, type of igniter, burner layout, and disassembly steps vary by brand and model. What works on one stove may harm another.
For more tips and model-specific repair guidance, visit Gas Stove Repair Basics — a helpful resource for DIY gas appliance maintenance.
How to Find the Model Number
- Open the oven door and inspect the frame surrounding that opening.
- Check the rear of the stove on a metal plate.
- Peek into a drawer under the oven.
Once you have the model number, you can:
- Download the owner’s manual from the manufacturer’s website.
- Search for repair videos tailored to your stove model on YouTube.
- Shop for original replacement parts by model number.
Why This Prevents Accidents
Certain stove models have specific warnings about which parts should be replaced exclusively by certified technicians. Others have specific valve arrangements that could be damaged if handled without the appropriate knowledge.
Knowing your stove before opening it up is just smart planning.
Safety Check #8 — Prepare a Fire Extinguisher and Emergency Plan
The last safety check is preparing for the worst case — even if it doesn’t happen.
If you plan to attempt any gas stove repair, ensure that you know the location of your fire extinguisher and that it is charged and ready for use.
What Type of Fire Extinguisher to Use
You will need a Class B fire extinguisher for kitchen and gas-related fires. These are designed for flammable liquid and gas fires. Class ABC extinguishers also deal with gas fires and are the most versatile option for home use.
According to the U.S. Fire Administration, cooking fires are best handled by smothering the flame — never add water to a gas fire. It will spread the flames and make matters worse.
Your Emergency Plan Should Include
- Knowing the location of your home’s main gas shutoff outside.
- Saving the gas company’s emergency number in your phone.
- Knowing when to quit and just hire a pro.
- Ensuring that every adult in the household knows where to find the extinguisher.
When to Call a Pro Instead
Certain repairs are beyond what a homeowner should tackle. Here is a quick guide:
| Repair Type | DIY Safe? | Call a Pro? |
|---|---|---|
| Replacing burner cap | Yes | No |
| Cleaning igniter ports | Yes | No |
| Replacing igniter switch | With caution | If unsure |
| Repairing or replacing gas line | No | Always |
| Replacing oven valve | No | Always |
| Strange odor with no obvious cause | No | Always |
Quick-Reference Safety Checklist Before Every Gas Stove Repair
Here’s a cheat sheet you can print or screenshot and hang on your kitchen wall:
| # | Safety Check | Status |
|---|---|---|
| 1 | Gas supply turned off | ☐ |
| 2 | Kitchen ventilated | ☐ |
| 3 | Leak test done | ☐ |
| 4 | Stove unplugged or circuit off | ☐ |
| 5 | Stove cooled down | ☐ |
| 6 | Right tools collected and dry | ☐ |
| 7 | Manual or model info referenced | ☐ |
| 8 | Fire extinguisher nearby and ready | ☐ |
Refer to this list every time. No shortcuts.
Mistakes People Make Before Repairs
These mistakes are made by even the most seasoned DIYers. Here’s what to look out for:
Skipping the gas shutoff — It seems like overkill for a “small” repair. It is not. Always shut off the gas.
Not waiting for the stove to cool — Burns and damaged parts are the result.
Using dish soap with ammonia for leak testing — Ammonia may react with some types of metal fittings. Use plain dish soap and water.
Forgetting the electric circuit — Gas stove doesn’t imply no electricity. The majority of contemporary stoves are still wired live.
Working alone — For any gas repair, it’s a good idea to have another person nearby in case of emergency.
Ignoring strange odors — If you detect gas, even after turning off the supply, don’t do anything else. Get out of the house and contact your gas company.
What the Smell of Gas Really Means
Natural gas itself is odorless. Gas companies inject a chemical known as mercaptan that gives gas that distinctive rotten egg smell. This makes leaks easier to detect.
If you smell gas:
- Do not touch any light switches.
- Do not use your phone inside the house.
- Do not light anything.
- Leave immediately.
- Call your gas company from outside or at a neighbor’s house.
This is not an overreaction. Gas leaks can fill a room faster than you might think, and all it takes is one tiny spark.
Gas Stove Repair Safety FAQs
Q: Can I fix my gas stove on my own? Yes, most basic repairs — like replacing burner caps, cleaning igniters, or swapping out knobs — are safe for homeowners to do. Anything that deals with gas lines or internal valves should be left to a licensed technician.
Q: How can I tell if my gas stove has a leak? Use the soapy water method on all connections. Bubbles indicate a leak. A gas leak detector can also provide a more exact reading. A lingering rotten egg odor is another warning sign.
Q: Can I use the stove immediately after having it repaired? Not immediately. After completing any repair, slowly turn the gas back on, perform a leak test at all connections you touched, and run the burner on a low flame before using it normally.
Q: What if the igniter keeps clicking after a repair? This typically indicates moisture is present at the igniter, or that the burner cap is not properly seated. Make sure the area is fully dry, then reseat the cap. If the clicking persists, the igniter module might require replacement.
Q: Do I really have to unplug the stove just to change a burner cap? Unplugging seems excessive for a simple burner cap swap that involves no wiring. But it takes 30 seconds and eliminates any risk of electrocution. Making it a habit will keep you safe every time.
Q: How regularly should I check my gas stove for safety problems? Do a visual safety check every couple of months. Watch for discoloration around burners, strange odors, clicking when burners are off, or uneven flames. An annual professional inspection is also a good idea for older stoves.
Q: What is the most hazardous part of a gas stove to fix? The gas supply line and the internal valve system pose the most risk. These should be handled only by a qualified gas technician. Never try to fix or reroute gas lines yourself.
Conclusion — Safety Is the Fix
Gas stove repair know-how is not only handy to have up your sleeve. These are habits that protect you and everyone in your household.
The 8 safety checks outlined in this guide can be done in under 10 minutes. That is a small investment for something that could avert a fire, an explosion, or a serious injury.
Whether you’re a DIY novice or someone who has fixed appliances for decades, these checks are important every single time. When gas goes wrong, there are no do-overs.
Run the checklist. Take your time. And if something seems off or out of your league — hire a pro. That is not a failure. That is smart thinking.
Be safe, slow down — and your repair will go much smoother for it.