

Meta Description: Gas stove repair basics safety habits can save your kitchen from disaster. Discover 6 proven tips that helped me avoid gas leaks, fires, and costly damage.
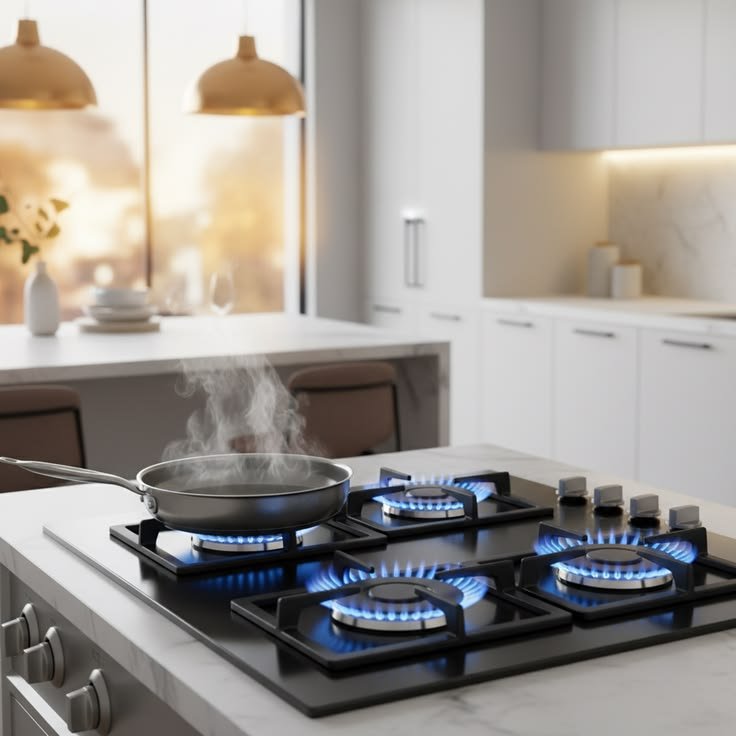
Gas Stove Repair Basics: 6 Safety Habits That Saved My Kitchen
I still remember the smell.
It was a Tuesday morning. I went to my kitchen, and something was wrong. A faint, eggy smell lingered in the air. My gas stove had been misbehaving for weeks — a burner that wouldn’t light properly, a clicking sound that never stopped. I kept ignoring it.
That morning changed everything.
After I called a technician and got it fully inspected, I found out there was a small gas leak near one of the burner valves. It wasn’t dramatic. There were no flames. But the risk was very real.
That experience drove me to learn gas stove repair basics — not just fixing things, but doing it safely. In the months that followed, I developed habits that truly protected my home, family and kitchen.
In this article, we will discuss those 6 habits. Whether you’re a homeowner, a renter or just someone who likes to get crafty, these safety practices are worth memorizing.
Why the Safety of Gas Stoves Deserves More Respect
Most people treat their gas stove the same way they do any other appliance — use, clean occasionally, call someone to come when it breaks. But gas stoves come with risks that electric stoves do not.
You’re working with natural gas or propane. Both are highly flammable. Both are invisible. And either can be dangerous if something goes wrong during an attempted repair.
According to the U.S. Fire Administration, cooking equipment is the top cause of home fires. Gas stoves are a major source of that figure — when poorly maintained or improperly repaired, they add significantly to the number.
Learning the gas stove repair basics isn’t only a money-saving skill. It’s a safety skill.
Habit #1 — Always Smell Before You Start Wrenching
Your Nose Is Your First Line of Defense
Before you touch anything on your gas stove — before you take a screwdriver to the appliance or remove one of its burner caps — stop and sniff the air.
Natural gas has no odor of its own. That’s why gas companies inject a chemical called mercaptan into it, which creates that signature rotten-egg or sulfur odor. If you detect the smell before you do any repair work, everything stops.
Do not proceed.
Do not flip a light switch. Do not bring your phone near the stove. Even tiny electrical sparks can ignite a buildup of gas.
Here’s what to do instead:
- Shut off the gas supply valve for the stove immediately
- Open all the windows and doors in the kitchen
- Get out of the house and go to a neighbor’s place or outside
- From outside, call your gas company’s emergency number
I practically have a rule of giving the stove a quick sniff check every time I open it, even to clean the burner ports. It takes two seconds. It could save your life.
Get a Gas Detector Too
Your nose is a good tool, but not an infallible one. Some low-level gas leaks sneak below the detection level for humans by smell. A good gas leak detector, available for $20–$50, provides an additional layer of safety.
Set it down by the stove, a foot or two off the ground. Check the battery monthly.
Habit #2 — Shut Off the Gas Supply First
Know Where Your Shutoff Valve Is
This sounds obvious. But when I asked five friends where their gas shutoff valve was located, only two knew the answer.
Before doing any gas stove repair — even replacing an igniter or a burner cap — find and turn off the gas supply. Generally, there are only two places where you can do this:
- Behind or below the stove: Many gas stoves have a flexible connector hose that runs to a shutoff valve behind the unit. You can often do this by hand or with a wrench.
- At your main gas meter: Located outside your home or in a utility area. Use it if you ever smell gas and cannot pinpoint the source.
Don’t Just “Turn Off” the Burners
Here’s a mistake I made early on. I had assumed that turning the stove knobs to “off” was equivalent to shutting off the gas. It is not.
The knobs regulate the flow to the burner itself. The gas supply line is separate. For any repair work requiring component movement, pulling out the stove, or internal part access, close the supply valve.
Once you close the valve, turn on one of the burners for a few seconds. If the gas flow dies out after a few seconds, the supply is properly cut. Then turn the burner knob off again before starting your repair.
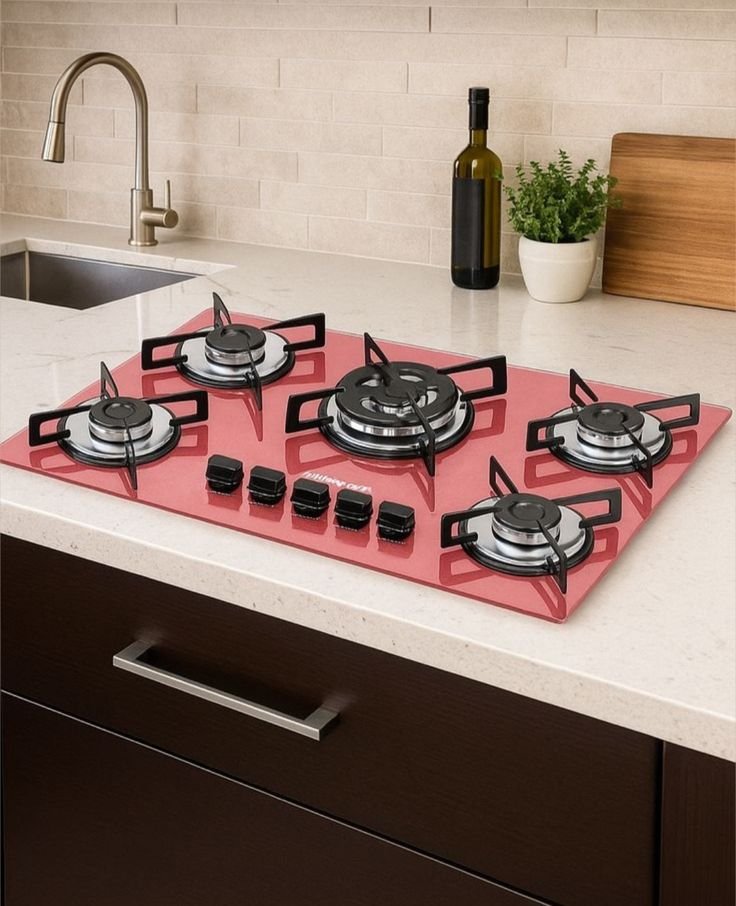
Habit #3 — Understand Your Stove’s Anatomy Before You Fix Anything
Know What You’re Looking At
One of the best things I did was spend an evening reading my stove’s manual and watching some disassembly videos for my specific model.
Gas stoves appear straightforward on the outside. Inside, there’s more going on. Here’s a simple breakdown of the main components:
| Component | What It Does | Common Issues |
|---|---|---|
| Burner Cap | Sits on top of burner head; directs flame | Clogging, misalignment |
| Burner Head | Holds the gas ports that create the flame | Blocked ports, cracks |
| Igniter | Creates spark to light the gas | Clicking, no spark |
| Thermocouple | Safety device; shuts off gas if flame goes out | Pilot won’t stay lit |
| Gas Valve | Controls gas flow to each burner | Stuck, leaking |
| Burner Grates | Support cookware over burners | Cracks, warping |
| Broiler/Oven Burner | Separate burner for the oven | Uneven heat, won’t ignite |
Understanding what each part does allows you to:
- Diagnose problems more accurately
- Avoid touching parts you don’t need to touch
- Know what’s safe to handle as a DIY versus hiring a pro
Hold the Manual — or Search for It Online
Lost your manual? Most stove manufacturers make them available as PDF downloads through their websites. Search for your model number, often found on a sticker inside the oven door or on the back panel.
Habit #4 — Learn to Clean as Prevention
Dirty Stoves Break Down Faster
Here’s something the repair technician told me: “Most of the repair calls I get are because of grease and food debris, not broken parts.”
That stuck with me.
Clogged burner ports are one of the most common reasons a gas burner doesn’t produce a healthy blue flame. The fix? Cleaning.
Here is how I safely and effectively clean burner heads:
Step 1: Turn off the stove and wait until it cools down completely.
Step 2: Lift off the burner grates and caps. Place them in warm soapy water.
Step 3: Remove the burner heads. Check the little holes (ports) around the rim.
Step 4: Unblock each port gently with a toothpick or thin wire, such as a straightened paper clip. Never use a toothpick that could break off inside.
Step 5: Rinse everything off and dry completely before putting it all back together. Water inside the ports can inhibit ignition or produce sputtering flames.
Monthly Cleaning Checklist
| Cleaning Task | Frequency | Tool Required |
|---|---|---|
| Wipe down grates and caps | Weekly | Soapy sponge |
| Deep clean burner heads | Monthly | Toothpick, soft brush |
| Check igniter tips for grease | Monthly | Dry cloth |
| Inspect gas connector hose | Every 6 months | Eyes only |
| Clean beneath stovetop surface | Monthly | Damp cloth |
Just this one cleaning habit has saved at least three service calls in the last two years.
Habit #5 — Know When to DIY and When to “Call a Pro”
Not Everything Is a YouTube Fix
I love a good DIY project. But gas stoves have a firm line: some repairs are safe for an untrained hand, and some most definitely are not.
Getting this wrong doesn’t just mean a broken stove. It could mean a gas leak, a fire, or carbon monoxide building up in your home.
Here is a clear outline I have developed through experience:
Safe to do yourself (with appropriate precautions):
- Replacing burner caps and heads
- Cleaning clogged burner ports
- Replacing surface igniters (spark igniters)
- Replacing oven igniters (glow igniters)
- Replacing knobs and control panels
- Leveling the stove
- Replacing oven light bulbs
Always call a professional:
- Replacing or repairing gas valves
- Working on the gas supply line or connector hose
- Fixing internal gas manifolds
- Any repair after smelling gas
- Oven thermostat replacement (gas oven)
- Replacing the thermocouple in a pilot-based system (if you’re unsure)
Finding a Qualified Technician
Not all appliance repair technicians are trained to work on gas appliances. Look for:
- Certification from the National Appliance Service Technician Certification (NASTeC)
- Experience specifically with gas appliances
- Licensing required by your state or municipality
Ask directly: “Are you certified to work on gas appliances?” A legitimate technician will respond confidently.
Habit #6 — Test Everything After a Repair — Every Single Time
Never Assume the Job Is Done
This habit could be the single most important one I have built. Whenever I finish any repair or maintenance on my gas stove — even a minor one — I do a full check before calling it done.
Here’s my personal post-repair checklist:
Step 1: Check for gas leaks Mix dish soap and water. Use a small brush or sponge to apply it around each connection you touched. Turn the gas back on slowly. Watch for bubbles. Bubbles mean gas is escaping. If you see any, shut off the gas immediately and call a professional.
Step 2: Test each burner Turn on each burner one at a time. The flame should be:
- Blue with a small yellow tip (normal)
- Even around the whole burner head
- Lit within 4 seconds of turning the knob
A yellow or orange flame, or a flame that will not light, means something needs attention.
Step 3: Listen for strange sounds A healthy burner gives off a low, steady hiss. Clicking after the burner is lit, a hissing noise that sounds louder than normal, or popping are all signs that something isn’t right.
Step 4: Test the oven Turn on the oven and run it for 10 minutes. Confirm that it reaches the set temperature and that you don’t smell anything unusual.
Step 5: Ventilate and wait After completing the repair and testing, keep windows open for 15–20 minutes. Let any remaining fumes disperse fully.
Post-Repair Testing at a Glance
| Test | What to Look For | Red Flag |
|---|---|---|
| Soap bubble test | No bubbles at connections | Bubbles forming |
| Burner flame check | Blue, even flame | Yellow, orange, or uneven flame |
| Sound check | Steady hiss | Clicking, loud hissing, popping |
| Oven test | Reaches temperature | Smell, no ignition, temp variance |
| Ventilation | Fresh air circulation | Lingering gas odor |
When My Kitchen Almost Paid the Price — A Personal Recap
Let me go back to that Tuesday morning.
Once the technician fixed the leak and told me what had caused it — a loose fitting on the burner valve, likely made worse by me pulling the stove out to clean behind it without turning off the gas — I felt embarrassed. It was such a basic mistake.
But that experience taught me something: a genuine, enduring respect for gas stove repair basics.
The six habits I outlined here didn’t come from a textbook. They came from making mistakes, asking questions and watching how professionals handle gas appliances when they’re working.
None of these habits is difficult. You don’t have to be a plumber or an engineer. You just have to slow down, be methodical and take the invisible risk of gas seriously.
Quick-Reference Safety Summary
Here’s a visual recap of all six habits in one place:
| # | Safety Habit | Core Action |
|---|---|---|
| 1 | Sniff before you wrench | Check for gas odor before any repair |
| 2 | Cut the gas supply | Shut off valve — not just the knobs |
| 3 | Learn your stove’s anatomy | Read the manual, know the parts |
| 4 | Clean as prevention | Monthly port and burner maintenance |
| 5 | Know your DIY limits | Gas valves and lines = call a pro |
| 6 | Test after every repair | Soap test, flame check, sound check |
Frequently Asked Questions
Q1: Can I repair a gas stove myself, and is it safe?
Some repairs are safely DIY — for example, replacing igniters, cleaning burner ports or swapping out knobs. But anything related to gas lines, valves or connections needs the work of a licensed professional. When in doubt, get someone qualified to do it.
Q2: What does a healthy flame look like on a gas stove?
An ideal burning gas flame will be blue with a small inner cone and a slight yellow tip. A flame that is mostly yellow or orange generally indicates incomplete combustion — which is often due to clogged ports or a misaligned burner cap.
Q3: What are the signs that my gas stove is leaking?
The most obvious sign is the odor of rotten eggs or sulfur. You can also do a soap bubble test: mix dish soap and water, apply it around the connections, and watch for bubbles when the gas is on. Also monitor with a gas detector placed near the stove.
Q4: How often should I get my gas stove serviced professionally?
Most appliance experts suggest having a professional inspection of gas stoves every 1–2 years, even if nothing appears to be wrong. Routine checks can spot minor problems — fraying seals, loose connections — before they turn dangerous.
Q5: What do I do if I smell gas while cooking?
Turn off all burners immediately. Do not flip any electrical switches. Open windows and doors. Leave the house. From outside, call your gas company’s emergency line. Do not re-enter until authorities give the all clear.
Q6: Can a clogged burner port cause a fire?
Not directly — but it can create an uneven flame, which may cause heat in unintended places or a delay in ignition. Delayed ignition, when gas accumulates and then ignites all at once, can create a flash fire. Regular cleaning prevents this.
Q7: What tools do I need to maintain my gas stove?
For most routine maintenance you’ll need: a soft-bristle brush, toothpicks or thin wire to clean ports, a dish soap and water solution to check for leaks, a multimeter for testing igniters, and a wrench for checking connections — not tightening gas fittings, that’s a job for a pro.
The Bottom Line — Safety Is the True Repair Skill
Gas stove repair basics: it’s not just about patching up what’s broken.
It’s about building the habits that keep the break from occurring — and ensuring that when something does go wrong, you respond in a way that keeps everyone safe.
The six habits discussed in this article — sniffing for gas before starting, turning off the supply valve, learning your stove’s components, keeping things clean, knowing your DIY limits and testing everything after a repair — aren’t complex. But they’re powerful.
My kitchen is still standing. My family is safe. And I haven’t had a gas-related scare since that Tuesday morning.
That is worth every extra minute these habits require.
Start with one. Add another. Build the routine. Your kitchen will appreciate it.