

Gas Stove Repair: Cleaning Tricks That Can Convert Weak, Unsteady Flames Into Strong, Consistent Heat — 5 Proven Ways That Actually Work Fast
5 Best Gas Stove Repair Basics Cleaning Tricks That Made Flame Better
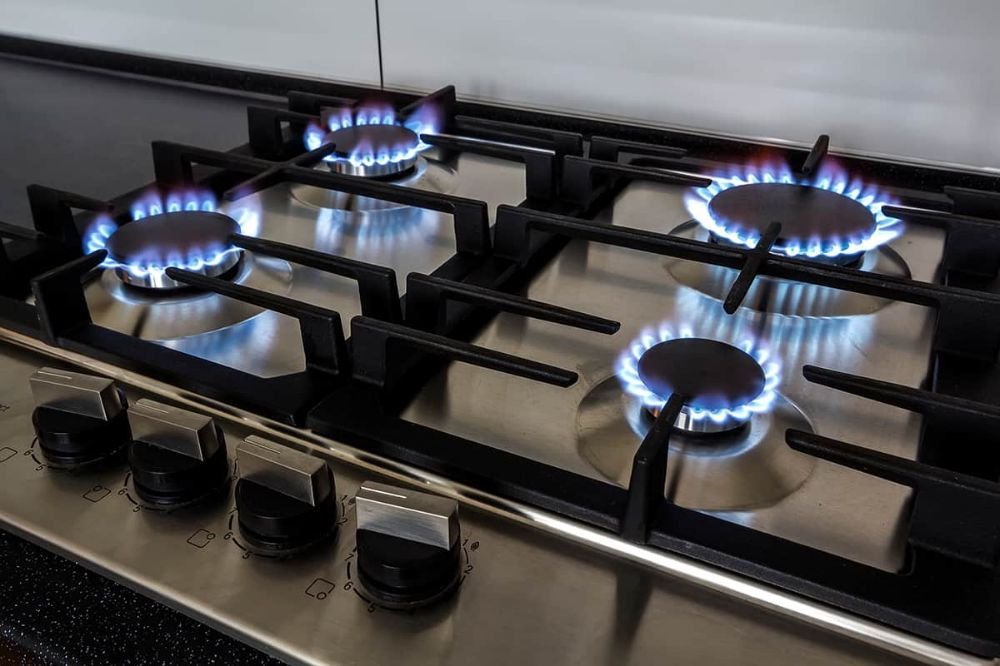
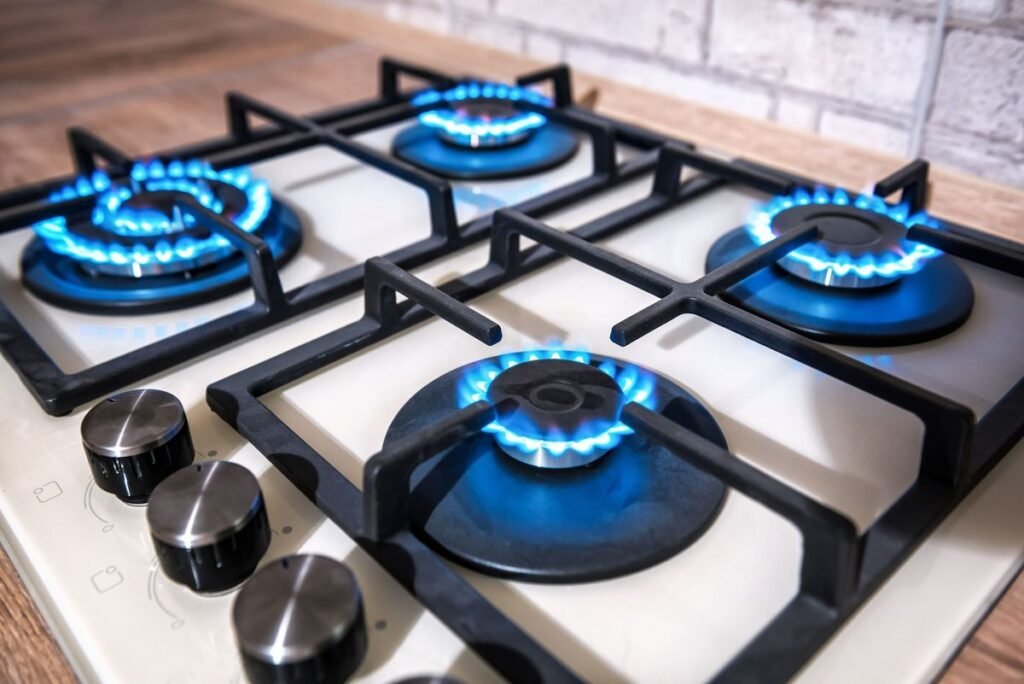
Have you ever lit your gas stove only to see a weak, flickering flame try valiantly to heat up your pan? Or perhaps one burner runs flawlessly while another hardly works at all? You are not alone. It’s one of the most common kitchen complaints — and the good news is you usually do not need to call a repairman.
The key is knowing a few gas stove repair basics cleaning tricks that may as well resurrect your burner. Usually, it’s clogged ports and greasy caps and blocked igniters that are to blame. And they’re easier to correct than you may think.
Read on for 5 deep-cleaning tricks that can help thousands of home cooks get strong, even flame back without having to pay a dime in repairs. These techniques are straightforward, safe and don’t need tools that you likely don’t already have at home.
Let’s get your stove burning like new again.
Why Is Your Gas Stove Flame Weak or Uneven?
Before getting to the tricks, it helps to understand why this problem occurs in the first place.
A gas burner operates by mixing air with gas and then igniting the mix through small holes called burner ports. When these ports become clogged — for example, by food spills or grease, or sometimes even dust — the gas cannot flow evenly. The result? Weak, yellow or asymmetric flame.
The most frequent causes are:
| Problem | Cause | Effect on Flame |
|---|---|---|
| Clogged burner ports | Food, grease | Uneven / weak flame |
| Dirty burner cap | Grease coating the cap | Yellow flame, poor ignition |
| Blocked venturi tube | Insects, debris | Very low or no flame |
| Misaligned burner cap | Knocked out of place | Flame only on one side |
| Wet or dirty igniter | Spilled liquid, grease | Clicks but doesn’t fire |
Knowing the “why,” let us now come to the fixes.
Trick #1 — Needle and Toothpick Port Clearing
Gas Stove Repair Basics: The #1 Trick You Can Try
Atomic-level cleaning. It aims straight at the little burner ports.
What You Will Need
- Sewing needle or a toothpick
- A soft-bristle toothbrush
- Warm soapy water
- A dry cloth
Step-by-Step Process
Step 1: Completely turn off the stove and allow it to cool. Never work on a hot burner.
Step 2: Take off the burner grate (the metal rack that goes over the burner). Set it aside.
Step 3: Remove the burner cap. This is the round plate that sits atop the burner base. Usually it lifts straight off.
Step 4: Inspect the burner head closely. You’ll notice a ring of little holes around it — these are the burner ports.
Step 5: Using the needle or toothpick, gently poke into each hole. Don’t use a toothpick if it could snap off in there. A metal needle works best. The purpose is to loosen any debris or matter preventing access to the hole.
Step 6: Once each port is cleared, dip your toothbrush in soapy water and scrub around the burner head. Wipe down with a damp cloth — never soak the burner base in water.
Step 7: Allow everything to dry completely before reassembly.
Why This Works
A very slight blockage in one port alters gas flow. Once you get all the ports cleared, gas circulates evenly around the ring and you get that beautiful blue circular flame again.
Pro Tip: Schedule this once a month as preventive maintenance, not just when the flame has gotten out of hand.
Trick #2 — Deep-Cleaning the Burner Cap with Baking Soda Paste
The burner cap is the flat disk that rests above the burner head. It takes a real beating — grease splatters, food boils over and grime bakes onto it nearly every day. A dirty cap is among the most common causes of yellow flames and uneven heat.
What You Will Need
- Baking soda
- White vinegar or dish soap
- A small bowl
- An old toothbrush or scrub brush
- Warm water
How to Prepare the Cleaning Paste
Combine 3 tablespoons of baking soda with enough dish soap to form a thick paste. For extra strength, add a few drops of white vinegar — it’ll fizz and aid in lifting tough grease.
The Cleaning Process
Step 1: Take off the burner cap from your stove.
Step 2: Spread a good amount of the baking soda paste all over the cap — top, bottom and edges.
Step 3: Allow it to sit for 15 to 20 minutes. This allows the paste time to dissolve the grease.
Step 4: Use the brush in a circular motion to scrub. Take special care to clean the grooved slots on the underside of the cap — these channels are where the flame is directed, and they can clog easily.
Step 5: Rinse off under warm running water. Verify that all remnants of paste are removed.
Step 6: Wipe dry with a cloth, then allow to air dry for an additional 20–30 minutes before replacing on the stove.
Flame Improvement Comparison
| Burner Cap Condition | Flame Color | Heat Distribution |
|---|---|---|
| Clean cap | Blue with small yellow tip | Even and full circle |
| Lightly greasy cap | Mixed blue and yellow | Slightly uneven |
| Heavily coated cap | Mostly yellow/orange | Weak and patchy |
A clean cap ensures that gas emits where it should — not haphazardly around a grease-coated surface.
Trick #3 — Solving the Igniter Issue with a Dry Brush and Alcohol Wipe
If your burner sounds like it’s clicking but won’t light — or lights up slowly after a lot of clicking — the igniter is dirty. The igniter is the little ceramic nub you see by the burner. It creates the spark that ignites the gas.
This is an essential part of gas stove repair basics cleaning, and for some reason people overlook it.
What You Will Need
- A dry toothbrush
- Isopropyl alcohol (rubbing alcohol) — 70% or higher
- Cotton swabs (Q-tips)
- A dry cloth
Why the Igniter Gets Dirty
Each time something bubbles over or you wipe down the stovetop haphazardly, liquid and grease come into contact with the igniter. A very thin layer of grease or mineral deposits can prevent a good spark from forming.
Cleaning the Igniter
Step 1: Ensure the stove is turned off and completely cool.
Step 2: With the dry toothbrush, scrub gently around the igniter tip. Do not press down hard — the ceramic material can break.
Step 3: Using a cotton swab dipped in rubbing alcohol, gently clean the igniter tip and the ceramic base surrounding it.
Step 4: Allow it to air dry for a minimum of 10 minutes. Alcohol evaporates quickly, but you want it completely dry before testing.
Step 5: Attempt to light the burner. If it fires immediately, you have fixed the issue.
What If It Still Doesn’t Spark?
If cleaning doesn’t do the trick, your igniter might be cracked or burnt out. In that case:
- Check that the igniter wires are not loose (visible at the bottom of the burner).
- Tighten any loose connections carefully.
- A new igniter is typically inexpensive and easy to replace if the ceramic is obviously cracked.
Safety Note: Do not use water to clean the igniter. The electronic components below the stovetop can be damaged by moisture.
Trick #4 — Cleaning the Venturi Tube Correctly
This might be the most neglected step in gas stove repair basics cleaning — and it truly makes a world of difference.
The venturi tube (also known as the burner tube or air shutter tube) is the passage through which air mixes with gas before it reaches the burner. No matter how clean your burner cap and ports are, if it is blocked, gas flow will be limited.
Symptoms of a Venturi Tube Restriction
- Knob turned to high but the flame is very low
- You smell gas but don’t see much of a flame
- The burner ignites but flames out immediately
- Flame is mostly yellow with little blue
What You Will Need
- A slim bottle brush or pipe cleaner
- A can of compressed air
- A flashlight
- Mild soapy water and a cloth
How to Access and Clean It
Step 1: Take off the burner grate and the burner cap.
Step 2: Pull out the burner head (the piece with ports around it). On most ranges, it just lifts straight off.
Step 3: Shine your flashlight into the burner base and find the venturi tube — it’s a small horizontal or angled tube that leads into the burner from below or the side.
Step 4: First, use compressed air. A quick blast will eject any loose debris like dust or insect nests (yes, small insects sometimes nest in venturi tubes when stoves sit unused for some time).
Step 5: If grease or sticky residue is found, gently run a damp pipe cleaner through the tube. Do not force it.
Step 6: Clean the exterior of the tube with a soapy cloth. Dry completely.
Step 7: Reassemble the burner and test it.
Venturi Tube Maintenance Schedule
| Usage | Recommended Cleaning Frequency |
|---|---|
| Daily cooking | Every 3 months |
| Occasional cooking | Every 6 months |
| After being left unused for a long time | Before first use |
| After any sighting of insects | Immediately |
Trick #5 — Assembling and Aligning the Burner Cap
Here’s something that catches most people by surprise: the flame problem isn’t always about dirt. Sometimes it’s about the way the burner was reassembled after the last cleaning.
One of the sneakier causes of an uneven flame is a misaligned burner cap — and it’s a fix that takes approximately 10 seconds.
How Misalignment Happens
Each time you wipe down the stovetop and replace individual parts, there’s a good chance that the burner cap has landed not quite centered or at a slight angle. Even a millimeter of misalignment can alter the gas flow out of the ports.
The slots on the bottom of the burner cap must align with the notches or grooves on the burner head. When they don’t, gas escapes unevenly — producing that lopsided, one-sided flame.
How to Check For and Correct Alignment
Step 1: Examine your burner from the side. Is the cap flat and even? Or is it slightly tilted?
Step 2: Gently press down on both sides of the cap. If one side clicks or drops slightly, it wasn’t seated correctly.
Step 3: Fully remove the cap.
Step 4: Check underneath the burner head. Generally, you will find a small notch, tab or arrow mark. There is a corresponding mark on the burner cap.
Step 5: Align the marks then replace the cap. Gently press it down until it sits flat.
Step 6: Turn on the burner and watch the flame. It should now make a complete, even circle.
Pro Tip: Whenever you clean, always do a “press test” afterwards — gently press all four sides of the cap to ensure it’s fully seated before lighting up the stove.
The Complete Clean — Putting All 5 Tricks into Practice
Now that you’re familiar with each technique individually, here’s how to do a full gas stove repair basics cleaning session from start to finish:
Complete Burner Cleaning Checklist
| Step | Action | Time Required |
|---|---|---|
| 1 | Turn off stove, allow to cool | 20 minutes |
| 2 | Remove grates, caps and burner heads | 5 minutes |
| 3 | Clear all burner ports with a needle | 10 minutes |
| 4 | Apply baking soda paste to caps, soak | 5 mins + 20 min soak |
| 5 | Scrub caps and rinse | 10 minutes |
| 6 | Clean igniter with alcohol swab | 5 minutes |
| 7 | Clear venturi tube with compressed air | 10 minutes |
| 8 | Dry all parts completely | 20 minutes |
| 9 | Reassemble and align all burner caps | 5 minutes |
| 10 | Test all burners | 5 minutes |
Total time: A full deep clean might take about 90 minutes. Result: A blue flame restored, faster heating and improved fuel economy.
Mistakes That Make Things Worse
Knowing what not to do is just as important as knowing the right tricks.
Mistakes to Avoid
- Using wire brushes on burner ports — They widen the holes and ruin the burner head permanently. Always use a needle or toothpick.
- Putting wet parts back on the stove — Moisture leads to clicking igniters, yellow flames and may even damage electrical components. Always dry completely.
- Using bleach or harsh chemicals — These will corrode metal parts and leave a residue that burns with a toxic odor. Stick to baking soda, dish soap and isopropyl alcohol.
- Skipping the venturi tube — Most people only clean what they can see. The venturi tube is often the real point of failure.
- Forcing caps into place — Burner caps are not held in place by force — they rely on gravity and alignment. Align the notches if the cap does not sit flat easily.
When to Call a Professional
Most common flame problems are solved by these gas stove repair basics cleaning tricks. But there are some problems beyond the reach of cleaning.
Call a licensed technician if:
- You smell gas even when the stove is turned off
- The flame is still yellow/orange after thorough cleaning
- The burner won’t light at all even after cleaning the igniter
- You hear a hissing sound coming from the gas line
- The knob on the stove is loose or broken
Gas leaks are serious. Never neglect them or attempt to fix them on your own. According to the U.S. Consumer Product Safety Commission, gas appliance issues can pose significant safety hazards if not addressed by a qualified professional.
Gas Stove Basic Cleaning FAQ
Q1: How frequently do I need to clean my gas burners?
For home cooking carried out at usual levels, a light cleaning every 2 weeks and a deep clean once every 1 to 3 months is ideal. If anything spills, clean it the same day before it bakes on.
Q2: Are burner caps dishwasher-safe?
Some manufacturers will recommend it, but hand washing with a baking soda paste is the safest method. The heat and harsh detergents used in the dishwasher can damage some caps’ finish over time.
Q3: Why is my flame yellow and not blue?
A yellow flame often indicates incomplete combustion — gas isn’t mixing well with air. This is generally caused by dirty burner caps, clogged ports or blocked venturi tubes. If you follow all 5 tricks laid out in this guide, the flame should return to blue.
Q4: My stove makes constant clicking sounds when it is turned off. Why?
This is nearly always due to moisture or food residue on the igniter. Clean the igniter with rubbing alcohol and a dry toothbrush, then air out for several hours. If the clicking continues, the igniter switch may need to be replaced.
Q5: Is it safe to clean gas stove burners at home?
Yes — if the stove is entirely off and cool to the touch, and you aren’t dealing with a gas leak. The cleaning methods in this guide use safe, common household products.
Q6: What is the best tool for unclogging burner ports?
The best choice is a thin sewing needle. Strong enough not to snap in the hole but thin enough to fit into these tiny port openings. Don’t use a wooden toothpick, as it is prone to break off and get stuck.
Q7: If one burner works beautifully and another doesn’t, why is that?
Burners are independent units. One may have more buildup than another depending on what you cook and which burner you use most. Clean each burner individually using the same process.
Conclusion
A weak or uneven gas stove flame is annoying — but it’s almost never a reason to purchase a new stove or shell out big money on repairs. The issue is usually lurking just out of view: clogged port holes, a greasy burner cap, a dirty igniter, a blocked venturi tube or an ever-so-slightly misaligned cap.
These 5 gas stove repair basics cleaning tricks are time-tested, down to earth and absolutely doable in your kitchen. You don’t require special skills or costly tools. You require patience, proper technique and around 90 minutes on a weekend.
When you do a full cleaning session with all five methods, the difference in your flame quality will be instant and clear. Better flames also mean faster cooking, more even heat and lower gas bills — a properly burning burner is a more efficient one.
Incorporate this into your regular kitchen maintenance routine, and your stove will thank you with many years of reliable, strong performance.
Have a specific burner issue that these tricks didn’t solve? Post your question in the comments — practical solutions for practical stove problems.