

Let me tell you something embarrassing. A few years ago, I was cooking biryani on a Sunday afternoon — pots everywhere, steam rising, the whole kitchen buzzing — and I didn’t notice the gas knob on one of the unused burners had been slightly nudged open. Not fully on, just a tiny bit. Enough to slowly leak gas into the kitchen for a good 20 minutes before I smelled it.
That was the day I realized I had been treating my gas stove like it was some harmless appliance. Like a toaster or a kettle. But it’s not. It’s a machine that runs on highly flammable gas, and the mistakes we make with it — most of them completely casual and accidental — can turn dangerous fast.
So I started paying closer attention. Talked to neighbors, a local repair technician, and did a lot of hands-on learning the hard way. What I found was that most people (including myself) were making the same seven mistakes over and over. Here they are — and more importantly, here’s how to stop making them.
1. Ignoring That “Clicking” Sound That Won’t Stop
You know that clicking noise your stove makes when you turn the knob to ignite a burner? It’s supposed to stop once the flame catches. But sometimes it keeps going — click, click, click — even after the flame is burning.
Most people just shrug and walk away. I did this for weeks.
Here’s why that’s a problem: a continuously clicking igniter usually means moisture or food debris is stuck inside the igniter mechanism. While it seems minor, that constant clicking means the igniter is sending out sparks repeatedly near a live flame and gas source. It also wears down the igniter faster, which can eventually leave you with a burner that simply won’t light.
What to do: Turn off the burner, let it cool completely, and remove the burner cap. Use a dry toothbrush or a wooden toothpick to clean around the igniter tip. Never use water directly — moisture is often the cause to begin with. If the clicking persists after cleaning, it might be time to look at replacing the igniter module. It’s a surprisingly easy fix — you can read more about it in detail over at 7 Powerful Gas Stove Repair Basics Ideas to Fix Ignition Problems.
2. Leaving the Kitchen While Something Is on a High Flame
This one feels obvious until you’re the person who “just stepped out for two minutes” and came back to a burnt pot, smoke everywhere, and a flame that had climbed up the side of a pan.
High flames are not babysitters. Especially when you’re cooking with oil. Oil doesn’t gradually get hotter and give you a warning — it heats up, hits its flash point, and suddenly you have a grease fire.
The mistake isn’t just leaving the room. It’s leaving the room with a high flame, a full pot, and no timer set.
Simple habit to build:
- Never leave high flame unattended, not even for “just a minute.”
- Use your phone timer every time — even for two-minute tasks.
- Keep a fire extinguisher within arm’s reach in the kitchen (not tucked under three bags in the back cabinet).
- If oil starts smoking, turn the burner off immediately. Smoking oil is almost at its flash point.
A small behavioral shift here can genuinely save your kitchen.
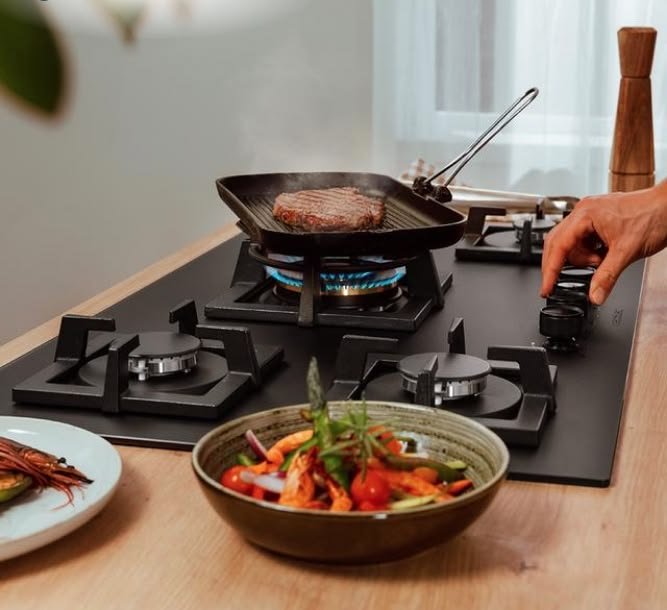
3. Using Wrong-Sized Pots on Burners
This one surprised me. I used to put a small saucepan on the biggest burner just because it was the most convenient spot. Turns out, this is a real hazard.
When a pot is smaller than the burner ring, flames curl up around the outside of the pot. That means open flame is licking the handles, the sides, and sometimes even the air around it. Pot handles can melt, warp, or get dangerously hot. And if you’re using a pan with a plastic or rubber-coated handle, you might not notice until you grab it and burn your hand — or until the handle releases toxic fumes.
Beyond burns, mismatched pot-to-burner size also wastes gas significantly. Heat escapes around the sides instead of going into the food.
The rule of thumb: Match your pot size to your burner size as closely as possible. Your biggest pots go on the large burner. Small saucepans stay on the smaller rings. It sounds fussy, but it becomes second nature after a week.
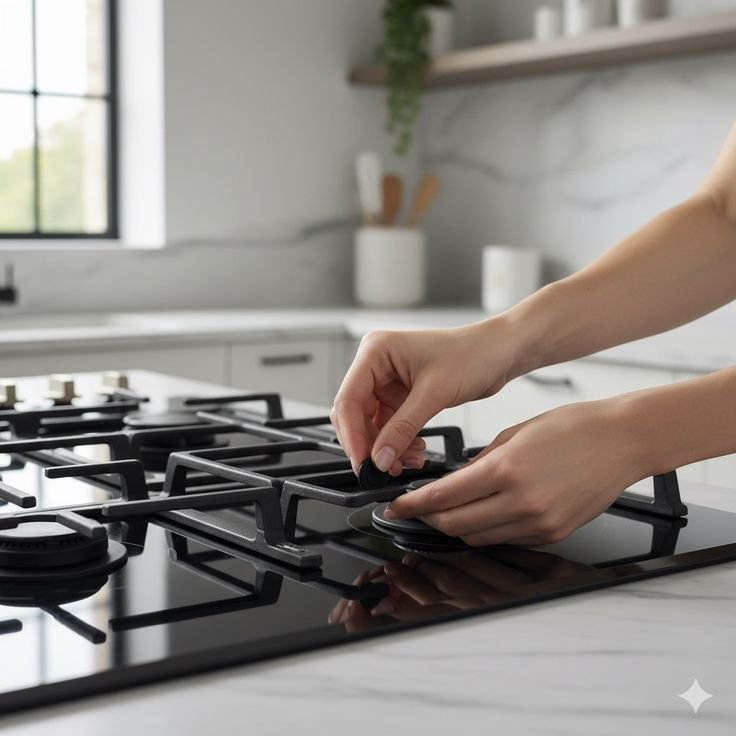
4. Never Checking the Burner Caps and Ports
Here’s something I genuinely didn’t know for years: there are tiny holes around your burner — called burner ports — that release the gas that gets ignited. When these get clogged with food, grease, or grime, the flame becomes uneven. You get patches of flame, a weak burner, or sometimes no flame at all even though gas is flowing.
A lot of people (including me, once) respond to a weak flame by turning the knob up higher. That’s actually the wrong move — you’re pushing more gas out of a partially blocked burner, which can create unpredictable flame behavior.
| Symptom | Likely Cause | What To Do |
|---|---|---|
| Uneven or patchy flame | Clogged burner ports | Clean ports with a pin or toothpick |
| Flame lifts off burner | Too much air in mixture | Adjust air shutter or call technician |
| Yellow/orange flame | Incomplete combustion | Clean burner, check gas pressure |
| Weak flame despite full gas | Blocked burner or regulator issue | Clean burner first, then inspect regulator |
| Clicking but no ignition | Debris near igniter | Dry and clean igniter area |
Cleaning the burner caps is easy. Remove them when cool, soak in warm soapy water, use a soft brush, and let them dry fully before putting them back. Do this once a month if you cook regularly. Here’s a practical guide that covers this in more detail: 9 Easy Gas Stove Repair Basics Troubleshooting Steps Anyone Can Try.
5. Ignoring the Smell of Gas — Even a Faint One
This is the most dangerous mistake on this list, and it’s alarmingly common.
People smell a faint whiff of gas, think “oh it’s probably just from lighting the burner,” and move on. Sometimes that’s true. But sometimes it’s not.
Natural gas used in homes has a chemical called mercaptan added to it specifically so you can smell it — it smells like rotten eggs or sulfur. If you smell it, even faintly, treat it seriously. Here’s the right sequence:
Step 1: Don’t turn any switches on or off. Don’t touch light switches, fans, or any appliances. A spark from an electrical switch can ignite leaked gas.
Step 2: Don’t use your phone inside the house — step outside first.
Step 3: Open windows and doors as you walk toward the exit to ventilate.
Step 4: Turn off the main gas supply valve if you know where it is and can safely reach it without passing through an area where gas smell is strong.
Step 5: Call your gas utility provider from outside and wait for them to check.
The smell might turn out to be nothing. But the one time it isn’t nothing, doing the right thing is the difference between a false alarm and a catastrophe.
Also — and I cannot stress this enough — never use a lighter or match to try to “check” where the gas smell is coming from. This sounds absurd, but it happens.
6. Forgetting to Check the Rubber Gas Hose and Connections
Behind or beneath your stove, there’s a rubber or flexible metal hose connecting your stove to the gas line. Most people never look at it. Ever. For years.
That hose ages. It can crack, dry out, or get pinched if the stove was moved during cleaning and then pushed back. A small crack in that hose leaks gas constantly — not enough to trigger your sense of smell immediately in a ventilated kitchen, but enough to accumulate over hours.
Make it a habit — maybe twice a year — to pull the stove slightly away from the wall and visually inspect that hose. You’re looking for:
- Cracks or brittleness in rubber hoses
- Kinks or sharp bends
- Rust or corrosion at the connection points
- Any sign of the hose rubbing against a hot surface
A rubber gas hose typically should be replaced every 5 years, depending on your local codes and the manufacturer. It’s a cheap part and a straightforward replacement — the peace of mind is absolutely worth it.
Also check the connection point where the hose meets the stove and the wall. You can apply a bit of soapy water to those joints — if bubbles form, there’s a leak. This is a well-known and safe way to spot connection leaks without any equipment.
7. Skipping Post-Repair Safety Checks
So you tightened a burner, replaced a knob, or cleaned something out and reassembled everything. Great. But do you actually check that it works correctly before walking away?
A lot of DIY repair errors — or even professional repair errors — don’t show up until the stove is turned on. And when they do show up, it’s sometimes in the form of a gas smell, a flame that’s too large or too small, or a burner that won’t shut off properly.
After any kind of repair or cleaning that involved disassembly:
Step-by-step post-repair checklist:
- Check all knobs are in the OFF position before reconnecting any gas.
- Turn the gas supply back on slowly — not all at once.
- Smell for any gas before lighting anything.
- Test each burner individually — light it, check the flame color (it should be mostly blue, with only a small orange tip), and watch for a few seconds.
- Turn it off and make sure the flame actually goes out completely. This sounds obvious, but a faulty knob can let gas continue flowing even when it’s in the off position.
- Let the stove sit for 5 minutes and smell the area again before considering it done.
These checks take about 10 minutes total and make a real difference. For more detailed guidance on what to check and how, this is a great resource: 8 Smart Gas Stove Repair Basics Safety Checks Before Every Repair.
A Few More Things Worth Knowing
Ventilation matters more than you think. Running your kitchen exhaust fan during cooking isn’t just about smoke — it’s about removing combustion byproducts including carbon monoxide. A gas stove produces CO during normal operation, and in a closed kitchen, that accumulates. Always cook with some ventilation.
Teach everyone in the house. Kids especially. They don’t need to be afraid of the stove, but they need to know what the gas smell means, what to do, and what not to do. A 10-minute conversation can matter.
Know where your main gas shutoff is. Walk to it right now if you’re not sure. It’s usually near the gas meter outside your home. In an emergency, knowing this location instinctively — not having to search — makes a real difference.
Gas stoves are genuinely wonderful to cook on. Better heat control than electric, faster response, and that satisfying whoosh when the flame catches. But they deserve respect. Not fear — just awareness.
Most of the dangerous situations I’ve seen (and been in) weren’t dramatic. They were quiet. A hose nobody checked. A gas knob slightly off. A burner that kept clicking that everyone just got used to. The fix for almost every one of those situations was just attention — which costs nothing.
Start with these seven. Fix the easy ones today. The small habits will add up.
Further Reading: If you want to go deeper on keeping your stove running safely and efficiently over the long term, this article covers some really practical ground: 4 Smart Gas Stove Repair Basics Maintenance Lessons I Learned Late