

5 Powerful Gas Stove Repair Basics Setup Lessons From My First Try
I still remember the faint smell of gas lingering in the kitchen the day I decided to fix my stove myself. It wasn’t a dramatic situation—no sparks, no flames shooting sideways—but something was clearly off. The burner wouldn’t light properly, and when it did, the flame was uneven and weak. Calling a technician felt like the obvious choice, but curiosity, a bit of stubbornness, and the desire to save money pushed me toward trying it myself.
What started as a simple fix turned into a surprisingly rich learning experience. I didn’t just repair a stove—I gained a deeper understanding of how things work, how mistakes happen, and how small details can make or break a setup. These five lessons aren’t just technical tips; they’re insights shaped by trial, error, and a bit of courage.
lesson one: understanding the anatomy of your gas stove changes everything
Before my first attempt, I treated the gas stove as a single unit—something you turn on and off without thinking about what’s happening underneath. That mindset is exactly what makes repairs intimidating.
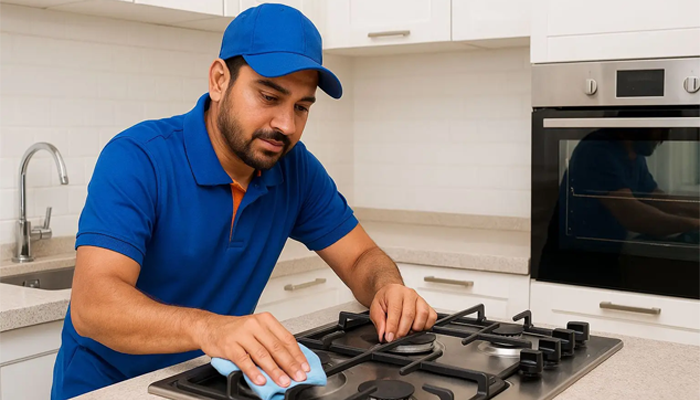
The moment I removed the burner cap and looked closely, I realized a gas stove is a system of small, interconnected parts. Each piece has a purpose: the burner head distributes gas, the ignition system creates the spark, the control knob regulates flow, and the gas line feeds the entire system.
At first, I felt overwhelmed. But once I began identifying each part, things started to make sense. The weak flame I had been dealing with wasn’t some mysterious malfunction—it was simply a clogged burner port.
I learned that grease, dust, and food particles slowly build up over time. These blockages disrupt the gas flow, leading to uneven flames or ignition problems. Cleaning the burner with a simple pin and warm water made a noticeable difference almost immediately.
The real lesson here wasn’t just about cleaning—it was about perspective. When you understand how something works, fear disappears. You stop guessing and start diagnosing.
lesson two: safety isn’t optional—it’s the foundation of everything
If there’s one thing I underestimated at the beginning, it was safety. I knew gas was dangerous, of course, but I didn’t fully appreciate how small oversights could lead to serious consequences.
Before touching anything, I turned off the gas supply. That step sounds obvious, but in the rush to fix things, it’s easy to overlook. I also opened windows to ensure proper ventilation. These small actions created a safe working environment and gave me peace of mind.
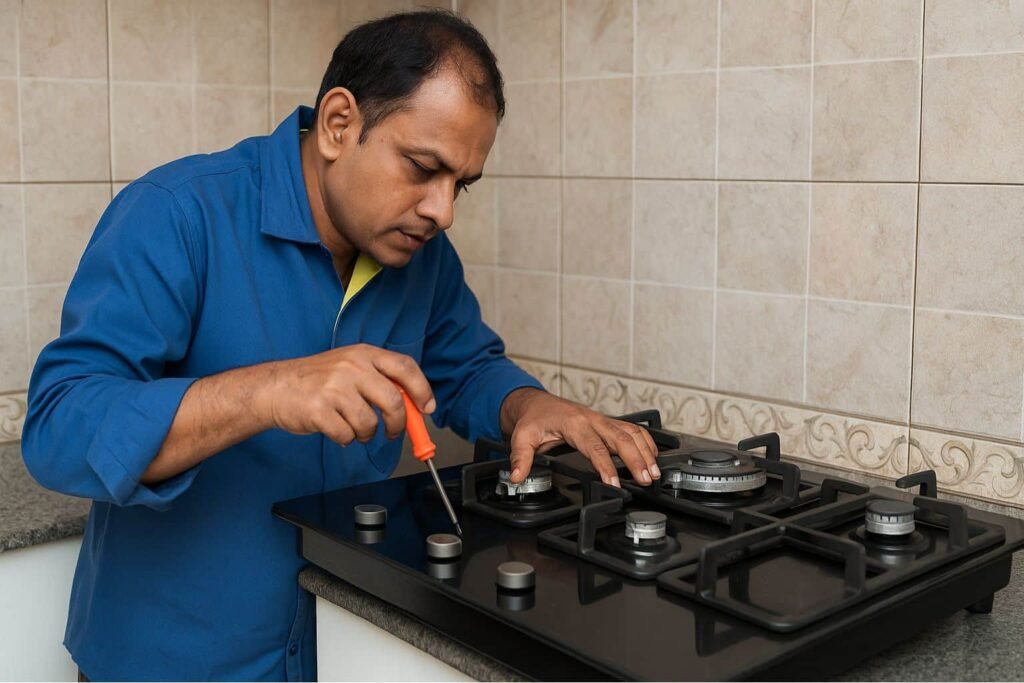
At one point, I accidentally loosened a connection slightly more than I intended. When I turned the gas back on briefly to test, I noticed a faint hiss. That moment taught me to always check for leaks using soapy water. Bubbles forming around a connection are a clear sign of a leak.
That simple test became a habit I now consider essential. It’s quick, effective, and can prevent serious accidents.
Safety also extends to patience. Rushing leads to mistakes, and mistakes in a gas system are not forgiving. Taking your time is not just a suggestion—it’s part of the process.
lesson three: the smallest issues often cause the biggest problems
When my stove first started acting up, I assumed something major was wrong. I imagined needing replacement parts or even a new stove. In reality, the problem was surprisingly minor.
A single clogged burner hole was enough to disrupt the entire flame pattern. Once I cleared it, the flame returned to a steady blue ring.
This experience reshaped how I approach problems. Instead of assuming the worst, I now start with the simplest possibilities. Is something dirty? Loose? Misaligned?
In another instance, the ignition system failed to spark. I initially thought the igniter was broken. But after a closer look, I realized moisture had built up around it. Drying it carefully solved the issue without any replacement needed.
These small fixes taught me that troubleshooting is about observation, not assumptions. The more attention you give to details, the easier it becomes to identify the root cause.
lesson four: proper installation makes repairs easier later
During my first repair, I noticed that some parts weren’t aligned properly. It wasn’t a major issue, but it made cleaning and reassembly more difficult.
That’s when I realized something important: how a stove is set up initially affects how easy it is to maintain later.
I took extra time to reassemble everything carefully. The burner caps were placed evenly, the grates were aligned correctly, and the knobs were checked for smooth movement. These small adjustments didn’t just improve performance—they made future maintenance simpler.
A properly installed stove also ensures consistent gas flow and efficient combustion. When parts are misaligned, even slightly, it can lead to uneven heating or wasted gas.
This lesson goes beyond stoves. Whether it’s assembling furniture or setting up equipment, doing it right the first time saves time and effort down the line.
lesson five: confidence comes from doing, not just reading
Before I started, I watched videos and read guides. They were helpful, but they didn’t fully prepare me for the actual experience.
The first time I removed a burner, I hesitated. What if I couldn’t put it back together? What if I made things worse?
But as I worked through each step, my confidence grew. By the time I finished, I felt a sense of accomplishment that no guide could provide.
Hands-on experience teaches you things that instructions can’t. You learn how parts feel, how much pressure to apply, and how to recognize when something isn’t right.
Mistakes are part of the process. I made a few along the way, but each one taught me something valuable. Instead of seeing them as failures, I started viewing them as lessons.
This shift in mindset made all the difference. It turned a stressful task into an empowering experience.
bringing it all together
Looking back, my first attempt at gas stove repair wasn’t perfect, but it was incredibly rewarding. I didn’t just fix a problem—I gained practical skills and a deeper appreciation for how everyday appliances work.
These five lessons—understanding the system, prioritizing safety, focusing on small details, ensuring proper setup, and learning through experience—have stayed with me. They’ve made me more confident in handling repairs and more mindful of how I use and maintain my kitchen tools.
If you’re hesitant to try fixing your gas stove, that’s completely normal. But with the right approach and a bit of patience, it’s something you can learn. Start small, stay safe, and don’t be afraid to get your hands a little dirty.
frequently asked questions
- is it safe to repair a gas stove by yourself
Yes, it can be safe if you follow basic precautions. Always turn off the gas supply before starting, ensure proper ventilation, and check for leaks using soapy water after making any adjustments. - what are the common signs that a gas stove needs repair
Common signs include uneven flames, difficulty igniting, a weak flame, unusual smells, or clicking sounds without ignition. These often indicate minor issues like blockages or moisture. - how often should i clean my gas stove burners
It’s a good idea to clean burners at least once a month, or more frequently if you cook often. Regular cleaning prevents buildup that can affect performance. - what should i do if i smell gas after repair
Turn off the gas supply immediately, open windows for ventilation, and avoid using any electrical switches. Check connections with soapy water and tighten them if needed. If the smell persists, contact a professional. - can a clogged burner really affect the flame that much
Yes, even a small blockage can disrupt gas flow and lead to uneven or weak flames. Cleaning the burner holes usually restores normal function. - when should i call a professional instead of fixing it myself
If you’re dealing with major issues like damaged gas lines, persistent leaks, or parts you’re unfamiliar with, it’s best to call a professional. Safety should always come first.
In the end, my first repair attempt taught me more than I expected. It wasn’t just about saving money—it was about learning, improving, and realizing that sometimes, the things we avoid are the ones that teach us the most.