

7 easy gas stove repair basics fixes anyone can do
A gas stove is one of those everyday essentials that quietly powers your routine—until it doesn’t. The moment a burner refuses to light or a flame starts behaving oddly, it can disrupt your entire day. Many people assume that any issue with a gas stove requires a technician, but the truth is, several common problems can be handled safely at home with a bit of patience and awareness.
This guide walks through seven practical, beginner-friendly fixes that don’t require specialized training. Think of it less like a technical manual and more like a helpful companion you can return to whenever your stove starts acting up.
Before diving in, one rule matters above all: safety first. Always turn off the gas supply before attempting any repair. If you ever smell strong gas or suspect a leak, stop immediately, ventilate the area, and seek professional help.
Let’s begin.
understanding how your gas stove works
It helps to know the basics before fixing anything. A typical gas stove consists of burners, ignition systems (manual or automatic), gas valves, and connecting pipelines. When you turn the knob, gas flows to the burner and mixes with air. The ignition system sparks, lighting the flame.
If any part of this chain breaks—no gas flow, blocked burner holes, faulty ignition—you’ll run into trouble. The good news is that most issues happen at the surface level and can be fixed without dismantling the entire stove.
fix 1: cleaning clogged burner ports
This is perhaps the most common issue. If your flame is uneven, weak, or yellow instead of blue, clogged burner ports are usually to blame.
Over time, food particles, grease, and dust build up in the tiny holes around the burner. This restricts gas flow and distorts the flame pattern.
Here’s what you can do:
Remove the burner cap and head. Most designs allow you to lift them easily. Inspect the small holes around the burner. If they look blocked, use a thin needle, pin, or even a toothpick to gently clear them. Avoid using anything too thick, as it can damage the openings.
Once done, wash the burner parts in warm soapy water, rinse thoroughly, and let them dry completely before placing them back.
When you relight the stove, you should see a steady, blue flame. It’s a small fix, but it often makes a huge difference.
fix 2: fixing a burner that won’t ignite
Few things are more frustrating than turning the knob and hearing clicking sounds without a flame appearing.
Start by checking the simplest possibilities. Is the burner wet? Moisture can prevent ignition. If yes, let it dry fully.
Next, inspect the ignition electrode—the small ceramic piece that produces the spark. If it’s covered in grease or food residue, it may not spark properly. Clean it gently with a dry cloth or a soft brush.
If your stove uses a battery-powered ignition system, try replacing the battery. It’s surprising how often this is the real issue.
In case you don’t hear any clicking sound at all, the ignition switch might be faulty. While replacing it is possible, that’s usually where beginners should consider professional help.
fix 3: adjusting uneven or yellow flames
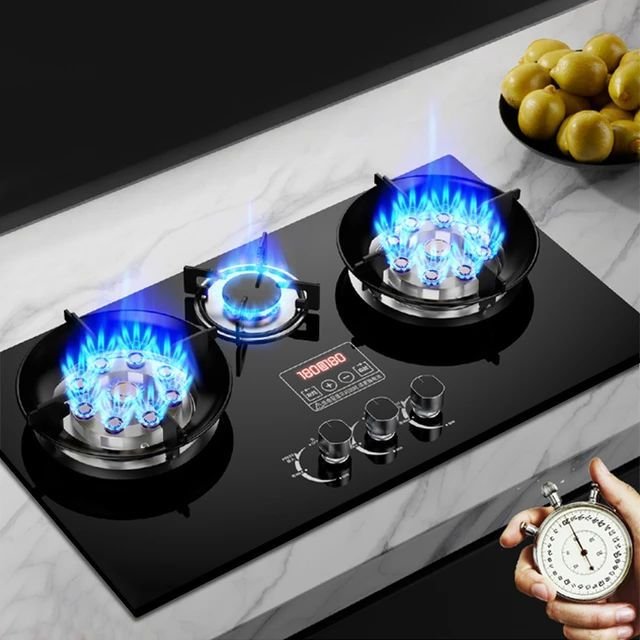
A healthy gas flame should be blue with a slight inner cone. If you notice yellow or orange flames, it means the gas-air mixture isn’t balanced.
This can happen due to clogged air shutters or dirty burners. Start by cleaning the burner thoroughly, as described earlier.
If the problem persists, locate the air shutter (usually near the base of the burner tube). Adjusting it slightly can improve airflow and restore the proper flame color.
Turn the stove on while making small adjustments. Watch how the flame responds. Once it turns steady blue, you’ve found the right balance.
It’s a subtle process, but with a bit of observation, you’ll get it right.
fix 4: tightening loose burner parts
Sometimes the issue isn’t dirt or blockage—it’s alignment.
If a burner cap isn’t sitting properly, gas may not flow evenly, leading to irregular flames or difficulty igniting.
Remove the cap and reposition it carefully. Make sure it sits flat and stable. If your stove has removable burner rings, ensure they’re aligned with the base.
Loose or misaligned parts can also produce unusual sounds, like popping or whistling. Correcting the placement often resolves these noises instantly.
It’s a quick check that’s easy to overlook but surprisingly effective.
fix 5: dealing with low gas flow
If all burners seem weaker than usual, the issue might not be with the stove itself but with the gas supply.
Check the gas regulator. If it’s adjustable, ensure it’s set correctly. Sometimes, simply resetting it can restore normal flow.
Inspect the hose connecting the stove to the gas source. Look for bends, kinks, or damage that could restrict gas movement.
Another possibility is a nearly empty gas cylinder. It sounds obvious, but it’s worth confirming before diving into deeper troubleshooting.
If the problem persists even after these checks, it may indicate a blockage in the internal pipeline, which should be handled by a professional.
fix 6: cleaning grease buildup under the stovetop
Grease doesn’t just stay on the surface. It often seeps beneath the stovetop, especially if spills are frequent.
Over time, this buildup can affect burner performance and even produce unpleasant smells when the stove is in use.
If your stove design allows, lift the top panel carefully. Use a cloth and mild cleaner to wipe away accumulated grease and debris.
Avoid using excessive water or harsh chemicals. Keep everything dry before reassembling.
This kind of deep cleaning doesn’t need to be done often, but when it is, the improvement is noticeable.
fix 7: replacing worn-out knobs or controls
Knobs might seem like a minor component, but they play a crucial role in controlling gas flow.
If a knob feels loose, spins freely, or doesn’t regulate flame properly, it may be worn out. In many cases, you can simply pull it off and replace it with a compatible one.
Before buying a replacement, note the model and size. Installing a new knob is usually as simple as pushing it into place.
If the issue lies deeper, within the valve mechanism, that’s more complex and best left to professionals. But for surface-level wear, this is an easy and inexpensive fix.
building confidence through small repairs
One of the biggest barriers to home repairs isn’t skill—it’s hesitation. Many people assume they’ll make things worse, so they don’t try at all.
But as you’ve seen, several gas stove issues are manageable with basic tools and a careful approach. Each small success builds confidence, making the next repair feel less intimidating.
It’s not about becoming an expert overnight. It’s about understanding your appliance well enough to handle everyday problems.

tools that make the job easier
You don’t need a fully equipped toolbox to maintain your gas stove. A few simple items can go a long way:
a soft brush or old toothbrush
a thin needle or pin
a microfiber cloth
mild dish soap
a screwdriver (for models that require it)
Keeping these handy means you’re always ready to address minor issues before they escalate.
when to stop and call a professional
While DIY fixes are useful, it’s important to recognize their limits.
If you notice a persistent gas smell, hear hissing sounds, or suspect a leak, don’t attempt to fix it yourself. Turn off the gas supply immediately and ventilate the area.
Similarly, internal valve problems, damaged pipelines, or ignition system failures beyond basic cleaning should be handled by trained technicians.
Knowing when not to proceed is just as important as knowing what to fix.
preventive care: the habit that saves you trouble
Most stove issues don’t appear overnight. They build up gradually due to neglect or repeated spills.
A simple routine can prevent many problems:
wipe the stove after each use
clean burners weekly
check for blockages regularly
avoid letting liquids overflow into burner areas
These small habits reduce the chances of sudden breakdowns and keep your stove functioning efficiently.
a quick real-life reflection
There’s something oddly satisfying about fixing a household problem yourself. The first time you clear a clogged burner and see that steady blue flame return, it feels like solving a small puzzle.
It’s not just about saving money—it’s about understanding how things around you work. And once you start noticing patterns, you realize most problems aren’t as complicated as they seem at first.
frequently asked questions
- why is my gas stove flame yellow instead of blue?
A yellow flame usually indicates incomplete combustion, often caused by clogged burner ports or improper air-gas mixture. Cleaning the burner and adjusting the air shutter typically resolves the issue. - what should i do if my burner clicks but doesn’t light?
Check for moisture, clean the ignition electrode, and ensure the burner cap is properly aligned. If the issue continues, inspect the battery or ignition system. - is it safe to clean gas stove burners with water?
Yes, but make sure all parts are completely dry before reassembling and using the stove. Moisture can interfere with ignition. - how often should i clean my gas stove burners?
A light cleaning once a week is usually sufficient for regular use. Deep cleaning can be done monthly or as needed. - can i fix a gas leak myself?
No. Gas leaks are dangerous and should always be handled by professionals. Turn off the gas supply and seek immediate assistance. - why does my burner make a popping sound?
This often happens due to misaligned burner parts or uneven gas flow. Repositioning the burner cap and cleaning the ports usually fixes it.
closing thoughts
A gas stove is a reliable companion in your daily life, and like any tool, it needs occasional care. The fixes covered here aren’t complicated, but they can save you time, money, and unnecessary stress.
The key is to approach each problem calmly, observe carefully, and take small, safe steps. Over time, these simple repairs become second nature, turning what once felt like a problem into just another manageable task.