
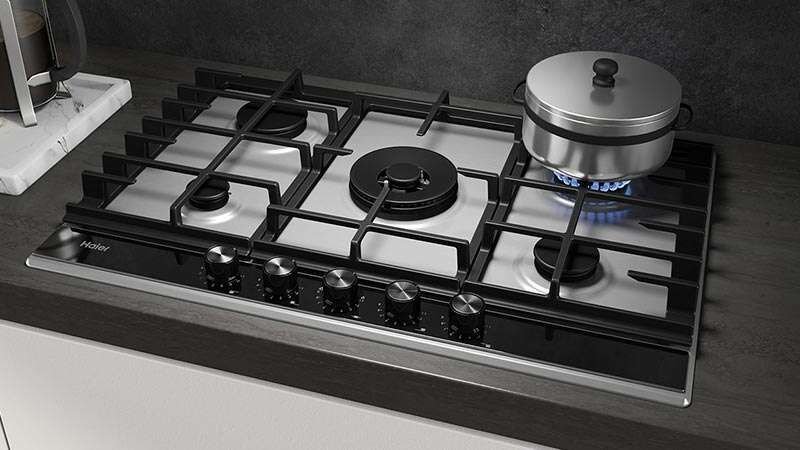
When I moved into my new apartment three years ago, I was so excited about the gas stove. Coming from an electric cooktop, I thought gas would just be… better. Plug it in, turn the knob, done. What actually happened? My first week involved a burner that wouldn’t light, a flame so uneven it burnt one side of my eggs, and a clicking igniter that kept going off randomly even when nothing was on.
I called a technician. He charged me a decent amount, spent maybe 20 minutes, and fixed things I later realized I could have handled myself with some basic setup knowledge. That experience pushed me to actually learn how gas stoves work — not just how to cook on them, but how to set them up properly from day one.
These 10 tricks are what I wish someone had told me before I even turned the stove on for the first time.
1. Level Your Stove Before Anything Else — It Matters More Than You Think
Most people unbox a stove, slide it into place, and call it done. I did the same thing. Two weeks later I noticed my curries were pooling to one side of the pan. Turns out the stove wasn’t level — not even close.
Use a simple bubble level (the cheap ones from any hardware store work fine). Place it on the grate in multiple directions. Most stoves have adjustable legs underneath — you just twist them up or down. Takes five minutes and makes a massive difference in how evenly heat distributes across your cookware.
Quick Tip: If you don’t have a level, pour a small amount of water into a flat pan and place it on the burner. If the water pools to one side, your stove needs adjusting.
2. Check the Gas Line Connection — Don’t Skip This Step
This sounds obvious, but a lot of people install a new stove and assume “the gas company handles it.” They don’t always. When I moved into a rental, the previous stove had been connected with an old flexible gas hose that was slightly kinked. Nobody flagged it. The flame on one burner was always weak — and I spent weeks thinking the burner itself was faulty.
Always inspect the flexible gas connector behind the stove:
- Look for kinks, cracks, or rust
- Make sure the connection at both ends is hand-tight plus a quarter turn with a wrench
- Apply soapy water around the fittings and watch for bubbles — that’s your DIY leak test
If you see bubbles, don’t use the stove. That’s a call-the-gas-company situation immediately.
For more on staying safe while doing basic checks, this guide on 6 Essential Gas Stove Repair Basics Safety Ideas That Prevent Accidents covers it really well.
3. Clean the Burner Caps and Ports Before First Use
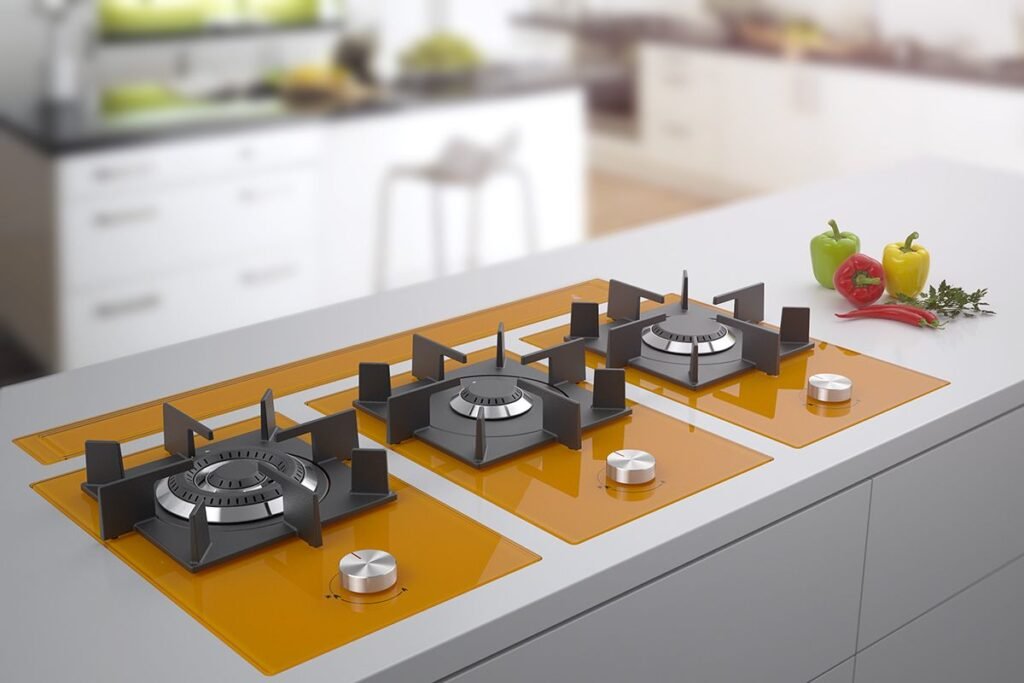
New stoves sometimes come with protective coatings, dust, or even small debris from shipping. I once bought a budget stove and noticed one burner was putting out a broken, uneven flame from day one. I assumed it was defective. Nope — there was a tiny piece of packing foam blocking one of the burner ports.
Before you cook anything, remove the burner caps and grates. Look at the small holes around the burner head — those are the ports where gas comes out. Use a toothpick or a thin needle to clear any debris. Don’t use water on its own here — the ports need to be completely dry before you reassemble.
Burner Port Cleaning Checklist:
| Step | Tool Needed | Time Required |
|---|---|---|
| Remove grates and caps | Hands | 1 min |
| Inspect ports visually | Flashlight | 2 min |
| Clear blockages | Toothpick/needle | 3-5 min |
| Dry completely | Paper towel + air dry | 10 min |
| Reassemble and test | Hands | 2 min |
4. Understand Your Igniter Type — Spark vs. Glow vs. Manual
Not all gas stoves ignite the same way, and setting them up correctly depends on knowing what you’ve got.
- Spark igniter (most common): The clicking sound you hear when you turn the knob. These require the burner cap to be seated properly or they won’t light.
- Glow igniter: Found in some older or commercial models. Uses heat to ignite — slower but reliable.
- Manual/pilot light: Older stoves. You light it with a match or lighter.
Here’s what most people mess up with spark igniters — they don’t seat the burner cap correctly after cleaning. If the cap is slightly off-center, the spark won’t reach the gas properly, and you’ll be clicking forever. Always press the cap gently until it sits flat and centered.
If your igniter keeps clicking on its own, that’s usually moisture. Run the burner briefly to dry it out, or use a fan. I covered this in more detail in 8 Smart Gas Stove Repair Basics Solutions for Clicking Igniters — very useful read if you’re dealing with that specific annoyance.
5. Set Up a Proper Ventilation System From Day One
This one bit me hard. My kitchen in my old apartment had a ventilation hood but I never used it — felt unnecessary. After six months, my cabinets above the stove had a greasy film on them, my smoke alarm was going off constantly, and I was getting mild headaches after long cooking sessions.
Gas stoves release carbon monoxide and nitrogen dioxide even when burning cleanly. Proper ventilation isn’t optional — it’s a health thing.
What good ventilation looks like:
- Range hood directly above the stove that vents outside (recirculating hoods filter but don’t remove gases)
- At minimum, a window cracked open while cooking
- Carbon monoxide detector within 10 feet of the stove
If you’re setting up a new kitchen, invest in a ducted hood over a recirculating one if you can. It’s the one thing I’d tell past-me to spend money on without overthinking it.
6. Match Cookware to Burner Size — There’s Actually a Right Way to Do This
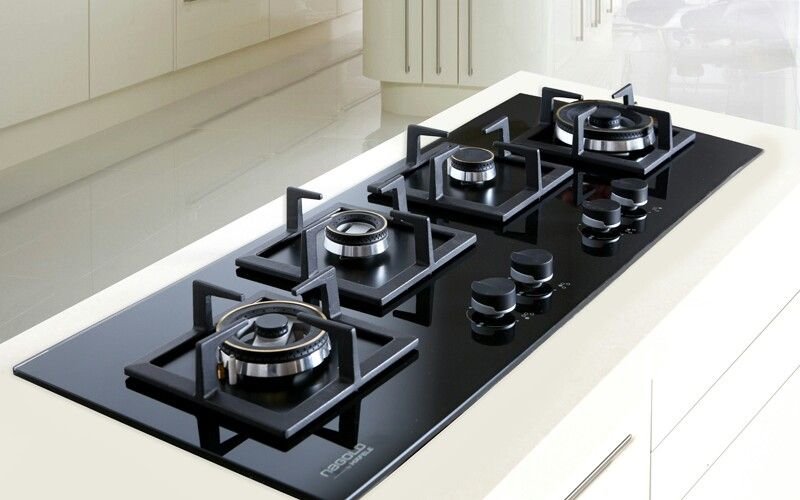
I used to put whatever pot I grabbed onto whatever burner was free. Seemed fine. Then I started noticing my non-stick pan warping and my food cooking unevenly on one side. The issue? Using a small pan on a large burner, which means the flame licks up the sides instead of heating the bottom evenly.
General cookware-to-burner matching guide:
| Cookware Size | Ideal Burner | Flame Setting |
|---|---|---|
| Small saucepan (1-2 qt) | Small burner | Low to medium |
| Medium frying pan (10″) | Medium burner | Medium |
| Large wok or stockpot | Large burner | High if needed |
| Griddle/flat pan | Two burners or large | Medium-low |
The flame should never extend beyond the base of your pot. If it does, either switch to a smaller burner or reduce the flame. This also saves gas — which adds up over time.
7. Learn the Simmer Position on Your Specific Stove
Every stove has a different “sweet spot” for low heat. On my current stove, the small front burner at its lowest setting is perfect for simmering. On my old stove, the lowest setting on any burner was still too hot — my sauces would scorch.
Spend the first week doing a few tests:
- Boil water, then turn to lowest setting — time how long until it stops simmering
- Try melting chocolate without a double boiler (a real low-heat test)
- Make a simple bechamel — it’ll tell you instantly if your low flame is too aggressive
If your lowest setting is still too hot for delicate tasks, you can buy an inexpensive heat diffuser disc (around $8–12 online). Place it between the burner and your pot. Game changer for rice, sauces, and melting things slowly.
8. Don’t Ignore the Anti-Tip Bracket — Install It Correctly
New freestanding ranges come with a small metal bracket that attaches to the floor or wall behind the stove. Its only job is to stop the stove from tipping forward if someone puts weight on the open door (this happens — kids, leaning while reaching for something on a high shelf).
I didn’t install mine for almost a year. Then my nephew sat on the open oven door while I was cooking. The stove lurched forward. Nothing spilled, nobody got hurt, but it scared me enough to get that bracket installed that same evening.
To install properly:
- Pull the stove out from its position
- Locate the rear leg — the bracket slides over or hooks under it
- Screw the bracket to the floor (usually two screws)
- Push the stove back and verify the leg is seated in the bracket
Test it afterward by gently pushing down on the open oven door. No movement means you’re good.
9. Break In Your Stove the Right Way Before Serious Cooking
New stoves — especially ones with enamel coatings or new seals — often have manufacturing residues that need to burn off. Skipping this step means your first few meals might taste slightly off, or you’ll notice a strange smell during cooking.
The break-in process:
- Remove all packaging materials, stickers, and protective films
- Wash grates and burner caps with warm soapy water, dry thoroughly
- Turn on all burners to high for 2–3 minutes (open windows/turn on ventilation)
- Turn on the oven to 400°F (205°C) for 30–45 minutes with nothing inside
- Let everything cool, then do one more wipe-down
That smell during the burn-off is normal — it’s the manufacturing oils and protective coatings. But if you skip this and cook food right away, you’ll notice it in your food. Not harmful, just unpleasant.
10. Set a Maintenance Schedule From the Start — Seriously, Write It Down
The biggest setup mistake isn’t technical — it’s not planning ahead. I learned this after my stove started acting up at the 18-month mark. Weak flames, inconsistent ignition, a burner that needed three attempts to light. All of it could have been avoided with basic periodic cleaning.
Here’s the simple schedule I now follow:
Gas Stove Maintenance Schedule:
| Frequency | Task |
|---|---|
| After every cook | Wipe grates and stovetop surface |
| Weekly | Remove and clean burner caps |
| Monthly | Deep clean burner ports with toothpick/needle |
| Every 3 months | Check gas line connection and soapy water test |
| Every 6 months | Inspect igniter electrodes for wear or buildup |
| Yearly | Professional service check (especially for gas pressure) |
Following this has kept my current stove running without a single technician call for over two years. The 4 Smart Gas Stove Repair Basics Maintenance Lessons I Learned Late article resonated with me a lot — most of us learn maintenance the hard way. You don’t have to.
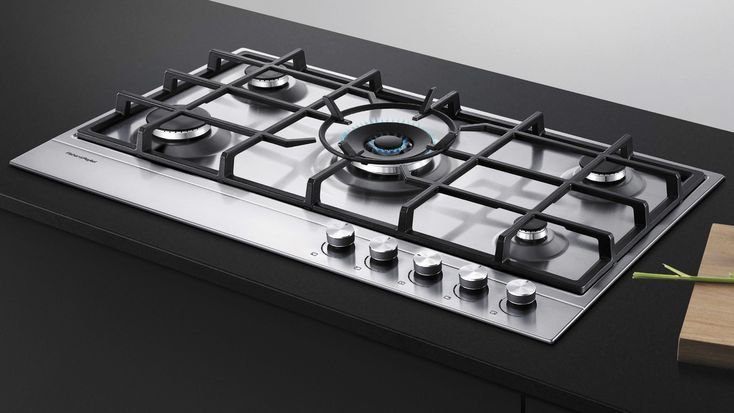
Common Mistakes People Make During Stove Setup
These aren’t dramatic errors — they’re small things that snowball:
- Using the stove immediately after installation without checking connections
- Forgetting to remove all protective films — one of mine was hidden inside the oven drawer
- Not testing all burners before the technician or delivery crew leaves
- Buying mismatched grates as replacements — always check compatibility by model number
- Ignoring the smell of gas even briefly — always investigate, never assume it’ll pass on its own
How Flame Color Can Tell You a Lot
One of the most underrated setup checks is just looking at the flame:
| Flame Color | What It Means | Action Needed |
|---|---|---|
| Blue with small yellow tips | Normal, healthy combustion | None |
| All yellow or orange | Incomplete combustion, possible debris | Clean burner ports |
| Red flame | Dust or foreign particles burning | Clean + check gas supply |
| Weak/small blue flame | Blocked port or low gas pressure | Clean ports, check supply |
| Lifting/floating flame | Too much air mixture | Adjust air shutter |
The air shutter is a small sliding disc near the base of the burner tube — adjusting it changes the air-to-gas ratio. Most people never touch it, but it’s there if your flame looks off after cleaning everything else.
Final Thoughts
Setting up a gas stove properly isn’t complicated, but it does require more than just sliding it into your kitchen and turning a knob. Most of the problems people deal with — uneven flames, clicking igniters, weak heat, strange smells — trace back to something that could have been addressed at the very beginning.
The 20 minutes you invest upfront checking levels, connections, and doing a proper burn-in will save you hours of frustration later. And building a simple maintenance habit from day one means you’ll still be using that same stove confidently five or six years down the line.
Treat the setup phase seriously, and the stove basically takes care of itself.
Also Worth Reading:
9 Easy Gas Stove Repair Basics Troubleshooting Steps Anyone Can Try — If you run into issues even after a proper setup, this walks you through the most common problems in a simple, step-by-step way.
Frequently Asked Questions (FAQs)
Q1: How long should I wait before cooking on a brand new gas stove? After completing the burn-in process (running burners and oven empty for the first time), wait for everything to cool down completely — usually about an hour. Then do a final wipe-down before your first meal. Total wait time is roughly 2–3 hours from unboxing to cooking.
Q2: Is it normal for a new gas stove to smell when first used? Yes, completely normal. New stoves have manufacturing oils and protective coatings that burn off during initial use. The smell should disappear after the break-in session. If you smell something sulfur-like (like rotten eggs) at any point, that’s a potential gas leak — turn off the gas supply and ventilate immediately.
Q3: My burner igniter keeps clicking even when the stove is off — what’s happening? This is almost always moisture. Food spills, steam from boiling pots, or even high humidity can cause the igniter electrode to stay damp and short-circuit. Remove the burner cap, dry the area with a cloth, and run the burner briefly to evaporate any remaining moisture. If the clicking continues, the igniter switch itself may need replacing.
Q4: Can I install a freestanding gas range myself, or do I need a professional? Connecting to an existing gas line using a properly rated flexible connector is something many homeowners do themselves — but it depends on local regulations. In some areas, gas appliance connections legally require a licensed professional. Always check your local codes. The actual leveling, burn-in, and setup steps are absolutely DIY-friendly.
Q5: How do I know if my gas pressure is too low? Signs of low gas pressure include weak flames even at full burner setting, difficulty getting burners to stay lit, or flames that extinguish when you release the ignition knob too quickly. This isn’t a DIY fix — contact your gas supplier or a licensed technician to measure and adjust the supply pressure.

