

10 Simple Gas Stove Repair Basics Fixes That Made My Stove New Again
There’s a particular kind of frustration that comes from turning the knob on your gas stove and not getting the steady blue flame you expect. It’s not just an inconvenience—it disrupts routines, delays meals, and quietly reminds you how dependent daily life is on small appliances working exactly as they should. I didn’t always know how to deal with those issues. In fact, for a long time, I ignored them, hoping they would magically resolve themselves. They never did.
Over time, through trial, error, and a few near-disasters, I picked up practical, hands-on knowledge that transformed my stove from a stubborn, unreliable tool into something that felt almost new again. These weren’t complicated repairs requiring professional tools or expensive parts. Most of them were surprisingly simple fixes—things anyone can do with a bit of patience and attention.
What follows is not just a list of repairs, but a collection of real-life lessons, small observations, and practical steps that made a significant difference.
understanding how your gas stove actually works
Before diving into fixes, I realized something important: I had been using my stove for years without truly understanding it. Once I learned the basics, everything else became easier.
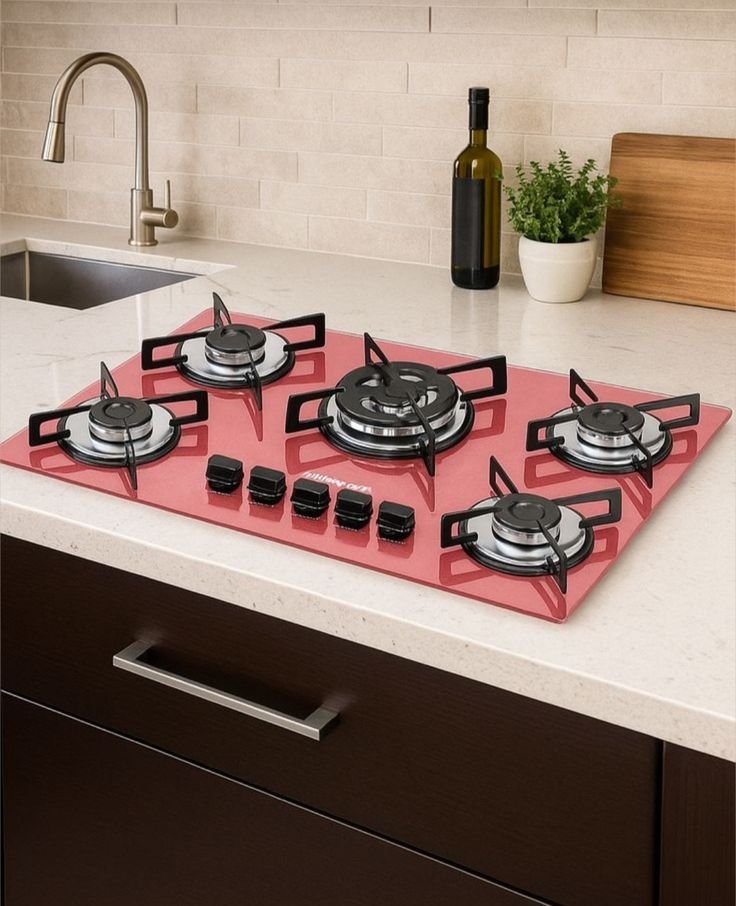
A gas stove works by mixing gas with air and igniting it at the burner. The components involved—burner heads, caps, igniters, valves, and gas lines—each play a role. If even one of these is slightly off, the flame changes, or worse, disappears entirely.
That realization shifted my approach. Instead of reacting blindly, I started observing.
fix 1: cleaning clogged burner ports
This was the first and most impactful fix I learned.
One day, I noticed uneven flames—some parts of the burner had strong flames, while others barely lit. It turned out the tiny holes (burner ports) were clogged with grease and food debris.
What I did:
- Removed the burner cap and head
- Used a thin needle to gently clear each hole
- Washed everything with warm soapy water
- Dried thoroughly before placing back
The result was immediate. The flame became even and steady again. It felt like the stove could finally breathe.
A small note from experience: never use something too thick or sharp that could damage the ports. Gentle cleaning works best.
fix 2: realigning the burner cap
This sounds almost too simple, but it’s surprisingly common.
Sometimes the burner cap shifts slightly out of place after cleaning or cooking. When that happens, the gas doesn’t distribute evenly, leading to irregular flames or ignition issues.
I remember struggling with a burner that refused to light properly. After checking everything else, I simply adjusted the cap so it sat perfectly centered. Instantly, the problem disappeared.
It’s one of those fixes that takes seconds but saves hours of frustration.
fix 3: drying a wet igniter
Moisture is an invisible troublemaker.
After a deep clean, I once found that my stove kept clicking but wouldn’t ignite. The issue wasn’t electrical—it was moisture trapped around the igniter.
What worked:
- Letting the stove air dry for several hours
- Using a dry cloth to absorb visible moisture
- In a hurry, using a fan to speed up drying
Once dry, the igniter worked perfectly again.
This taught me that water and gas stove components don’t mix well, especially when it comes to ignition systems.
fix 4: tightening loose connections
Over time, parts loosen. It’s natural.
I noticed a faint gas smell once, which immediately concerned me. After turning everything off and ensuring safety, I checked the connections.
Some fittings were slightly loose—not dangerously so, but enough to cause inefficiency.
With careful tightening (and no overdoing it), the issue was resolved.
Safety note from experience: if you ever smell strong gas or feel unsure, it’s always better to stop and call a professional.
fix 5: replacing a worn-out igniter
There comes a point when cleaning isn’t enough.
One burner on my stove stopped clicking altogether. After ruling out dirt and moisture, I realized the igniter itself had worn out.
Replacing it wasn’t as complicated as I expected:
- Disconnecting power (for safety)
- Removing the faulty igniter
- Installing a compatible replacement
The new igniter brought the burner back to life instantly.
It felt like giving the stove a fresh start.
fix 6: unclogging the gas line (minor blockages)
This was one of the more delicate fixes.
A burner had a very weak flame despite being clean. The issue turned out to be a minor blockage in the gas flow.
What helped:
- Cleaning accessible parts of the gas pathway
- Ensuring no debris was trapped near the inlet
I avoided going too deep into internal components, but even basic cleaning improved gas flow significantly.
fix 7: leveling the stove properly
This one surprised me.
I noticed uneven cooking—one side of the pan would heat more than the other. It wasn’t the flame—it was the stove itself.
Using a simple leveling check, I adjusted the legs slightly.
The difference was subtle but important. Flames sat more evenly under cookware, improving cooking results.
Sometimes, the issue isn’t inside the stove—it’s how the stove sits.
fix 8: cleaning grease buildup under burners
Grease accumulates slowly, almost invisibly.
Over months, I had ignored the area beneath the burners. When I finally cleaned it, I was shocked at the buildup.
That grease was affecting airflow and heat distribution.
After a thorough cleaning:
- The flame became sharper
- Ignition improved
- The stove looked and felt renewed
This fix didn’t just improve function—it changed how I maintained the stove going forward.
fix 9: checking the control knobs
Control knobs don’t usually get attention until they stop working.
One knob on my stove became stiff and inconsistent. Sometimes it would turn too easily, other times it resisted.
Removing and cleaning the knob area solved the problem:
- Dirt and grease had built up inside
- Cleaning restored smooth operation
It also improved flame control, which I hadn’t realized was affected.
fix 10: replacing damaged burner parts
Eventually, parts wear out. No amount of cleaning can fix physical damage.
One of my burner heads had slight warping, likely from years of heat exposure. The flame pattern was never quite right.
Replacing the burner head:
- Restored proper flame distribution
- Improved efficiency
- Made the stove feel almost new
It was one of the more satisfying fixes because the improvement was so visible.
what I learned through all this
Fixing a gas stove isn’t just about tools or parts—it’s about attention. Most problems start small: a bit of dirt, a slight misalignment, a drop of moisture.
Ignoring those small issues allows them to grow.
What changed for me wasn’t just my stove—it was my mindset. I stopped seeing repairs as a burden and started seeing them as part of ownership.
A stove, like anything used daily, needs care.
small habits that made a big difference
Beyond the fixes themselves, a few habits kept my stove in good condition:
- Wiping spills immediately
- Doing a light clean weekly
- Checking burners regularly
- Avoiding excessive water near ignition components
These habits reduced the need for major fixes.
It’s easier to maintain than to repair.
a quiet satisfaction
There’s something deeply satisfying about fixing something with your own hands. It’s not just about saving money—it’s about understanding, control, and confidence.
Each time I fixed a problem, I felt a little more capable.
And over time, those small fixes added up to something bigger: a stove that worked reliably, efficiently, and safely.
frequently asked questions
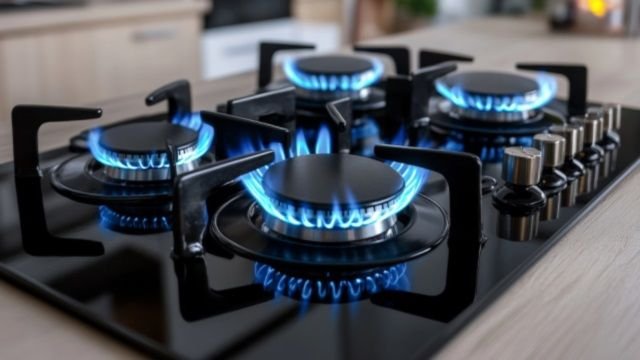
- why is my gas stove flame orange instead of blue?
An orange or yellow flame usually indicates incomplete combustion, often caused by dirty burners or blocked ports. Cleaning the burner thoroughly usually restores the blue flame. - what should I do if my stove keeps clicking but won’t light?
This is often due to moisture or dirt around the igniter. Dry the area completely and clean any debris. If the issue persists, the igniter may need replacement. - is it safe to clean gas stove parts with water?
Yes, but they must be completely dry before reassembly. Moisture can interfere with ignition and cause temporary malfunctions. - how often should I clean my gas stove burners?
A light cleaning once a week and a deeper cleaning once a month works well for most households, depending on usage. - when should I call a professional instead of fixing it myself?
If you smell strong gas, suspect a leak, or feel unsure about any repair involving internal gas lines, it’s best to call a professional immediately. - can old burner parts affect cooking performance?
Yes, worn or damaged burner parts can lead to uneven flames, inefficient heating, and longer cooking times. Replacing them can significantly improve performance.
In the end, what seemed like a worn-out appliance turned out to be something that just needed attention. With a handful of simple fixes and a bit of patience, my stove didn’t just work again—it worked better than it had in years.