
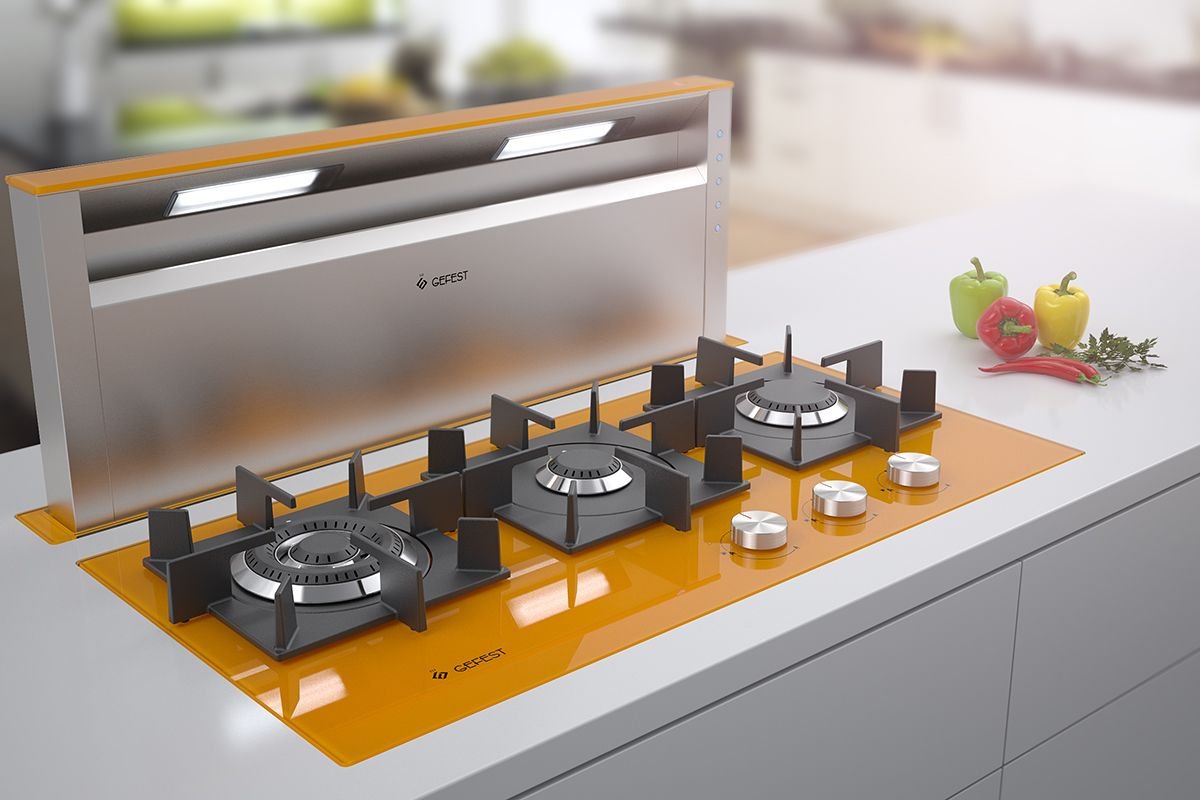
Last Tuesday, I was halfway through making karahi for guests arriving in an hour when one of my burners just… stopped. No click, no flame, nothing. The other three were fine. I panicked for about 30 seconds, then rolled up my sleeves and figured it out myself — without calling a technician.
That moment reminded me how many people immediately reach for their phone to call a repairman for problems they could honestly fix in 10 minutes flat. So I put together everything I’ve learned over the years — from that Tuesday disaster to years of trial and error — into these 11 proven gas stove repair ideas that actually work.
Fair warning: I’ve made almost every mistake listed here before learning the right way. So you’re getting hard-earned knowledge, not textbook advice.
1. Clean the Burner Cap First — Seriously, Start Here
I cannot tell you how many times the “mysterious” burner problem turned out to be a clogged burner cap. Food particles, grease, and water from boiling pots all sneak into the tiny flame holes and block gas flow.
What to do:
- Remove the burner cap (it just lifts off on most stoves)
- Soak it in warm soapy water for 15–20 minutes
- Use an old toothbrush to scrub the holes
- Take a thin pin or needle and poke through each hole individually
- Dry it completely before putting it back
That last part matters more than people think. A wet burner cap causes weak, uneven, or sputtering flames even after you’ve cleaned everything perfectly.
2. Check the Igniter for Moisture or Food Debris
The igniter is that small white ceramic tip you see near each burner. When it gets wet or greasy, it either clicks constantly without lighting or doesn’t click at all.
Quick fix:
- Turn off everything and let the stove cool
- Wipe the igniter gently with a dry cloth
- Use a cotton swab dipped in a tiny bit of rubbing alcohol to clean around the base
- Let it air dry for 10–15 minutes
I once spilled a full pot of milk over the stove and wondered for three days why the igniter kept clicking on its own. Drying it out completely was the only fix. No parts replaced, no technician needed.
👉 For a deeper look at ignition issues, check out these 7 Powerful Gas Stove Repair Basics Ideas to Fix Ignition Problems — they go into more detail on exactly this.
3. Reposition the Burner Cap If the Flame Is Uneven
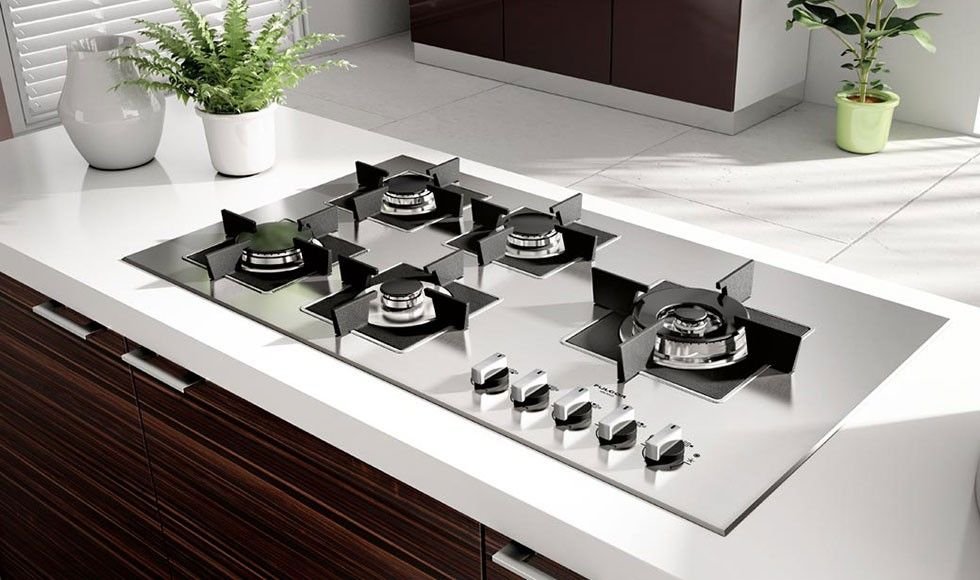
This one sounds too simple to be true, but it works more often than you’d expect. If your flame is shooting out more on one side than the other, the burner cap is probably sitting slightly off-center.
Pick it up, look at the base underneath, and set it back down carefully so it sits flat and aligned. Give it a little wiggle to make sure it’s seated properly. Then light it and watch the flame — it should be even all the way around.
Common Flame Problems and Their Likely Causes:
| Flame Symptom | Most Likely Cause |
|---|---|
| Flame only on one side | Misaligned burner cap |
| Weak, low flame | Clogged burner holes |
| Yellow or orange flame | Incomplete gas combustion |
| Flame keeps going out | Thermocouple issue |
| Clicking but no flame | Wet or dirty igniter |
| No clicking at all | Faulty igniter or wiring |
4. Adjust the Air Shutter for Yellow Flames
A healthy gas flame should be blue. If yours is yellow or orange, it means the gas isn’t burning completely — too much gas, not enough air mixing in.
Most burners have a small adjustable air shutter near where the gas tube meets the burner. You might need to remove the stovetop panel to access it (usually just a few screws or it lifts up).
Slightly open the shutter to allow more air in, then light the burner and check the color. Adjust gradually until the flame turns blue. It takes a bit of back-and-forth but makes a huge difference in efficiency.
Gas Flame Color Guide:
| Flame Color | What It Means | Action Needed |
|---|---|---|
| Blue | Proper combustion | None — all good |
| Blue with small yellow tips | Slightly rich mixture | Minor air adjustment |
| Mostly yellow/orange | Poor combustion | Adjust air shutter |
| Red | Possible contaminants | Clean burner thoroughly |
5. Inspect the Burner Head for Cracks or Damage
Sometimes the burner head itself gets physically damaged — small cracks, warping from excessive heat, or corrosion. You won’t always see this at first glance; sometimes you need to remove it and look underneath with a flashlight.
A cracked burner head causes very unpredictable flame behavior — flames shooting sideways, going out randomly, or only lighting from one spot. If you find cracks, replacement is the only real fix. The good news? Burner heads are cheap and widely available — most cost between 200–500 PKR depending on your stove model.
6. Check the Gas Supply and Valve Position
This feels obvious, but I’ve been caught by it twice. Sometimes the individual burner valve gets partially turned — not fully open, not fully closed. This causes low pressure that mimics a clogged burner perfectly.
Turn the knob fully off, then turn it back to full open and try again. Also make sure your main gas cylinder or line valve is fully open.
👉 If you’re unsure about safe valve handling, read through these 6 Essential Gas Stove Repair Basics Safety Ideas That Prevent Accidents before you start poking around near gas connections.
Burner Troubleshooting — Time vs Difficulty:
| Repair Task | Estimated Time | Skill Level |
|---|---|---|
| Cleaning burner cap | 15–20 minutes | Beginner |
| Drying/cleaning igniter | 10 minutes | Beginner |
| Realigning burner cap | 2 minutes | Beginner |
| Adjusting air shutter | 20–30 minutes | Intermediate |
| Replacing burner head | 30–45 minutes | Intermediate |
| Checking thermocouple | 20 minutes | Intermediate |
| Replacing igniter | 45–60 minutes | Advanced |
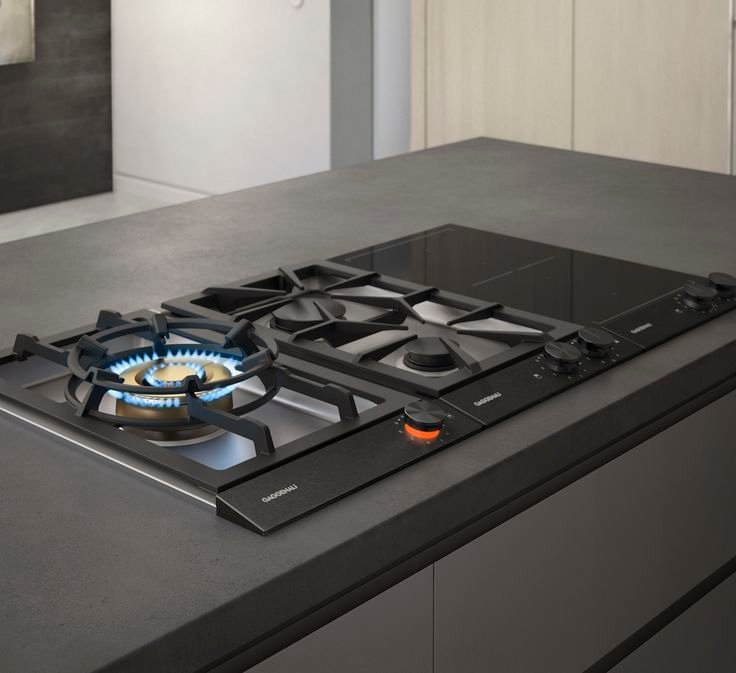
7. Test the Thermocouple If the Flame Keeps Going Out
If your flame lights but shuts off after a few seconds (especially on burners with a safety valve), the thermocouple is probably the issue. The thermocouple is a small metal probe that detects heat and tells the stove “yes, there’s a flame, keep the gas flowing.”
When it gets dirty or goes bad, it reads no heat and cuts the gas — even when the flame is right there.
Steps to check it:
- Locate the thermocouple (it’s the thin copper tube near the burner with a probe tip in the flame path)
- Clean the tip with fine steel wool or sandpaper — gently
- Make sure it’s positioned directly in the flame path, not off to the side
- If cleaning doesn’t help, the thermocouple needs replacement
Thermocouples are inexpensive (usually under 500 PKR) and can be swapped out with a wrench and basic patience.
8. Listen for What the Stove Is Telling You
Sounds weird, but seriously — your stove makes different noises depending on what’s wrong.
- Constant clicking with no flame → Wet igniter or misaligned cap
- Clicking stops but flame won’t stay → Thermocouple issue
- Hissing sound → Possible gas leak — stop everything and ventilate
- Popping sounds → Food debris burning off the burner
- Whistling → Air-to-gas ratio is off (check air shutter)
If you ever hear a hissing sound and smell gas without a flame present, open windows immediately, don’t flip any switches, and call your gas utility company. That’s not a DIY situation.
9. Clean the Igniter Electrode Wire Connections
If the igniter clicks but produces a very weak or invisible spark, the electrode wire connection underneath the stovetop might be loose or corroded. This is a slightly more advanced fix but still manageable.
What to do:
- Unplug the stove from power (always do this before any wiring check)
- Lift the stovetop (most hinges up or has clips underneath)
- Find the thin wire running from the igniter module to each burner’s electrode
- Check that each connection is snug and free from corrosion
- If you see white or green buildup on connectors, clean with a small wire brush or replace the connector
This fixed a “dead” back-left burner on my stove that I’d assumed needed a new igniter — turned out the wire had simply worked itself loose over time.
👉 For maintenance habits that prevent this kind of creeping problem, these 9 Easy Gas Stove Repair Basics Maintenance Tips are genuinely worth reading before something goes wrong.
10. Replace the Igniter Switch If Everything Else Checks Out
Each burner knob on your stove has a small switch behind it that triggers the spark when you push in and turn. These wear out over time, especially if they get grease inside them.
Signs of a failing igniter switch:
- One specific burner never clicks, even when others do
- You have to push the knob in extra hard to get a spark
- The burner used to click fine but gradually got harder to ignite
Replacing an igniter switch means accessing the back or inside of the control panel — this is where I’d say take photos before disconnecting anything, so you know what plugs back where. If you’re not confident with this step, this is a reasonable time to call a technician.
11. Know When to Call a Professional
Look, I love fixing things myself. But gas appliances have a hard line — if you smell gas consistently, if a repair involves the main gas line, or if you’ve gone through all of these steps and the burner still isn’t working, call a certified technician.
Signs you should call a pro:
- Persistent gas smell even with burners off
- Visible damage to gas tubing or connections
- Stove sparks randomly on its own and won’t stop
- Any repair that requires touching the main gas supply line
A good rule: if the fix goes past the burner and into the gas supply system, that’s not DIY territory. Everything at the burner level and above? Fair game with patience and the steps above.
Common Mistakes People Make (That I’ve Also Made)
- Putting a wet burner cap back — causes immediate problems and you’ll wonder what went wrong
- Using too much water when cleaning — water gets into igniter wiring and causes short circuits
- Ignoring yellow flames — inefficient combustion wastes gas and can coat your cookware with soot
- Forcing a stuck knob — this breaks the igniter switch inside; if it’s stuck, the valve itself may need lubrication or replacement
- Cleaning with harsh chemicals near rubber seals — degrades the seals over time and can cause leaks down the line
Quick Reference — Which Fix to Try First
| Problem | First Thing to Try |
|---|---|
| Burner won’t light | Clean burner cap + igniter |
| Flame is yellow | Adjust air shutter |
| Flame goes out by itself | Check thermocouple |
| Igniter clicks constantly | Dry the igniter area |
| Uneven flame | Realign burner cap |
| No clicking sound at all | Check igniter wire connections |
| Low flame on full heat | Check gas valve position |
A Few Final Thoughts
Most gas stove burner problems aren’t as complicated as they seem from the outside. Honestly, the majority of issues I’ve encountered — and fixed — came down to cleaning and moisture. Keeping burner caps clear, keeping the igniter dry, and checking alignment takes maybe 20 minutes once a month and prevents almost everything on this list.
The more complicated stuff — thermocouple, igniter switches, air shutters — those take a bit more time but are genuinely within reach if you take it one step at a time.
And if you ever feel unsure mid-repair, the smart move is to stop, close the gas, and either research more or call someone. There’s no shame in that. Gas is unforgiving of rushed guesses.
Also worth reading: 9 Fast Gas Stove Repair Basics Solutions for Common Burner Problems — some solid quick-fix approaches covered there that complement everything in this article.
Frequently Asked Questions
Q1: Why does my gas burner keep clicking even when I’m not trying to light it? This almost always means moisture has gotten into the igniter. It could be from a spill, steam from cooking, or even humidity. Dry the area around the igniter thoroughly — a hair dryer on low from a safe distance works well — and let it air out before using that burner again.
Q2: Is it safe to use a burner that has a yellow flame? It’s not dangerous in the short term, but yellow flames mean incomplete combustion, which wastes gas and produces more carbon monoxide than a proper blue flame. Fix the air-to-gas ratio by adjusting the air shutter as soon as you can. Don’t leave it long-term.
Q3: My burner lights but the flame is very small even on full heat. What’s wrong? Check the gas valve for that burner — it might not be fully open. Also check if the burner cap holes are clogged. If both are fine, there could be a pressure issue with your gas supply, which is worth reporting to your gas company.
Q4: How often should I clean my gas stove burners to prevent problems? A light wipe-down after every use and a full burner cap soak-and-clean every 2–4 weeks keeps most problems from ever developing. If you cook heavily or something spills into a burner, clean it immediately rather than waiting.
Q5: Can I replace a thermocouple myself, or do I need a technician? For most standard gas stoves, yes — replacing a thermocouple is a manageable DIY job. It typically just screws into place and connects with a simple nut. Just make sure the gas is fully off before you start, and make sure the new thermocouple is positioned directly in the flame path when you install it.

