
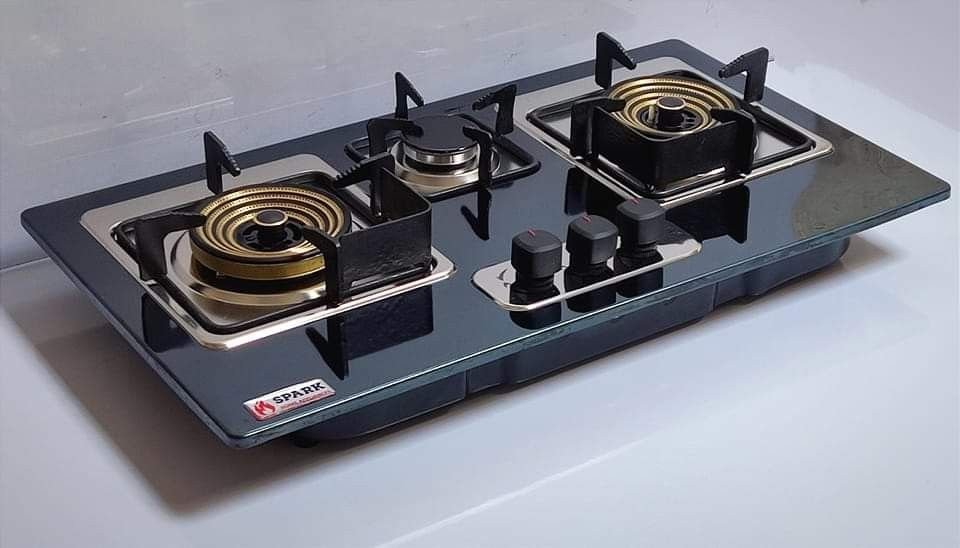
I still remember standing in my kitchen at 7 PM on a Thursday, guests arriving in an hour, and my gas stove just… refusing to cooperate. One burner wouldn’t light, another had a flame so weak it could barely heat water, and the igniter on the third one was clicking like a broken toy. I was this close to ordering pizza and calling it a day.
But I didn’t. I rolled up my sleeves, did some trial and error, and figured out fixes that actually worked — without calling a technician, without spending a fortune, and without blowing up my kitchen (obviously important).
If your gas stove is acting up and you’re wondering whether you can fix it yourself, this article is for you. These are real fixes I’ve tried, in the order I actually discovered them. Some took five minutes. Some took a bit more patience. But all of them worked.
1. Clean the Burner Cap First — Seriously, Start Here
I know, I know. Cleaning sounds boring. But hear me out — this one fix solved three separate issues for me at different times.
When food residue, grease, or water blocks the tiny gas ports on your burner cap, you get weak flames, uneven flames, or no ignition at all. The burner cap is that round disc sitting right on top of the burner base. It looks harmless, but it’s the number one culprit behind most stove problems.
What I did:
- Removed the burner cap and grate
- Soaked the cap in warm soapy water for about 20 minutes
- Used an old toothbrush to scrub the ports (the small holes around the edge)
- For really stubborn clogs, I poked a straightened paperclip gently into each port — carefully, without enlarging them
- Dried everything completely before putting it back (this part matters a lot)
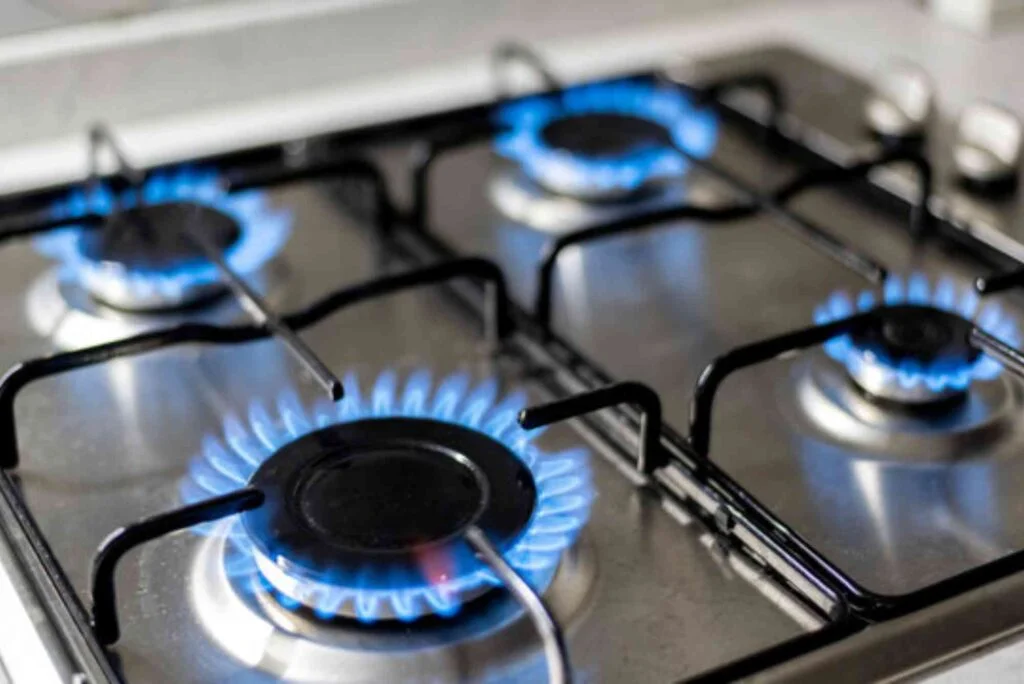
The flame went from a sad, sputtering yellow flicker to a strong, even blue ring. Night and day difference.
Quick tip: Never use a toothpick inside the ports — it can break and make the clog worse. A paperclip or a thin wire brush works better.
2. Dry Out the Igniter After a Boil-Over
This one had me stumped for a whole day. My stove kept clicking non-stop even when I wasn’t trying to light anything. It would click… click… click… every few seconds. Annoying doesn’t even cover it.
Turns out, a boil-over had gotten liquid into the igniter module. Moisture in the igniter causes it to fire continuously or refuse to fire at all.
The fix was embarrassingly simple:
- I removed the burner grate and cap
- Dried the igniter tip with a paper towel (it’s that little white or ceramic nub near the burner)
- Then I used a hairdryer on low heat, held a few inches away, for about 2 minutes
- Let everything air dry for another 30 minutes
- Reassembled and tested
The clicking stopped immediately. If yours doesn’t stop after drying, the igniter module itself might be faulty — but try drying first because it works more often than you’d think.
3. Realign the Burner Cap (It’s Easier to Mess Up Than You Think)
After cleaning my burner once, I put everything back in a rush and the flame came out completely lopsided — all on one side, nothing on the other. I genuinely thought I’d broken something.
Nope. The burner cap was just slightly off-center.
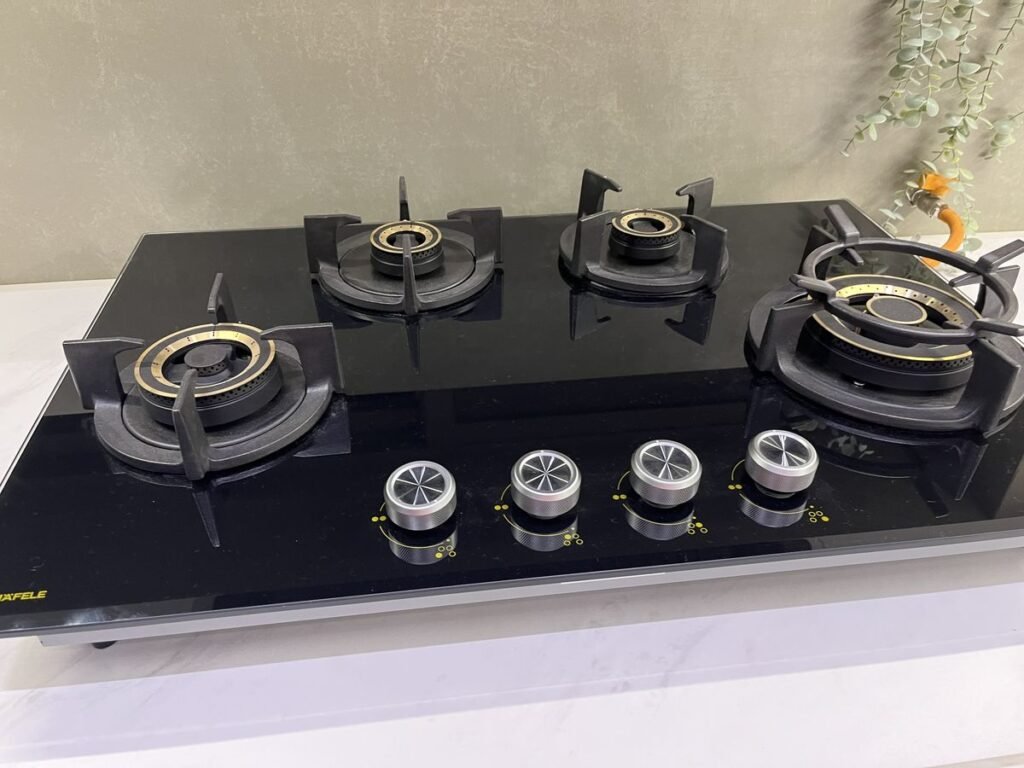
The burner cap has to sit perfectly flat and aligned on the burner base for gas to distribute evenly through all the ports. If it’s even a millimeter tilted, you’ll get an uneven or partial flame.
How to fix it:
- Make sure the stove is completely off and cool
- Lift the cap off entirely
- Set it back down slowly, making sure the notch or groove on the cap aligns with the corresponding spot on the base
- Press it down gently until it sits flush
- Test with a lighter or igniter
That was it. Flame went back to normal in about 45 seconds total.
4. Check the Gas Supply Line (Don’t Skip This One)
One time, a burner completely refused to light. No click, no gas smell, nothing. I checked everything — the cap, the igniter, the ports. All clean. All aligned.
Then I realized the gas valve behind the stove was turned to the wrong position. My kids had been playing nearby and apparently bumped it. The valve was about 90 degrees off — not fully closed, not fully open, just enough to restrict gas flow almost completely.
If you’re facing a burner that won’t light at all or has extremely low pressure, check:
- The individual knob position on the stove (make sure it’s turning properly and clicking into the “light” position)
- The main gas supply valve behind or under the stove
- Whether the other burners work fine (if they do, it’s likely a single-burner issue, not a supply problem)
This is also a good moment to check for gas leaks. Mix a small amount of dish soap with water, apply it to the connections with a cloth, and look for bubbles. Bubbles = leak = call a professional immediately. Don’t mess with gas leaks yourself.
For more information on staying safe while doing these checks, this guide on 6 Essential Gas Stove Repair Basics Safety Ideas That Prevent Accidents is genuinely useful.
5. Replace the Igniter Switch (It’s Not as Scary as It Sounds)
After months of my igniter clicking weakly or not at all, I finally looked up the part and replaced it myself. This was the most “technical” thing I did, and honestly it wasn’t bad at all.
The igniter switch is the component connected to the knob. When you turn the burner knob to “light,” this switch triggers the spark. Over time, especially with heavy cooking, the contacts inside wear out.
What I used:
- A multimeter (under $15 on Amazon, totally worth owning)
- A screwdriver set
- The replacement igniter switch (looked up the stove model number, found the part for about $8)
Process:
- Turned off gas supply and unplugged the stove
- Removed the knob (most just pull straight off)
- Unscrewed the switch panel
- Used the multimeter to test if the switch was getting continuity when pressed — mine wasn’t
- Swapped it with the new part, reconnected the wires (I took a photo before disconnecting so I knew what went where)
- Plugged back in, tested
Worked perfectly. The whole thing took about 25 minutes including me watching a YouTube video twice to feel confident.
6. Fix a Weak Flame by Adjusting the Air Shutter
This one I genuinely didn’t know existed until I dug into it. If your flame is burning yellow or orange instead of blue, or it looks lazy and weak even at high settings, the air-to-gas ratio might be off. There’s a small component called the air shutter (or air mixer) near where the burner tube connects to the main body of the stove.
It’s basically a small adjustable sleeve with openings that control how much air mixes with the gas. Too little air = yellow, sooty flame. Too much air = flame lifts off the burner or goes out.
How I adjusted it:
- Removed the bottom panel of the stove (just a few screws)
- Located the air shutter — it looks like a small rotating sleeve on the burner tube
- Loosened the set screw on it
- Turned on the burner and slowly rotated the shutter while watching the flame
- Stopped when the flame turned a clean, steady blue with small yellow tips at the very top
- Tightened the set screw back
This fix made my stove feel brand new. The heat output improved noticeably too. If you’re dealing with a weak or discolored flame, this is worth looking into. You can find a detailed walkthrough in this article on 8 Essential Gas Stove Repair Basics Steps to Fix Weak Flame.
7. Reset the Safety Valve with a Thermocouple Check
This was the last resort fix I tried, and it’s a bit more involved — but I’m including it because it saved me from what would have been an expensive service call.
Some gas stoves have a safety valve system that shuts off gas automatically if the flame goes out. The thermocouple is the sensor that detects whether a flame is present. If the thermocouple is dirty, bent, or worn, it tells the valve that there’s no flame — so the valve cuts gas, even when you want it on.
Signs your thermocouple might be the problem:
- The burner lights briefly, then goes out when you release the knob
- You have to hold the knob down for a long time just to keep the flame going
- The stove worked fine before but started having issues after a deep clean
What I did:
- Located the thermocouple (it’s the small metal rod sitting right next to the burner flame)
- Cleaned it gently with fine-grit sandpaper to remove oxidation
- Checked that it was positioned close enough to actually sit in the flame
- Tested the stove
Mine just needed repositioning and cleaning. If the thermocouple is actually faulty, they’re inexpensive to replace (around $10-$20) and the process is usually straightforward with the right model-specific guide.
Common Mistakes I Made (So You Don’t Have To)
| Mistake | What Actually Happened | Better Approach |
|---|---|---|
| Skipping the drying step | Igniter kept clicking for hours | Always dry fully before reassembly |
| Replacing parts before cleaning | Wasted $12 on a part I didn’t need | Clean first, then diagnose |
| Forgetting to take photos | Reconnected wires wrong | Always photograph before disassembling |
| Using a toothpick in ports | Broke off inside, made clog worse | Use metal wire or paperclip only |
| Testing with gas on, stove plugged in | Not safe at all | Always shut off gas + unplug first |
At a Glance: Which Fix for Which Problem?
| Problem | Most Likely Fix | Time Needed |
|---|---|---|
| Burner won’t light | Clean burner cap / check igniter | 10-20 mins |
| Clicking won’t stop | Dry the igniter | 30-45 mins |
| Uneven or lopsided flame | Realign burner cap | 2-5 mins |
| No gas at all | Check supply valve / knob | 5 mins |
| Weak or yellow flame | Adjust air shutter | 15-20 mins |
| Lights then goes out | Thermocouple clean or replace | 20-30 mins |
| Igniter spark very weak | Replace igniter switch | 20-30 mins |
A Few Safety Things Worth Repeating
I don’t want to be preachy here, but gas appliances are genuinely different from other home repairs. A leaky electrical wire might trip a breaker. A gas leak can be life-threatening.
So before any repair:
- Always turn off the gas supply valve
- Unplug the stove from the wall outlet (yes, even gas stoves have electrical components)
- Work in a ventilated area
- If you smell gas strongly and can’t find the source fast, leave the house and call your gas company
For anyone who wants a solid checklist before starting any stove repair, this piece on 8 Smart Gas Stove Repair Basics Safety Checks Before Every Repair covers it really well.
When to Actually Call a Technician
Look, I’m all for DIY. But there are moments where calling a professional is genuinely the smarter move:
- You smell gas and can’t identify where it’s coming from
- The gas valve itself is damaged or corroded
- You’ve replaced the igniter, cleaned everything, and still nothing works
- The stove is more than 15 years old and having multiple issues at once
- You opened up the stove and found burn marks, melted wires, or anything that looks wrong
A good technician visit costs money upfront, but it’s always cheaper than a kitchen fire or a gas incident.
Estimated Costs if You DIY vs. Call a Tech
| Repair | DIY Cost | Technician Cost |
|---|---|---|
| Burner cap cleaning | $0 (just soap + water) | $50-$80 service call |
| Igniter drying | $0 | $50-$80 |
| Igniter switch replacement | $8-$15 (part only) | $100-$150 |
| Thermocouple replacement | $10-$20 (part only) | $100-$180 |
| Air shutter adjustment | $0 | $80-$120 |
The savings add up fast if you’re willing to spend an hour and do it right.
Final Thoughts
My gas stove has given me trouble more times than I’d like to admit. But every single time, the fix turned out to be something I could handle myself with a bit of patience and the right information. None of these repairs required special training — just willingness to look a little closer before assuming the worst.
Start with the simplest things (clean the cap, dry the igniter, realign everything). Most of the time, that’s all it takes. Only move to parts replacement if the basics don’t work. And always, always prioritize safety over saving time.
If you’ve been dealing with a burner that won’t cooperate, I genuinely hope one of these fixes does the trick for you. They all worked for me, and they weren’t nearly as complicated as I feared.
FAQ
Q1: My gas burner clicks constantly even when off — is that dangerous?
Not immediately dangerous, but it shouldn’t be ignored. Constant clicking usually means moisture has gotten into the igniter. Dry it out with a hairdryer or let it air out overnight. If it keeps clicking after that, the igniter switch might need replacing. Don’t leave it clicking indefinitely as it can wear out the igniter module faster.
Q2: Why is my gas flame yellow instead of blue?
A yellow or orange flame usually means incomplete combustion — the gas isn’t getting enough air to burn properly. Start by cleaning the burner ports, and if that doesn’t fix it, adjust the air shutter on the burner tube. A consistently yellow flame can also produce carbon monoxide, so it’s worth fixing promptly.
Q3: Can I use any replacement igniter, or does it have to match my stove model?
It should match your stove model as closely as possible. The igniter switch, thermocouple, and other parts are often model-specific. Look at the sticker on the back or underside of your stove for the model number, then search that number + the part name. Most parts are available on Amazon or appliance parts sites like AppliancePartsPros.
Q4: Is it safe to clean burner parts while the stove is connected to gas?
Turn off all the burner knobs and let the stove cool completely, but ideally you should also shut off the main gas supply valve before removing any components. Unplugging the stove is also a good habit since the igniter system runs on electricity. Better safe than sorry with gas appliances.
Q5: How often should I be cleaning the burner caps to prevent these issues?
If you cook regularly, a light cleaning every two weeks and a thorough cleaning once a month is a good rhythm. After any boil-overs or spills, clean the affected burner the same day once the stove cools. Preventive cleaning genuinely reduces how often these issues come up.
For anyone who wants to go deeper into keeping their stove running without constant repairs, this is one of the most practical guides I’ve found: 9 Easy Gas Stove Repair Basics Maintenance Tips I Wish I Knew Earlier

