
1. Don’t Skip the “Smell Test” Before Anything Else —
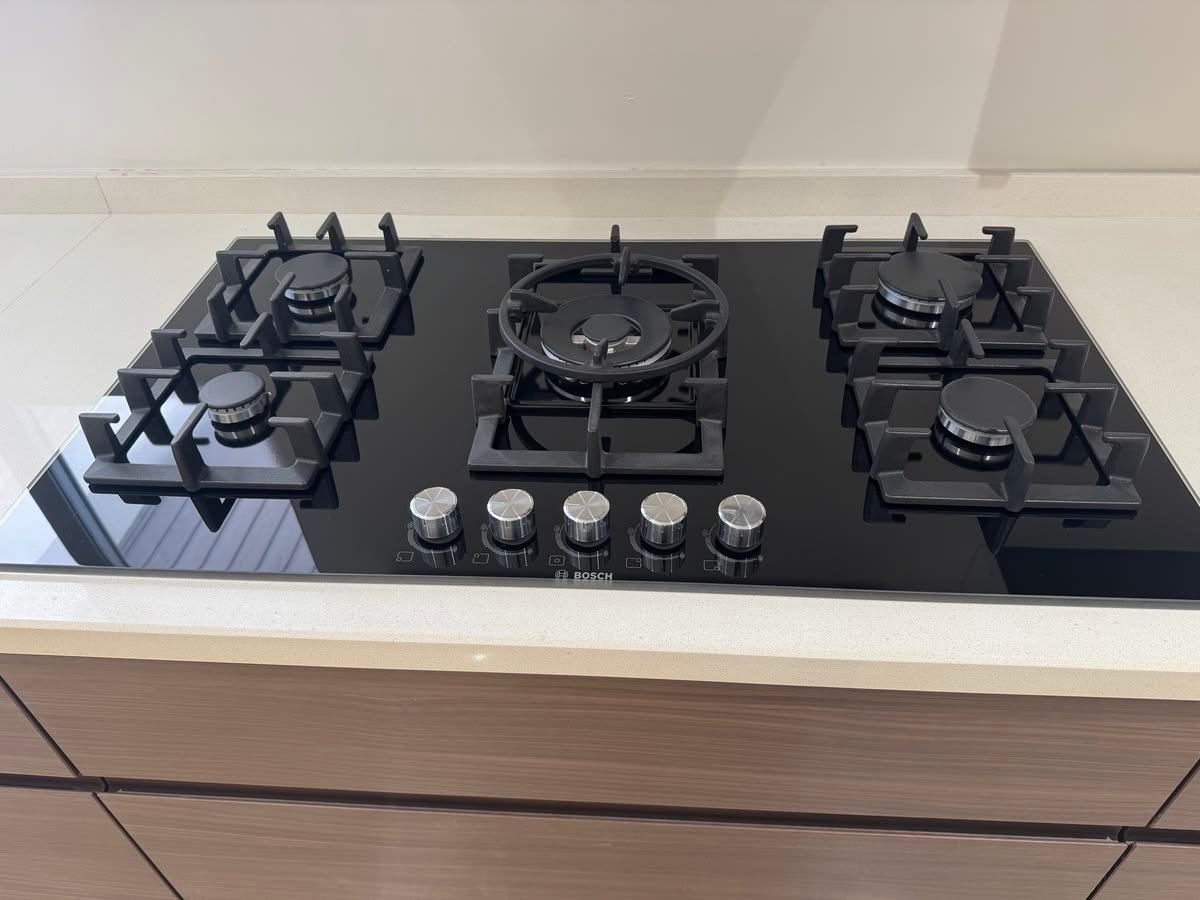
I still remember the first time I helped a cousin install a gas stove in her new apartment. We were so excited to get cooking that we almost skipped the most basic step — checking if the gas line was actually safe to connect to. Her landlord had left the old supply valve partially open, and the moment we pulled out the old stove, we caught a faint whiff of something that definitely wasn’t dinner.
That experience taught me more about gas stove setup than any YouTube tutorial ever could.
If you’re setting up a gas stove for the first time, the truth is — it’s not complicated. But it does require a bit of patience, the right order of steps, and knowing what NOT to do. I’ve helped set up four stoves in the last three years (for family and friends), and every time I pick up something new.
Here’s what actually works — written from experience, not a manual.
2. Know Your Gas Line Type Before You Buy Anything —
This is the mistake most beginners make: they buy the stove, bring it home, and then realize they don’t know whether their kitchen has a natural gas line or an LPG (liquefied petroleum gas) cylinder setup.
These two are not interchangeable. The burner jets, regulator pressure, and even the hose connectors are different. Installing an LPG-configured stove on a natural gas line (or vice versa) can lead to weak flames, incomplete combustion, or in the worst case — a dangerous gas buildup.
Quick Reference Table: Natural Gas vs LPG Setup
| Feature | Natural Gas | LPG (Cylinder) |
|---|---|---|
| Supply type | Pipeline (wall connection) | Portable cylinder |
| Pressure | Lower (around 7 mbar) | Higher (around 28–37 mbar) |
| Regulator needed | Yes (fixed) | Yes (adjustable) |
| Jet size | Larger holes | Smaller holes |
| Common use | Urban apartments | Rural/semi-urban homes |
Before buying, just check the back of your kitchen near the floor — if there’s a yellow or black pipe coming out of the wall with a valve, that’s a natural gas line. If you see a red or grey cylinder sitting in a corner, that’s LPG.
Some stoves come “dual fuel convertible,” which means they ship with both sets of jets and a conversion guide. Those are worth the slightly higher price if you’re unsure.
3. Measure Twice, Move the Stove Once —
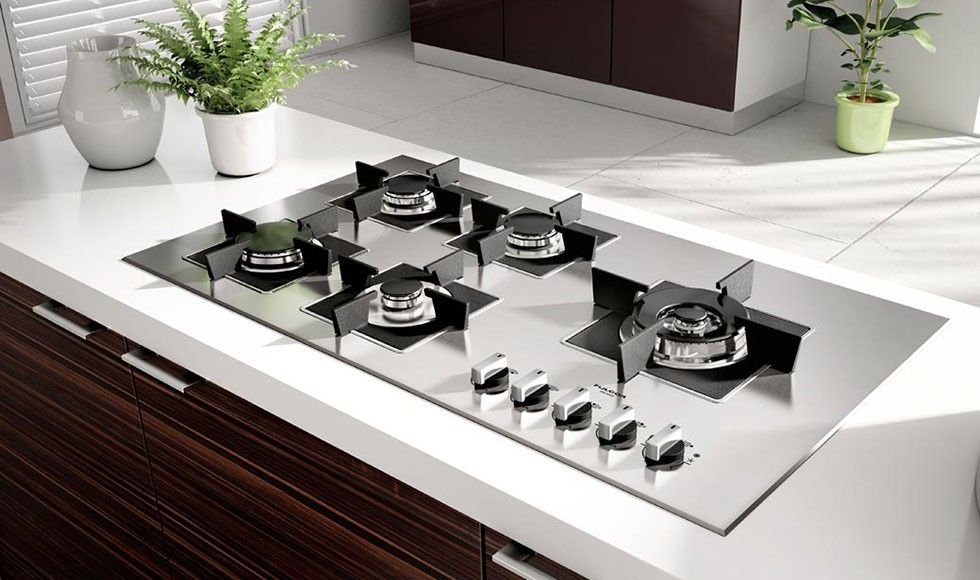
I cannot stress this enough. Gas stoves are heavy — like, surprisingly heavy. The first time I had to move a 4-burner freestanding range back and forth three times because I hadn’t measured the clearance properly, my back reminded me for a solid week.
Before the stove even enters your kitchen, measure:
- The cutout or counter space (for built-in hobs)
- The distance to the nearest wall or cabinet — most manufacturers recommend at least 150mm (6 inches) on each side and 750mm above the surface to the bottom of any overhead cabinet
- The gas supply point location — is it centered? To the left? You’ll need a flexible gas hose long enough to reach without stretching or kinking
Pro tip: Use a flexible gas hose that’s certified and no longer than 1.5 meters. Longer hoses = more risk of kinking or leaks over time. Don’t buy cheap uncertified hoses from random hardware shops — this is genuinely one place to spend a little more.
Also check: does your stove need a 220V electrical connection for the igniter and oven light? Freestanding ranges usually do. Built-in hobs often don’t. Know this before you start moving things around.
4. The Leak Test Is Not Optional —
Once everything is connected and the regulator is on, a lot of beginners immediately turn on a burner to “test” it.
Don’t do that first.
Do the soapy water test.
Mix a little dish soap with water in a bowl, grab an old toothbrush or a small paintbrush, and apply the soapy solution to:
- The gas hose connections at both ends
- The regulator fitting
- The valve on the wall or cylinder
- Any joints or unions
Turn on the gas supply (without igniting anything). Watch closely for 30–60 seconds. If you see bubbles forming anywhere — stop immediately, turn off the supply, and tighten that connection. If bubbles keep forming after tightening, the fitting might be damaged or incorrectly threaded, and you need a professional.
No bubbles = you’re good to light up.
This test takes literally 3 minutes and can save your kitchen (and honestly, your life). I’ve done this on every install and caught a loose fitting once — right at the regulator thread. It was barely noticeable by smell but very obvious with the soap test.
5. First Flame Setup: Adjust, Don’t Assume —
Here’s something nobody tells beginners: your stove might not burn perfectly right out of the box. The flame might be yellow-orange instead of blue, or it might sputter and go uneven on one burner.
This doesn’t mean the stove is defective. It often just means the burner caps aren’t seated properly, or the air-to-gas ratio needs a small adjustment.
Flame Color Guide:
| Flame Color | What It Means | Action Needed |
|---|---|---|
| Blue with small yellow tips | Normal, good combustion | None |
| Fully blue | Ideal | None |
| Orange/Yellow | Incomplete combustion | Check air shutter or clean burner |
| Red/Very yellow | Dirty burner or wrong gas type | Clean or adjust jet |
| Lifting off/unstable | Too much air or pressure issue | Adjust air shutter |
For the burner cap issue — take each cap off, make sure it’s sitting flat and centered in the burner crown. Even a 2mm tilt can cause an uneven flame. My aunt’s stove had this issue and she thought the stove was broken. It took me 30 seconds to fix.
For air adjustment, there’s usually a small screw on the side of the burner valve (on the underside or back panel) called the air shutter or primary air adjustment. Turning it slightly can shift the flame from yellow to blue. If you’re not comfortable with this, the manufacturer’s service center can do it during the first service visit.
Also — reading up on 7 Powerful Gas Stove Repair Basics Ideas to Fix Ignition Problems helped me understand ignition mechanics better before I even started my first install. Worth a read.
6. Safety Habits to Build From Day One —
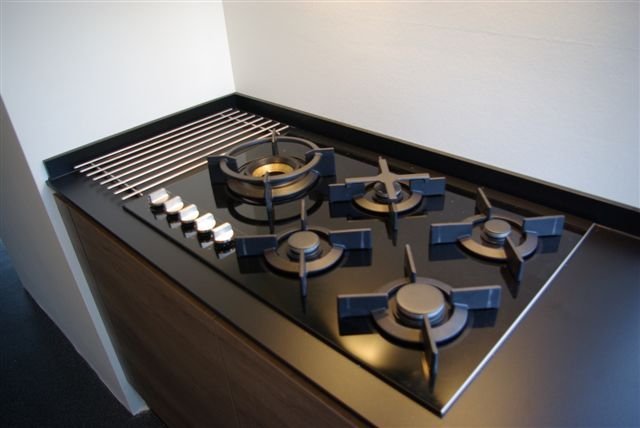
The setup is done, the flame is blue, the food is cooking — but the job isn’t finished. How you use the stove from the first day sets habits for years.
Here are the things I personally do (and wish I’d started doing earlier):
Keep the area around the regulator clear. Don’t stack things on top of a cylinder or hang towels near the gas pipe. I know it looks tidy but it’s a genuine hazard.
Turn off the cylinder valve (or supply valve) when you’re done cooking — not just the burner knobs. The knobs can wear out over time. The main valve is your real safety shutoff.
Never use aluminum foil directly on burner grates to catch spills. It blocks airflow to the burner, causes incomplete combustion, and can actually trap heat near the gas fittings. Use proper drip trays or just clean the grill regularly.
Check the hose every 6 months. Run your fingers along the gas hose and look for cracks, stiffness, or discoloration. A rubber hose that’s drying out or cracking should be replaced immediately — don’t wait for it to fail.
And if you ever come home to a gas smell, don’t turn any switches on or off (including lights), don’t use your phone inside, and open windows immediately before shutting off the main supply. I know this sounds dramatic for a “beginner tips” article, but it’s the kind of thing you need to know before you ever need it.
For more on this, 6 Essential Gas Stove Repair Basics Safety Ideas That Prevent Accidents covers it really well — especially for households with kids.
Common Mistakes Beginners Make (That I’ve Also Made)
No judgment here — I’ve made at least three of these myself.
1. Not reading the installation manual at all. I know, it feels like the manual is just there for legal reasons. But gas stove manuals actually have critical clearance requirements, gas type specifications, and electrical requirements that vary brand by brand. Take 15 minutes. Read it.
2. Using plumber’s thread tape on flared fittings. If your gas connection uses a flared (cone-shaped) fitting, you don’t use tape on it — the seal is made by the metal-to-metal flare contact. Using tape on it actually prevents a proper seal. Only use thread sealant on tapered NPT threads when specified.
3. Installing without telling the building management. In apartments especially, some buildings have rules about stove installations and require a certified gas fitter. Check your tenancy agreement before DIY-ing the connection.
4. Ignoring a small gas smell and assuming it will “go away.” It won’t. Even a tiny persistent smell means something isn’t sealed properly. Fix it before you forget.
5. Not testing the igniter before final positioning. Once a built-in hob is dropped into the counter cutout and sealed with silicone, it’s a pain to lift it back out. Test the ignition and all burners before you make anything permanent.
Quick Setup Checklist
Here’s a simple checklist you can follow step-by-step:
Before Installation:
- ✅ Identify gas type (natural gas or LPG)
- ✅ Measure counter space and clearances
- ✅ Confirm electrical connection if needed
- ✅ Purchase correct regulator and certified hose
During Installation:
- ✅ Connect hose to supply point (hand-tight + spanner, don’t overtighten)
- ✅ Attach regulator to cylinder or pipeline valve
- ✅ Place stove, check hose isn’t kinked
- ✅ Perform soapy water leak test before igniting anything
After Installation:
- ✅ Check flame color on all burners
- ✅ Seat burner caps correctly
- ✅ Test ignition buttons or knobs
- ✅ Store emergency shutoff location in memory
A Quick Word on Built-In Hobs vs Freestanding Ranges
If you’re choosing between the two — here’s my honest take:
Freestanding ranges are easier to install (just slide in, connect the hose, plug in), easier to move if you shift homes, and usually more affordable. Great for renters.
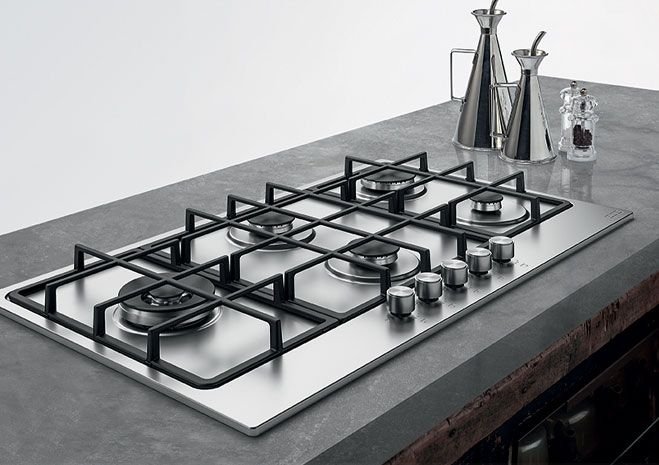
Built-in hobs look sleeker, easier to clean around, and give you a more “fitted kitchen” look. But they require a properly cut countertop, sometimes professional installation, and are harder to service if something goes wrong underneath.
| Freestanding Range | Built-in Hob | |
|---|---|---|
| Installation difficulty | Easy (DIY-friendly) | Medium (may need professional) |
| Portability | High | Low |
| Aesthetics | Traditional | Modern/sleek |
| Cost (average) | Lower | Higher |
| Cleaning | More surfaces to clean | Easier top cleaning |
| Best for | Renters, beginners | Permanent kitchens |
If this is your first gas stove setup and you’re renting, go freestanding. If you’re doing a full kitchen renovation, a built-in hob is worth the investment.
Once your stove is running well, maintenance becomes the next priority. I found 9 Easy Gas Stove Repair Basics Maintenance Tips I Wish I Knew Earlier genuinely useful — not just for repairs but for understanding how to keep things running smoothly from the start.
Final Thoughts
Setting up a gas stove for the first time doesn’t have to be stressful. The steps are logical, the tools are basic (you mostly need a spanner, some soap water, and patience), and if you follow the right sequence — it’s actually satisfying when that first blue flame shows up.
Just don’t rush it. The most dangerous mistakes in gas stove installation aren’t the complicated ones — they’re the obvious steps that people skip because they’re in a hurry. Take the extra five minutes for the leak test. Read the clearance requirements. Check the flame color before you cook your first meal.
You’ve got this.
FAQs: Gas Stove Installation for Beginners
Q1. Can I install a gas stove myself, or do I need a professional?
For freestanding stoves with an existing gas line, most people can do a basic DIY connection if they follow the steps carefully (leak test included). However, if you need new gas piping run through walls, a regulator replaced on a mains line, or live in a building with strict codes, hire a certified gas fitter. Don’t cut corners on the connection itself.
Q2. How do I know if my gas hose is the right one to use?
Look for a hose that’s marked with a certification standard (in most countries, this is a local gas safety standard or CE marking for Europe). It should also match your gas type — LPG hoses and natural gas hoses are different. Replace rubber hoses every 5 years at minimum, and stainless-braided hoses every 10 years.
Q3. My burner keeps clicking even when I’m not trying to ignite it. What’s wrong?
This almost always means moisture has gotten into the igniter area — usually from a spill or overly wet cleaning. Remove the burner cap, dry the igniter tip with a hairdryer on low, and let it air out for an hour. For a deeper dive, 8 Smart Gas Stove Repair Basics Solutions for Clicking Igniters explains this really well.
Q4. How much clearance does a gas stove need from walls and cabinets?
Most manufacturers recommend a minimum of 150mm (6 inches) on each side and at least 750mm (about 30 inches) of vertical clearance between the cooktop surface and any overhead cabinet or microwave. Always check your specific model’s manual because this varies.
Q5. Why is my flame yellow/orange instead of blue after installation?
Yellow or orange flame usually means incomplete combustion — either the burner cap isn’t seated properly, there’s debris in the jet, or the air shutter needs adjustment. Start by reseating the burner cap and cleaning the ports with a dry toothbrush. If the issue persists, the air shutter (a small screw near the valve) may need a slight adjustment. You can also find helpful guidance in 10 Proven Gas Stove Repair Basics Fixes That Actually Work.

