
1. The Day I Smelled Gas and Almost Ignored It
I’ll be honest — there was a time when I treated my gas stove like it was just another kitchen appliance. Turn the knob, light the flame, cook the food. Simple. I never thought twice about it.
Then one evening, I walked into my kitchen and caught a faint smell of gas. Not overwhelming, just a subtle whiff. My first instinct was to think, “Oh, it’ll clear up.” But something made me stop. I opened the windows, turned off everything, and called a technician. Turns out, a small burner cap had shifted slightly, causing a tiny gas leak.
That day changed how I approach cooking entirely.
Now, before every single cooking session — whether I’m making a quick omelette or a full Sunday curry — I run through a set of safety checks. Takes me less than two minutes. But those two minutes? They’ve saved me from at least three potentially dangerous situations.
If you have a gas stove at home, this article is your checklist. Let’s go through it together.
2. Check for Gas Smell Before You Do Anything Else
This is the non-negotiable first step. Before you even touch the knobs, take a second and just sniff the air around your stove.
Natural gas itself is odorless, but utility companies add a chemical called mercaptan to it, which gives it that rotten egg or sulfur-like smell. If you notice that smell — even faintly — do NOT light anything. Don’t even flip a light switch.
What to do if you smell gas:
- Leave the kitchen immediately
- Open windows and doors as you exit
- Don’t use your phone inside the house
- Call your gas provider from outside
- Wait for a professional to clear it
I keep a habit of just walking past my stove before I start cooking and giving the air a quick check. It sounds overly cautious, but trust me — this one habit alone is worth more than any fancy safety gadget.
Quick Reference: Gas Smell Response Chart
| Smell Intensity | Action |
|---|---|
| No smell | Safe to proceed |
| Faint smell | Ventilate and investigate before cooking |
| Strong smell | Evacuate immediately, call gas provider |
| Intermittent smell | Schedule a technician check |
3. Inspect the Burner Caps and Heads
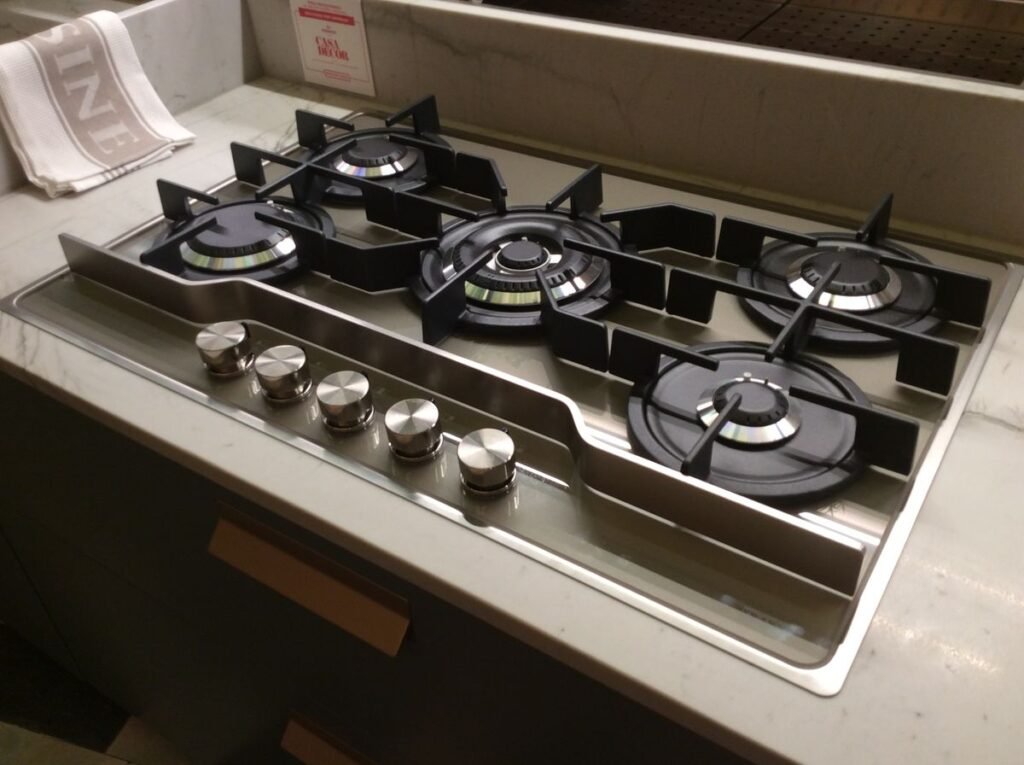
This one tripped me up for years. I used to clean my stove by wiping the surface and calling it done. What I didn’t realize was that the burner caps — those round metal discs sitting on top of each burner — needed separate attention.
When a burner cap is misaligned, clogged with food residue, or cracked, it can cause uneven flames, delayed ignition, or worse, a flame that goes out mid-cooking while gas is still flowing.
Before every cooking session, quickly check that:
- Each burner cap is sitting flat and centered
- There’s no visible food debris blocking the gas ports (the tiny holes around the burner head)
- No cap looks cracked or warped
You don’t need tools for this. Just a quick visual + gentle press to make sure each cap is properly seated. If a burner cap feels loose or wobbly, fix it before you light anything.
For a deeper dive into keeping these parts clean and functional, this guide on 11 Easy Gas Stove Repair Basics Cleaning Habits That Saved My Stove is genuinely one of the most practical reads I’ve come across.
4. Test the Igniter Before Cooking
Here’s something most people don’t think about until it becomes a problem: a clicking igniter that won’t actually spark a flame.
The igniter is that little ceramic tip you see next to each burner. When you turn the knob, it clicks and produces a spark to light the gas. If that spark is weak, delayed, or inconsistent, you could end up with a situation where gas releases for several seconds before igniting — and that mini “whomp” when it finally catches is not something you want to experience.
Simple igniter test (30 seconds):
- Make sure the area around the burner is dry
- Turn the knob to the “light” position
- Watch for a visible spark within 1-2 seconds
- Listen for a consistent clicking sound
- Confirm the flame ignites promptly and evenly
If the igniter clicks multiple times before lighting, or if it produces an orange/yellow spark instead of blue-white, that’s a warning sign.
Moisture is usually the culprit. After washing your stove or a spill overflow, the igniter gets wet. Let it dry completely before cooking — I usually give it 20-30 minutes, or use a hairdryer on a low setting.
For stubborn ignition problems, 7 Powerful Gas Stove Repair Basics Ideas to Fix Ignition Problems walks through exactly what to do step by step.
5. Look at the Flame Color and Shape
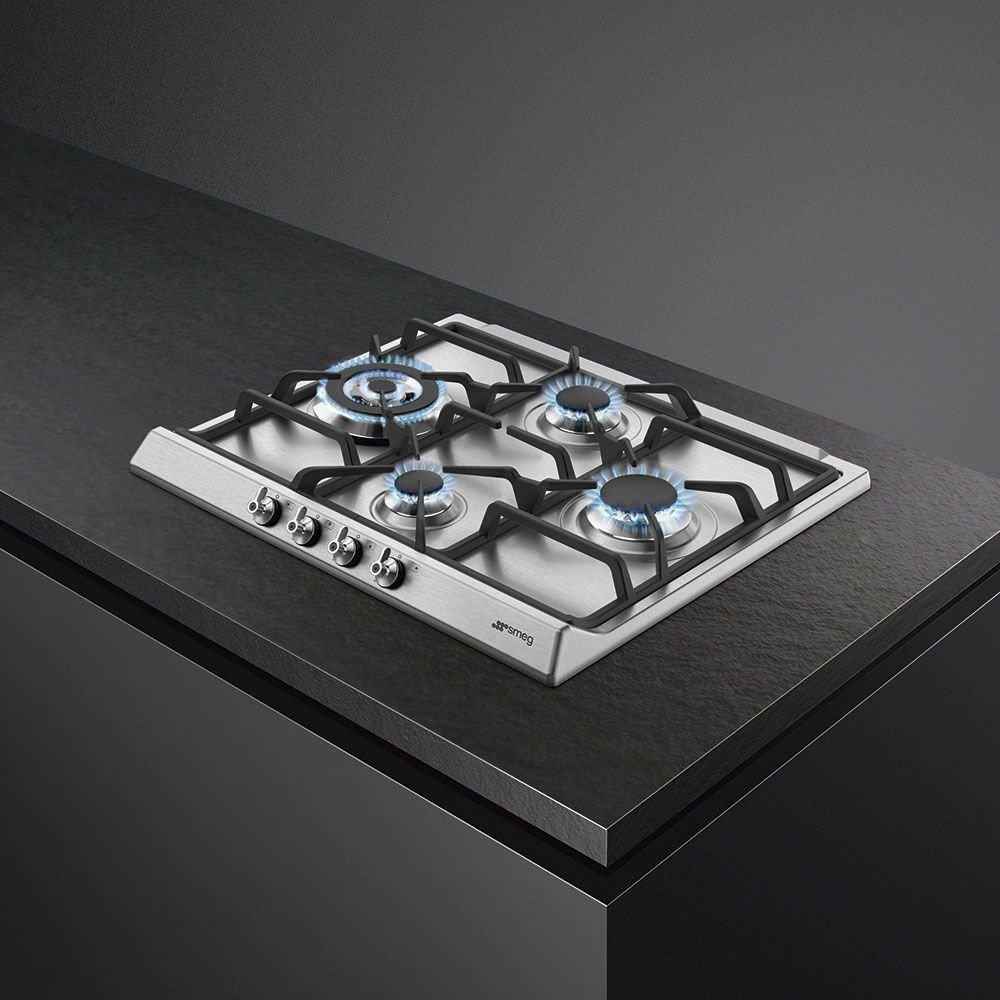
This is one of those checks that takes literally three seconds once you’ve lit your burner, but it tells you so much about what’s going on inside your stove.
A healthy gas flame should be:
- Blue (sometimes with a small yellow tip)
- Even around the burner in a consistent ring
- Steady — not flickering wildly
If your flame looks different from this, here’s what it might mean:
Flame Diagnostic Table
| Flame Appearance | Possible Cause |
|---|---|
| Mostly yellow or orange | Incomplete combustion, clogged ports |
| Uneven or one-sided | Misaligned burner cap |
| Very low flame | Low gas pressure or partial blockage |
| Flame goes out on its own | Thermocouple issue or draft |
| Very large, lifting flame | Gas pressure too high |
I started photographing my burner flames every few weeks. Sounds nerdy, I know, but it helps me spot gradual changes I’d otherwise miss.
An orange or yellow flame isn’t just an efficiency problem — it means your stove is producing more carbon monoxide than it should. That’s a health issue, not just a repair issue.
6. Check the Gas Knobs and Connections
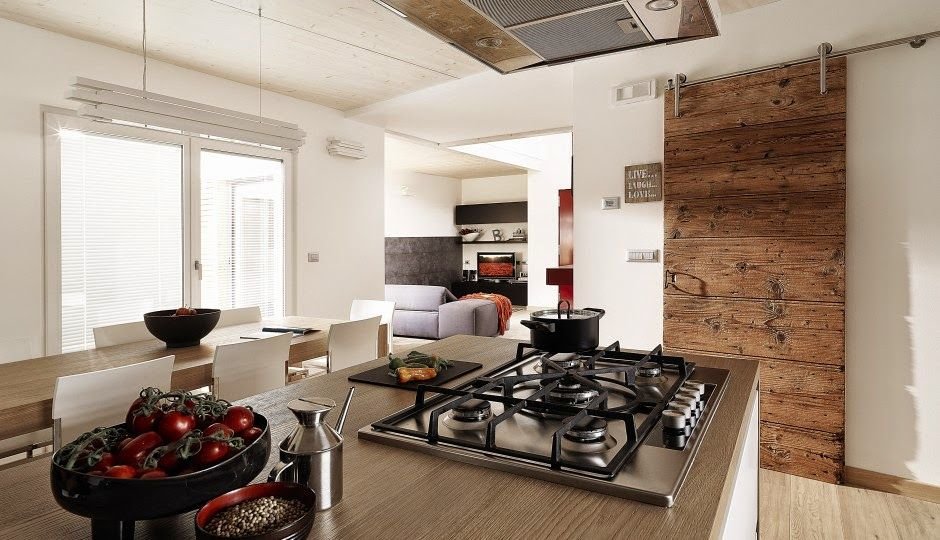
Give each knob a quick turn and return it to the “off” position before you start cooking. What you’re checking for:
- Resistance — a knob that turns too easily or feels loose could indicate a worn valve
- Off position clarity — make sure the knob clicks clearly to “off” and stays there
- No gas sound when off — if you hear a faint hiss when a knob is in the off position, that’s a problem
I also do a quick visual check of the flexible gas hose connecting the stove to the wall. This one I do maybe once a week rather than every day, but it’s part of my rotation. Look for:
- Cracks or kinks in the hose
- Any rust or corrosion at connection points
- The hose not being bent sharply (a tight bend can weaken the material over time)
If your stove has a quick-release connector, give it a gentle tug to make sure it’s fully seated.
Most people never look at this hose until there’s a problem. By then, it’s often too late for a simple fix.
For a structured approach to these checks, 6 Essential Gas Stove Repair Basics Safety Ideas That Prevent Accidents covers this area really well.
7. Make Sure the Area Around the Stove Is Clear
This one sounds obvious, but it’s probably the check people skip most often. I’ve been guilty of it myself — paper towels sitting too close to a back burner, a plastic bag hanging over the counter near an open flame, a dish towel draped over the stove handle.
Before you light anything, do a quick scan:
Pre-cook clearance checklist:
✅ No paper products within 30 cm of burners ✅ No loose fabric (tea towels, apron strings, sleeves) ✅ No plastic bags or packaging near open flame zone ✅ Overhead ventilation hood is clear and working ✅ A small fire extinguisher or fire blanket is within reach
The ventilation part matters more than people realize. If you’re cooking on multiple burners for more than 15-20 minutes, that kitchen gets hot, and fumes build up faster than you’d think. Turn on your exhaust fan or open a window even before you start.
8. Bonus Check: Keep an Eye on Kids and Pets
I wasn’t going to include this because it feels a bit parenting-101, but honestly, it deserves a mention.
The most controlled gas stove in the world becomes a hazard the moment a toddler reaches up and starts turning knobs “to help cook.” I’ve seen this happen. The gas flows, nothing ignites, and if no one notices right away — that’s a serious situation.
If you have young children or curious pets, consider:
- Installing stove knob covers (they’re cheap and clip directly onto existing knobs)
- Creating a “no zone” around the stove that kids know not to enter
- Never leaving the kitchen unattended when the stove is on
Common Mistakes People Make (And I’ve Made a Few)
Let me save you some lessons I learned the hard way.
Mistake 1: Cleaning with too much water and not drying properly Water gets into the igniter, you don’t wait for it to dry, and then you wonder why it won’t spark. Always dry thoroughly after cleaning.
Mistake 2: Replacing burner caps in the wrong position After cleaning, it’s easy to swap burner caps between burners. They look similar but are often different sizes. Mismatched caps cause uneven flames and ignition issues.
Mistake 3: Ignoring a faint gas smell because it goes away It goes away because the gas dispersed — not because the leak stopped. Don’t ignore it.
Mistake 4: Using the stove to heat the kitchen Leaving an open flame burning without a pot on it, especially in winter, is genuinely dangerous. It’s also carbon monoxide risk territory.
Mistake 5: Thinking a new stove doesn’t need checks A brand-new stove still needs checks. Installation errors, transit damage, and manufacturing defects are real. The checklist applies regardless of age.
How Long Does a Safety Check Actually Take?
I timed myself. On a normal morning, my full safety check before cooking breakfast takes about 90 seconds. Here’s the rough breakdown:
| Check | Time |
|---|---|
| Sniff test / gas smell check | 5 seconds |
| Burner cap inspection | 20 seconds |
| Igniter test | 15 seconds |
| Flame check (post-ignition) | 10 seconds |
| Knob and connection visual | 20 seconds |
| Stove area clearance | 20 seconds |
| Total | ~90 seconds |
That’s one and a half minutes to significantly reduce your risk of a gas-related incident. Doesn’t seem like a lot to ask.
Final Thoughts
I’m not someone who grew up thinking about kitchen safety. I learned most of this the uncomfortable way — through close calls, expensive repairs, and one very memorable evening of airing out my entire apartment.
What I’ve realized is that gas stove safety isn’t about being paranoid. It’s about being aware. The checks I’ve shared above aren’t based on fear — they’re based on understanding how the thing actually works and what to look for before it becomes a problem.
Make this a habit. Put it in your muscle memory the way you check your car mirrors before driving. It takes almost no time, and it keeps your family, your kitchen, and your dinner safe.
Also worth reading: 10 Proven Gas Stove Repair Basics Fixes That Actually Work — a practical guide covering the most common stove problems you’ll actually encounter at home.
Frequently Asked Questions (FAQs)
Q1. How often should I do a full safety check on my gas stove?
Ideally, a quick check before every cooking session — especially the gas smell test and burner cap check. A more thorough inspection of the gas hose and connections should happen at least once a month.
Q2. My flame is blue but it flickers a lot. Is that dangerous?
Flickering can be caused by air drafts, a slightly clogged burner port, or a misaligned cap. It’s not immediately dangerous, but it should be investigated. Clean the burner ports and ensure the cap is seated correctly. If the flickering persists, have it checked by a technician.
Q3. Is it okay to use the stove right after cleaning it?
Not immediately. You need to make sure all moisture has evaporated, especially near the igniters. Give it at least 20-30 minutes after a wet clean, or dry the burner area carefully with a cloth and then a quick hairdryer pass on low.
Q4. What’s the safest way to check for a gas leak at home?
The simplest DIY method is the soapy water test: apply a mixture of dish soap and water to the gas connections and hose. If bubbles form, there’s a leak. However, for anything beyond a minor connection issue, always call a licensed gas technician — don’t try to fix gas leaks yourself.
Q5. Can a dirty stove actually cause a gas leak?
Not directly, but a dirty burner can cause incomplete combustion, uneven flames, and carbon monoxide buildup. Food debris in gas ports can also cause flame irregularities that might make you think there’s a leak when there’s actually a blockage. Regular cleaning is very much a safety issue, not just a hygiene one.

