

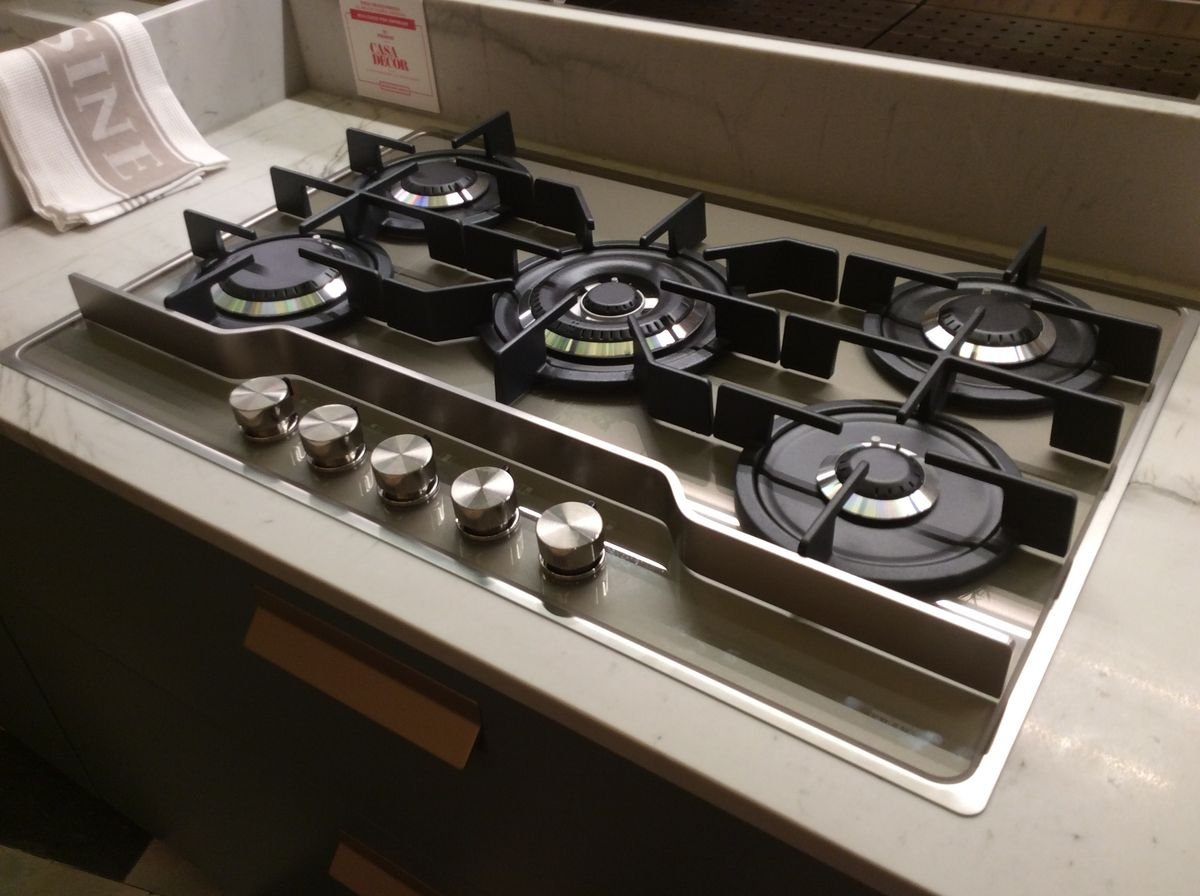
I’ll be honest — I used to treat my gas stove like an invincible appliance. Turn the knob, light the burner, cook the food, done. I never thought twice about it until one evening I noticed a faint smell of gas in my kitchen after I’d gone to bed. My heart dropped. I ran back, checked every burner, and found one that hadn’t fully clicked off. That was my wake-up call.
Since that night, I’ve completely changed how I interact with my stove. These aren’t complicated habits — they’re small, deliberate things that take seconds but make a huge difference. And honestly? My kitchen feels safer, my stove works better, and I sleep easier knowing I didn’t leave anything dangerous behind.
Here are the 10 habits that genuinely changed my kitchen routine.
1. I Always Do a Quick “Sniff Check” Before Cooking — and After
This sounds almost too simple, but it’s become second nature now. Before I even touch a burner knob, I take a quick sniff near the stove. Gas has that distinct rotten-egg smell added to it specifically so we can detect leaks. If anything smells even slightly off, I don’t light anything — I open windows and investigate first.
The “after” check matters just as much. Once I’m done cooking and the stove is off, I lean in and do one final smell check. Caught a minor leak this way twice in the past year — both times from a valve that hadn’t fully closed.
What to sniff for: Any sulfur or rotten egg smell near the stove, burner area, or behind the appliance.
If you ever detect gas and can’t immediately identify the source, don’t flip any light switches either — just get out and call your gas provider.
2. I Never Leave Burners Unattended When Something Is Boiling
I used to do this all the time — put a pot on, walk to the other room, get distracted. Then one time I came back to a dry pot with a scorched bottom and an active flame licking the sides. Not a fire, thankfully. But close enough.
Now my rule is simple: if it’s boiling or simmering, I stay in the kitchen. If I absolutely have to leave, I turn the heat to low or off. Five minutes of stepping away has caused more kitchen accidents than most people realize.
This is especially critical with oil. Water boiling over is annoying. Oil catching fire is dangerous.
3. I Learned to Check the Igniter Before It Becomes a Problem
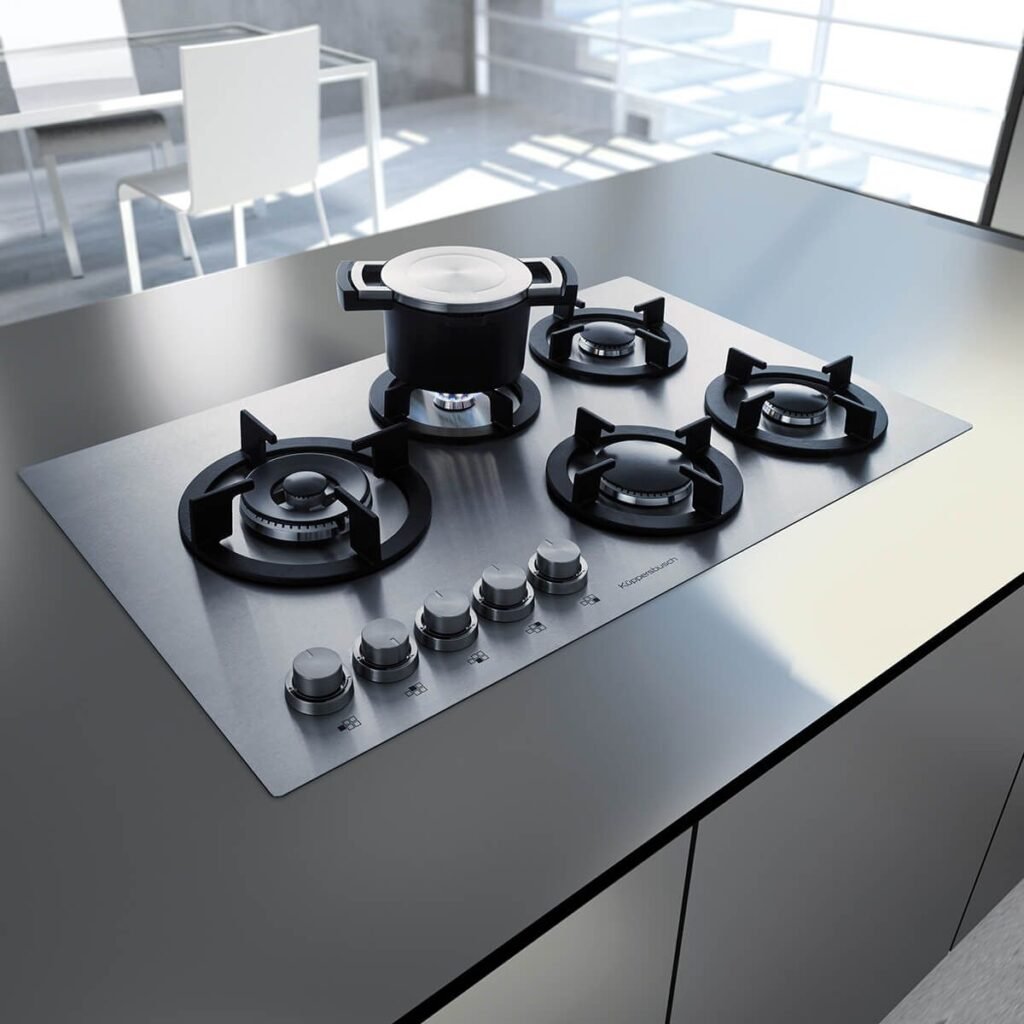
One of the most frustrating things is a burner that keeps clicking but won’t light. I used to ignore that clicking sound and just keep trying until it eventually caught. Turns out, a continuously clicking igniter often means there’s moisture or food debris around the igniter cap.
Now I clean the igniter area once a week. I use a dry toothbrush — seriously, an old toothbrush — to brush away any buildup around the igniter and burner cap. It takes maybe two minutes and has completely eliminated that ghost-clicking issue in my kitchen.
For more in-depth info on what causes ignition failure and how to fix it, this article on 6 Powerful Gas Stove Repair Basics Steps to Fix Ignition Failure breaks it down really well.
4. I Keep the Burner Caps Properly Seated After Every Clean
This one took me an embarrassingly long time to figure out. I used to remove the burner caps for cleaning (which is correct), but then I’d just plop them back on without making sure they were perfectly aligned. The result? Uneven flames, sometimes no ignition at all, and one very confused cook.
Burner caps that aren’t properly seated mess with the gas flow. The flame either goes sideways, comes out unevenly, or the burner just won’t light consistently.
Now after every cleaning session, I make sure each cap sits flat, centered, and snug. Takes two seconds. Completely changed my cooking experience.
Quick Visual: What a Properly vs. Improperly Seated Burner Cap Looks Like
| Feature | Properly Seated | Improperly Seated |
|---|---|---|
| Flame shape | Even, circular | Uneven or one-sided |
| Ignition speed | Lights quickly | Slow or doesn’t light |
| Clicking sound | One or two clicks | Continuous clicking |
| Cap position | Flat and centered | Tilted or wobbly |
5. I Turn Pot Handles Inward — Every Single Time
My cousin’s kid grabbed a pot handle that was sticking out over the edge of the stove. The pot didn’t fall, thank God, but it was close. That image stuck with me.
Now every handle goes inward — parallel to the stove, never sticking out to the side or toward the front. It’s a habit that takes zero effort once it’s automatic.
This is one of those things that sounds like advice you’d give a child, but adults cause this accident all the time because they’re in a rush or distracted.
6. I Keep the Area Around My Stove Clear of Flammable Stuff
Kitchen towels, paper napkins, recipe printouts, wooden spoon resting on the counter — I used to have all of this within arm’s reach of the burners. One windy day (I had the window open), a paper towel blew close to an active flame. Caught the corner of it. I grabbed it fast, no damage done — but again, a lesson I didn’t need to learn the hard way but did anyway.
Now I keep a designated spot for towels that’s at least 12 inches away from any burner. No paper near the stove. Wooden and silicone utensils go in a holder behind the stove area, not resting on the sides.
Common Flammables People Leave Too Close to the Stove:
| Item | Risk Level | Safe Alternative |
|---|---|---|
| Paper towels | High | Keep in a holder away from stove |
| Kitchen towels | Medium-High | Hang on oven handle or hook |
| Recipe printouts | High | Use a phone stand at a distance |
| Plastic bags | Very High | Store in a cabinet |
| Wooden utensils | Medium | Store upright in a utensil crock |
7. I Do a Monthly Deep Clean of the Entire Burner System
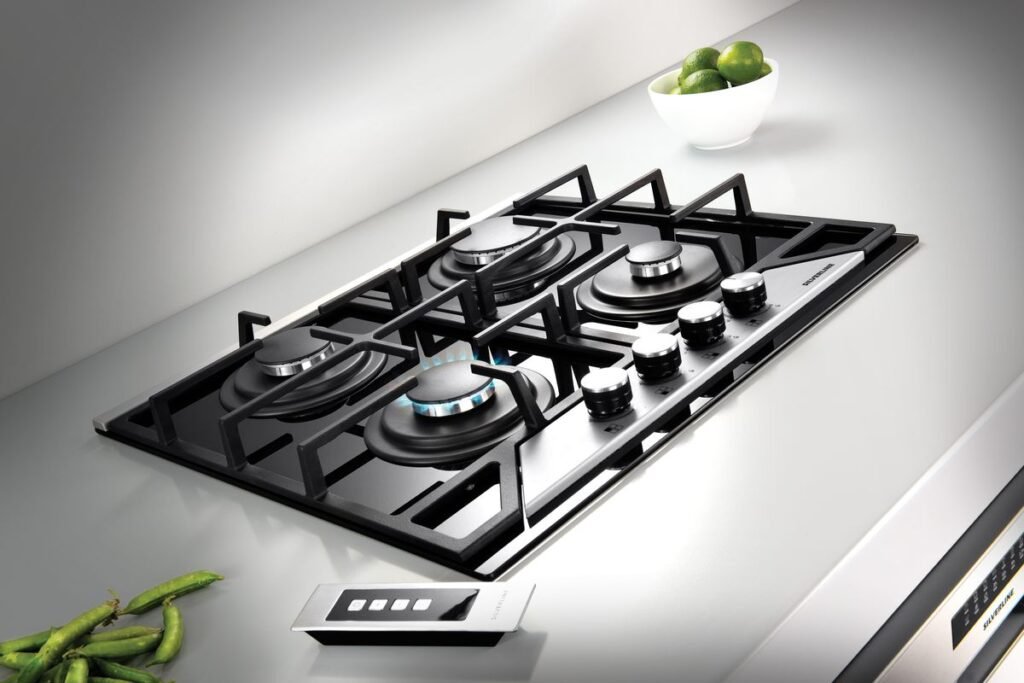
Greasy buildup around burners is more than just ugly — it’s a fire hazard and can block gas ports, leading to weak or uneven flames. I used to wipe the surface down but skip the detailed cleaning underneath the grates and around the burner heads.
Now I do a proper monthly clean:
- Remove grates and burner caps — soak them in warm soapy water for 15 minutes
- Use a toothpick or thin wire to clear any clogged gas ports on the burner head
- Wipe down the stovetop surface with a degreaser (I use a diluted dish soap solution)
- Dry everything completely before reassembling
- Check that all parts are properly repositioned before turning anything on
The difference in flame quality after a proper clean is honestly noticeable. Even, blue, strong flames instead of the weak yellow ones I used to get.
This connects directly with the kind of maintenance habits covered in this guide: 9 Easy Gas Stove Repair Basics Maintenance Tips I Wish I Knew Earlier
8. I Check for Gas Smells After Any Repair or Part Replacement
A while back, I replaced a burner cap that had cracked. Simple job. But I made the mistake of not testing it properly afterward — just turned it on and assumed it was fine. It wasn’t sitting right, and I could smell a faint gas odor when the knob was in the off position.
Now my rule: after any repair, cleaning, or part change, I do a full gas check before cooking. I use soapy water brushed around the connection points. Bubbles = gas leak. No bubbles = good to go.
This method is old-school but still the most reliable DIY check available. Some people also use an inexpensive gas leak detector (under $20 on most online stores), which I now keep in my kitchen drawer.
Leak Detection Methods Compared:
| Method | Cost | Reliability | Best For |
|---|---|---|---|
| Soapy water test | Free | Good | Connection points |
| Electronic gas detector | $15–$30 | Excellent | General room monitoring |
| Professional inspection | $50–$150 | Best | Annual safety check |
| Smell test alone | Free | Low | Initial warning only |
9. I’ve Trained Everyone in My Household on Basic Stove Safety
This one’s less about what I do and more about what I’ve made sure everyone around me knows. My spouse used to crank a burner knob without checking if it lit — just assuming it would catch after a second. My teenage kid had no idea you shouldn’t put aluminum foil directly on the stove grates.
I spent maybe 20 minutes one evening going through the basics with everyone:
- How to check if a burner is lit (look for the flame, don’t assume)
- What to do if you smell gas (don’t use anything electrical, open windows, leave)
- Where the main gas shutoff is located
- How to use the fire extinguisher in the kitchen
That conversation has probably made our kitchen safer than any gadget I could buy.
10. I End Every Cooking Session With a Proper Shutdown Check
Before I leave the kitchen for the night — or even just to go to another room for a while — I do a 10-second shutdown check. It sounds excessive at first, but it’s now as automatic as locking the front door.
My Shutdown Checklist:
- All burner knobs turned fully to the OFF position ✓
- No flames visible anywhere on the stovetop ✓
- No unusual sounds (clicking, hissing) ✓
- No smell of gas ✓
- Grates and surroundings clear of any items ✓
This takes about 10 seconds. And it was this exact habit that helped me catch the burner I mentioned at the beginning of this article — the one that wasn’t fully off.
If you’re also dealing with recurring repair issues along with safety concerns, it’s worth reading through 10 Proven Gas Stove Repair Basics Fixes That Actually Work to address any underlying problems before they become safety hazards.
Common Mistakes People Make With Gas Stove Safety
I’ve made most of these myself, so no judgment here:
| Mistake | Why It’s Risky | Better Habit |
|---|---|---|
| Ignoring clicking igniters | Signals moisture or debris buildup | Clean igniter area weekly |
| Leaving burners on low “just for a minute” | Easy to forget; fire risk | Turn off completely if leaving |
| Using water to clean igniters | Causes moisture buildup and clicking | Use a dry brush only |
| Skipping the smell check | Can miss slow leaks | Sniff before and after cooking |
| Not knowing where the gas shutoff is | Delays emergency response | Locate it today |
A Quick Look at How These Habits Reduce Risk Over Time
If you’re a visual person, here’s a rough breakdown of kitchen fire and gas incident causes — and which habits from this list directly address them:
Common Causes of Gas Kitchen Incidents (Estimated Distribution):
Unattended cooking          — 32%  ████████████████
Grease/debris buildup       — 22%  ███████████
Improper appliance use      — 17%  ████████
Gas leak (slow/undetected)  — 14%  ███████
Children/unaware household  — 10%  █████
Other / unknown             —  5%  ██
Habits 1, 8, and 9 address gas leaks. Habit 2 addresses unattended cooking. Habits 3, 4, and 7 cover debris and maintenance. Habit 9 covers household awareness.
Together, they cover nearly 95% of the risk categories above.
Final Thoughts
I didn’t overhaul my kitchen overnight. These habits came one at a time, usually triggered by a small scare or a near-miss. The smell of gas that one night is honestly what pushed me to get serious — and I’m glad it did.
The thing about gas stove safety is that none of this is complicated. It’s not about buying expensive equipment or following a 50-step protocol. It’s about consistency and awareness. Once these habits are automatic, they don’t even feel like effort.
Start with just two or three from this list — maybe the shutdown check, the sniff test, and keeping flammables clear. Build from there. Your kitchen will be safer for it, and you’ll feel the difference almost immediately.
Also worth reading: 7 Essential Gas Stove Repair Basics Safety Rules Every Kitchen Needs
Frequently Asked Questions
Q1: How often should I do a deep clean of my gas stove burners?
Once a month is a good baseline for most households. If you cook daily or make a lot of greasy, saucy dishes, bump it up to every two to three weeks. The key signs you need a clean sooner: yellow or orange flame instead of blue, uneven flame, or a burner that takes several tries to light.
Q2: Is it safe to clean igniter components with water?
No — and this is a really common mistake. Water around the igniter causes moisture buildup, which leads to that continuous clicking sound even when the burner isn’t on. Use a dry toothbrush or a cotton swab to clean around the igniter. If you’ve already gotten water in there, leave the stove off and let it air dry for several hours before using it again.
Q3: What should I do if I smell gas but can’t find the source?
Don’t try to diagnose it right away. Turn off all burners, don’t flip any switches or use any electrical devices, open windows and doors for ventilation, and leave the house. Call your gas company’s emergency line from outside. Don’t go back in until they give the all-clear. This isn’t being dramatic — it’s the correct response.
Q4: My burner keeps clicking even when it’s off. Is that a safety issue?
It can be. A continuously clicking igniter is usually caused by moisture or food debris around the igniter module. Clean the area thoroughly with a dry brush and let it dry completely. If the clicking continues after cleaning and drying, the igniter switch may be faulty and should be replaced. A clicking igniter that won’t stop is also a minor electrical drain, so it’s worth fixing promptly.
Q5: Where is the main gas shutoff valve usually located?
For most homes, the main gas shutoff is near where the gas line enters your home — often in the basement, utility room, or outside near the meter. Your stove also has its own individual shutoff behind or underneath it. It’s worth locating both now, before you ever need them. Knowing where they are takes 10 minutes. Not knowing in an emergency can be genuinely dangerous.

