

12 Smart Gas Stove Repair Basics Installation Tips I Wish I Knew Earlier
There’s a certain moment that most people who cook regularly eventually face: the stove doesn’t behave the way it should. The flame turns uneven, the ignition clicks endlessly, or worse, nothing happens at all. It’s frustrating, especially when you rely on your gas stove daily. What most people don’t realize is that many of these issues are rooted not just in wear and tear, but in how the stove was installed or maintained from the very beginning.
Looking back, there are quite a few lessons that would have saved time, money, and a fair bit of stress. These aren’t complicated technical secrets. They’re simple, practical, sometimes overlooked fundamentals that make all the difference. This guide walks through twelve smart gas stove repair and installation basics that feel obvious—once you’ve learned them the hard way.
- Understanding your gas type before installation changes everything
One of the earliest mistakes many people make is assuming all gas stoves work the same way. They don’t. Some run on natural gas, others on LPG (liquefied petroleum gas). The difference may seem minor, but it directly affects burner performance, safety, and efficiency.
If a stove designed for natural gas is connected to LPG without proper conversion, the flame can become dangerously high or unstable. On the other hand, using LPG nozzles with natural gas often results in weak flames that struggle to cook anything evenly.
A small notebook entry like this helps:
Checklist before installation
- Confirm gas type (LPG or natural gas)
- Check nozzle compatibility
- Ask for conversion kit if needed
- Verify pressure requirements
This step alone prevents a surprising number of “repair” issues that are actually installation mismatches.
- The position of your stove affects long-term performance
It’s easy to focus on aesthetics when placing a stove—how it fits into the kitchen layout, how it looks with the countertop—but airflow and spacing matter just as much.
A stove placed too close to walls can trap heat and grease. Over time, this leads to clogged burners, discoloration, and reduced efficiency. Poor ventilation also affects combustion, resulting in yellow flames instead of clean blue ones.
A practical rule of thumb:
Minimum spacing guide
- Back clearance: 2–3 inches
- Side clearance: at least 4 inches
- Above stove: open ventilation or chimney
This simple awareness improves both safety and durability.
- Tight connections matter more than you think
Gas leaks are often silent and invisible. Even a slightly loose connection can lead to slow leakage that builds up over time.
During installation, always check hose connections and regulator fittings carefully. A soap-water test is one of the simplest and most effective methods. Apply a little soapy solution on joints; if bubbles appear, there’s a leak.
Small habit, big impact:
After installation routine
- Turn on gas supply
- Apply soap solution to joints
- Watch for bubbles
- Tighten or reseal if needed
This takes less than five minutes but adds a layer of safety that’s hard to overstate.
- Burner cleaning isn’t optional—it’s foundational
Many people treat burner cleaning as occasional maintenance, but it’s actually a core part of keeping the stove functioning properly.
Food particles, oil, and dust slowly block the tiny holes in burners. This leads to uneven flames, delayed ignition, or even complete blockage.
A simple weekly rhythm can prevent most issues:
Weekly burner care
- Remove burner caps
- Soak in warm water with mild detergent
- Use a soft brush or pin to clear holes
- Dry completely before reinstalling
Skipping this step often leads to repair calls that could have been avoided entirely.
- Ignition problems often start with something small
When the ignition system fails, people often assume it’s an electrical issue. Sometimes it is, but more often it’s something simpler: moisture, grease buildup, or misalignment.
The ignition electrode needs to be clean and properly positioned. Even a thin layer of grease can prevent it from sparking effectively.
Quick troubleshooting flow:
If ignition fails
- Check for moisture near electrode
- Clean with dry cloth
- Ensure proper alignment with burner
- Test again
It’s surprising how often this solves the problem without needing any replacement parts.
- Choosing the right hose makes a long-term difference
The gas hose is often overlooked during installation, but it plays a critical role in safety and durability. Cheap or low-quality hoses can crack, leak, or degrade faster.
A good gas hose should be flexible, heat-resistant, and certified for safety standards. It’s worth investing in a reliable one rather than replacing it frequently.
Simple comparison:
Low-quality hose
- Prone to cracking
- Short lifespan
- Higher risk of leaks
High-quality hose
- Durable and flexible
- Resistant to heat
- Long-lasting
This is one of those decisions where spending a little more upfront saves a lot later.
- Regulator quality directly impacts flame stability
The regulator controls gas pressure. If it’s faulty or low quality, the flame becomes inconsistent—too high one moment, too low the next.
This isn’t just inconvenient; it can also be unsafe. Stable pressure ensures clean combustion and predictable cooking performance.
Tip to remember:
Signs of a faulty regulator
- Fluctuating flame size
- Hissing sounds
- Difficulty maintaining steady heat
Replacing a regulator is often simpler and cheaper than dealing with ongoing issues it causes.
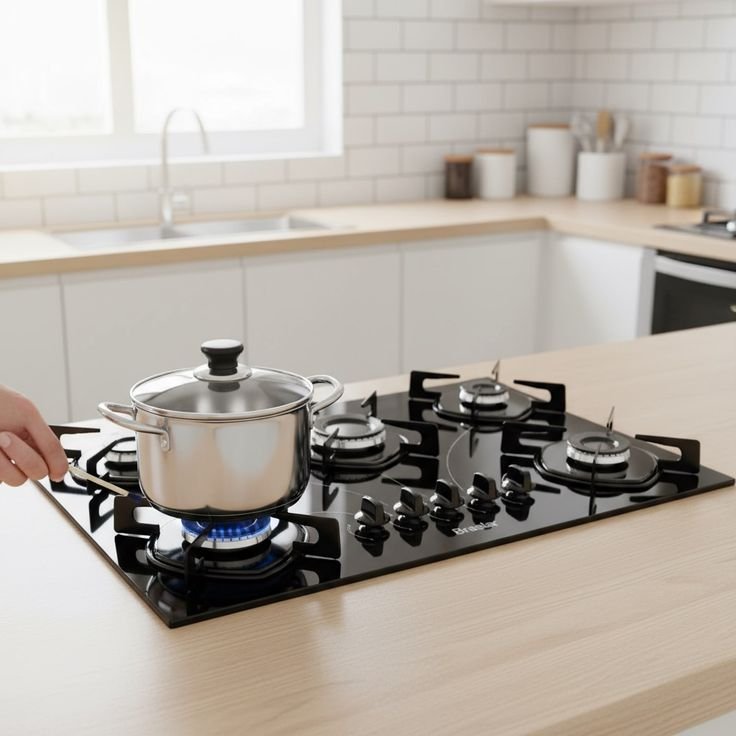
- Leveling the stove improves cooking and safety
A slightly tilted stove might not seem like a big deal, but it affects how heat is distributed across cookware. It can also cause pots to sit unevenly, increasing the risk of spills.
During installation, always ensure the stove is level. Most countertops aren’t perfectly even, so minor adjustments may be needed.
Quick check:
Place a flat pan on the stove
Observe if it tilts or slides
Adjust stove feet or base accordingly
It’s a small adjustment that improves everyday cooking comfort.
- Ventilation isn’t just about comfort—it’s about function
Good ventilation doesn’t just remove smoke; it ensures proper combustion. Without enough oxygen, gas burns inefficiently, producing yellow flames and soot.
Installing a chimney or ensuring proper airflow in the kitchen significantly improves stove performance.
Simple observation:
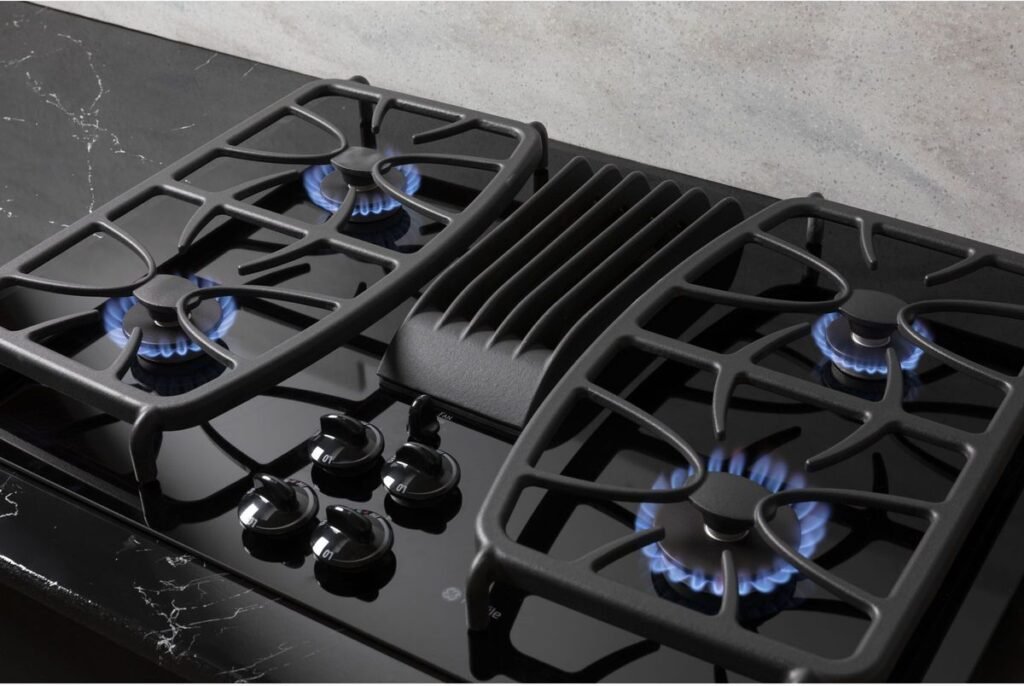
Blue flame = proper combustion
Yellow/orange flame = poor airflow or dirty burner
If the flame color isn’t right, ventilation is one of the first things to check.
- Knowing when not to DIY is just as important
There’s a lot you can fix yourself, but not everything should be handled without proper expertise. Complex issues like internal gas valve problems or major leaks require professional attention.
Trying to fix these without the right tools or knowledge can make things worse.
A balanced approach:
Safe DIY tasks
- Cleaning burners
- Checking connections
- Replacing hoses
Call a professional for
- Internal component issues
- Persistent gas leaks
- Regulator malfunctions
Knowing the boundary keeps both you and your kitchen safe.
- Regular inspection prevents sudden breakdowns
Most stove issues don’t appear overnight. They build up gradually—small clogs, minor leaks, slight misalignments.
A monthly inspection routine helps catch these early.
Monthly checklist
- Inspect hose for cracks
- Check burner flames
- Clean ignition area
- Test gas connections
This habit turns reactive repairs into proactive maintenance.
- Keeping spare parts handy saves time and stress
When something breaks, the real frustration often comes from delays—waiting to find the right part or technician.
Keeping a few basic spare parts at home can make a big difference.
Suggested essentials
- Extra burner caps
- Replacement hose
- Ignition battery (for auto-ignition stoves)
- Spare regulator
These are inexpensive but incredibly useful when needed.
Bringing it all together
What becomes clear over time is that most gas stove problems aren’t random. They’re the result of small oversights during installation or neglect in maintenance.
Each of these twelve tips might seem minor on its own, but together they create a system that works smoothly, safely, and efficiently. It’s less about technical expertise and more about awareness and consistency.
If there’s one overarching lesson, it’s this: a well-installed and well-maintained stove rarely surprises you with problems.
FAQs
- How often should I clean my gas stove burners?
Ideally, burners should be cleaned once a week if you cook regularly. This prevents clogging and ensures a steady, even flame. - What should I do if I smell gas near my stove?
Immediately turn off the gas supply, avoid using electrical switches, and ventilate the area. Check connections with a soap solution and call a professional if needed. - Why is my gas stove flame yellow instead of blue?
A yellow flame usually indicates poor combustion, often caused by clogged burners or insufficient airflow. Cleaning and improving ventilation typically solve the issue. - Can I install a gas stove myself?
Basic installation can be done if you understand the process, but it’s always safer to have a professional handle gas connections to avoid leaks or safety risks. - How long does a gas stove hose last?
A good-quality hose can last 3–5 years, but it should be inspected regularly for cracks or wear and replaced if any damage is noticed. - What causes weak flames on a gas stove?
Weak flames can result from low gas pressure, clogged burners, or incorrect nozzle settings. Checking these factors usually helps identify the cause.
By paying attention to these details early on, you can avoid the cycle of recurring issues and enjoy a stove that works exactly the way it should—quietly, reliably, and without drama.