

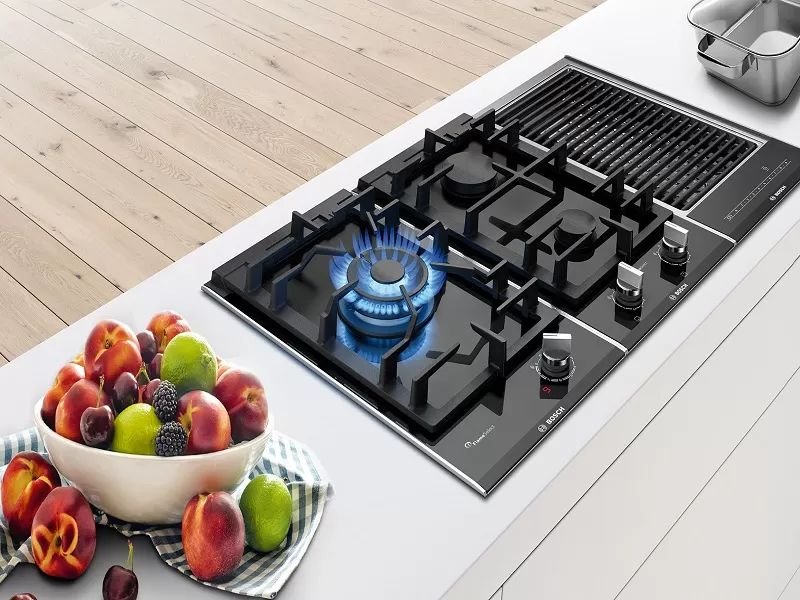
1. Clean the Burner Caps After Every Few Cooks
I still remember the day my stove started making that annoying clicking sound — non-stop, even when I wasn’t trying to ignite it. I figured it would just stop on its own. Spoiler: it didn’t. A technician came over, poked around for five minutes, and said, “Bhai, it’s just food residue blocking the igniter.” That visit cost me more than it should have for what was essentially a cleaning problem.
That was my wake-up call.
If you cook regularly — and especially if you’re making curries, frying onions, or boiling over pots (which, let’s be honest, happens to all of us) — residue builds up on your burner caps faster than you’d think. Grease, spices, and boiled-over liquid seep into the tiny holes of the burner cap and clog them. This leads to uneven flame, weak heat, or that dreaded clicking igniter.
What to do:
- Remove the burner caps once a week (they just lift off — no tools needed).
- Soak them in warm soapy water for 15–20 minutes.
- Use an old toothbrush to scrub out any gunk from the holes.
- Let them dry completely before putting them back. This part matters — moisture causes ignition problems.
It takes maybe 10 minutes. And it genuinely extends the life of your stove.
2. Don’t Ignore Weak or Yellow Flame — It’s Telling You Something
A healthy gas flame should be blue with maybe a tiny bit of yellow at the tip. If your flame looks mostly yellow or orange, that’s not normal. It usually means incomplete combustion, which can happen due to clogged burner ports or improper gas-air mixture.
I ignored a yellowish flame on my back burner for almost two months. The food just didn’t cook right — took forever, tasted slightly off. Eventually, I cleaned the burner ports with a thin needle (a safety pin works perfectly), and the flame went back to blue within minutes.
Quick flame health check:
| Flame Color | What It Means | Action Needed |
|---|---|---|
| Blue | Healthy, efficient | None |
| Yellow/Orange | Incomplete combustion | Clean burner ports |
| Red | Possible gas impurities | Call a technician |
| Very weak/low | Blocked ports or low pressure | Clean or check regulator |
Don’t cook on a yellow flame for weeks like I did. It wastes gas and can leave carbon deposits on your cookware.
For more help on this, check out 8 Essential Gas Stove Repair Basics Steps to Fix Weak Flame — there’s some solid guidance there on diagnosing flame issues yourself.
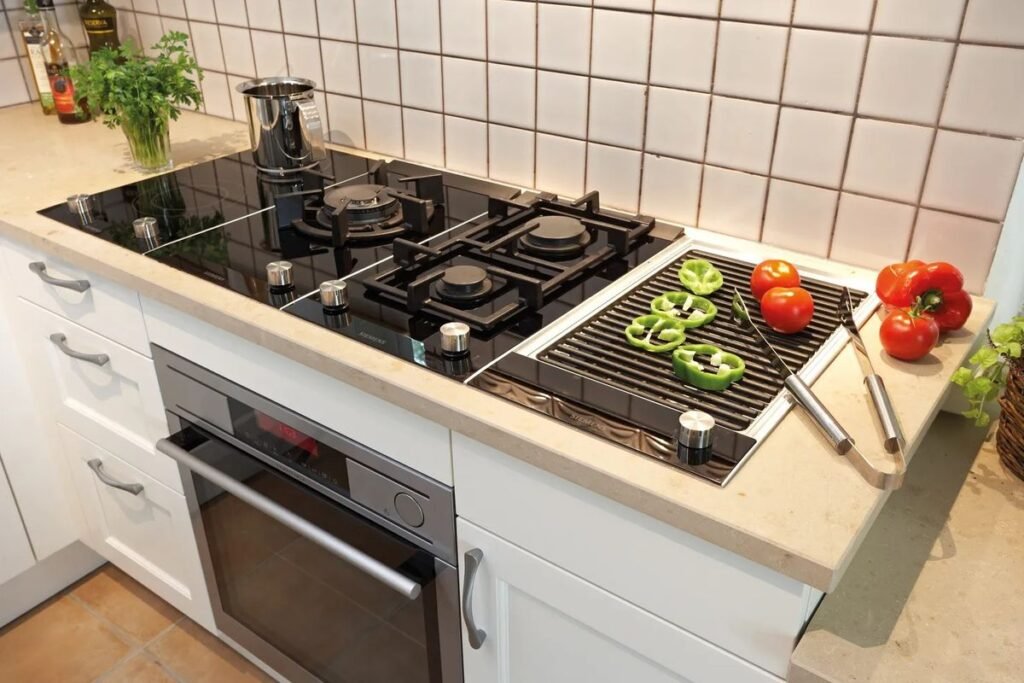
3. Wipe Down the Stove Surface While It’s Still Warm (Not Hot)
This one sounds basic, but the timing makes a huge difference.
When spills happen on a hot stove and you let them cool completely, they basically bake onto the surface and become really hard to remove. But if you wipe the surface down while it’s still slightly warm (not hot — obviously wait for it to cool enough to touch safely), spills come off with barely any effort.
I started doing this about a year ago. My stove looks almost new compared to my neighbor’s, which is only six months older but looks like it’s been through a lot.
Simple routine:
- After cooking, let the stove cool for 5–10 minutes.
- Use a damp cloth or sponge with a drop of dish soap.
- Wipe in circular motions around the burners.
- Dry with a clean cloth.
Avoid harsh abrasive scrubbers on the stove surface — they scratch the enamel coating and once that’s gone, rusting starts. I learned this the hard way on my previous stove.
4. Check the Gas Hose and Connections Every Few Months
This is the one most people skip because it feels unnecessary — until it’s not.
Gas hose connections can develop slow leaks over time. The rubber hose gets brittle, especially in hot kitchens. A small leak won’t blow anything up immediately, but it creates a gas smell in your kitchen, increases your consumption on the gas bill, and is genuinely dangerous if a spark occurs nearby.
How to check for leaks (the simple soap test):
- Mix dish soap with a little water in a cup.
- Apply it with a brush or cloth along the hose, connections, and valve.
- Turn on the gas (don’t ignite).
- Watch for bubbles forming anywhere — bubbles mean gas is escaping.
If you see bubbles, turn off the gas immediately and call your gas company or a technician. Do not try to repair a gas leak yourself.
Also check the hose for cracks, discoloration, or stiffness. Most rubber hoses need replacing every 3–5 years. It’s a cheap part — usually costs very little — but people put off replacing it forever.
Maintenance timeline for key stove components:
| Component | Check Frequency | Replacement Period |
|---|---|---|
| Gas hose | Every 3 months | Every 3–5 years |
| Burner caps | Weekly | As needed (if cracked) |
| Igniter tips | Monthly | When corroded |
| Knobs | Monthly | When stiff or cracked |
| Drip trays | After every use | When warped |
5. Keep the Igniter Dry and Clean
If your stove is clicking repeatedly when you’re not even near it, or if it refuses to spark when you turn the knob — nine times out of ten, the igniter is the problem.
Igniters are those small ceramic tips near each burner. They’re sensitive to moisture and food residue. Even steam from a pot of boiling water can temporarily mess with them.
I had a clicking igniter that drove me absolutely crazy for three days. My fix? I gently cleaned the ceramic tip with a dry toothbrush and let it air out overnight. Fixed it completely. No technician, no parts, no cost.
Igniter care tips:
- Never pour water directly on igniters when cleaning.
- If food spills on them, let them dry before using the stove.
- Use a dry cotton swab to clean around the tip.
- If the tip looks cracked or corroded, it needs replacing.
You can find helpful detail on igniter-specific issues in this guide: 7 Powerful Gas Stove Repair Basics Ideas to Fix Ignition Problems.
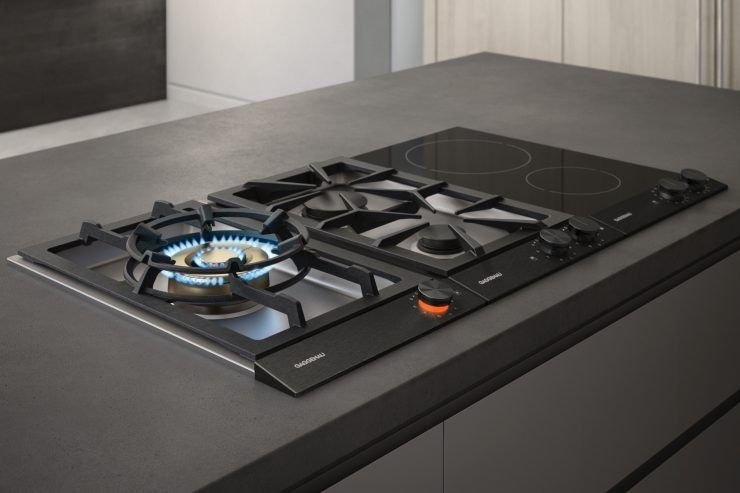
6. Don’t Slam or Force the Knobs
This one’s about how we treat the stove during cooking, and honestly, it’s something I had to consciously unlearn.
When you’re in the middle of cooking and you need to quickly turn a burner off, it’s easy to just twist the knob hard and fast. Over time, this wears down the internal mechanism. Knobs start feeling loose, don’t turn smoothly, or worse — get stuck between settings.
A stuck knob that won’t fully turn to “off” is a real safety problem.
Knob maintenance habits:
- Turn knobs slowly and deliberately.
- If a knob feels stiff, remove it and clean the stem with a small amount of cooking oil.
- Check that each knob fully reaches the “off” position — press and feel that it clicks into place.
- Replace knobs that feel loose or wobbly — they’re inexpensive and usually universal.
Also, if you have kids at home, consider knob covers. They prevent accidental ignition and also protect the knobs themselves from being yanked or turned forcefully.
7. Deep Clean Once a Month — Properly
Weekly wiping keeps things manageable, but once a month, the stove deserves a proper cleaning session. This is where you disassemble everything you can safely disassemble and clean each part individually.
Here’s the routine I follow that takes about 30–40 minutes and makes a real difference:
Step-by-step monthly deep clean:
- Remove everything — grates, burner caps, drip trays, knobs.
- Soak removable parts in hot soapy water for 20–30 minutes.
- Clean the stove surface with a baking soda paste (mix baking soda with a little water) — it’s gentle and effective on grease.
- Scrub burner caps with a toothbrush, paying attention to the small holes.
- Clean drip trays — these catch the most overflow and build up grease fast.
- Dry all parts completely before reassembling. Any moisture left near igniters will cause problems.
- Check gas connections while everything is apart.
The baking soda trick was a game-changer for me. I used to use commercial degreasers that left a chemical smell, and honestly, baking soda with a little dish soap works just as well without the fumes.
For a complete look at how cleaning directly affects stove performance, this article is worth reading: 11 Easy Gas Stove Repair Basics Cleaning Habits That Saved My Stove.
Common Mistakes People Make (That Lead to Expensive Repairs)
Since we’re already here, let me share a few mistakes I’ve personally made or seen others make — because avoiding these is just as important as the habits above.
Mistake 1: Reassembling while wet Putting burner caps back on before they’re fully dry causes ignition failure and corrosion. Always let them air dry completely.
Mistake 2: Using too much water near igniters People flood the stove surface when cleaning. That moisture gets into igniters and causes the constant clicking problem.
Mistake 3: Ignoring small gas smells A faint gas smell “sometimes” is not normal. People dismiss it for months. Get it checked immediately.
Mistake 4: Using wrong-sized cookware Oversized pots smother burner flames and lead to uneven heating and carbon buildup. Match your pan size to the burner size.
Mistake 5: Never replacing old hoses Rubber gas hoses are not permanent. People forget them entirely until there’s a problem. Put a reminder on your phone every six months to check yours.
How Often Should You Be Doing This? (Quick Reference)
| Task | Frequency |
|---|---|
| Wipe surface while warm | After every cook |
| Check burner flame color | Weekly |
| Clean burner caps | Weekly |
| Clean igniters | Monthly |
| Deep clean entire stove | Monthly |
| Check gas hose for leaks | Every 3 months |
| Replace gas hose | Every 3–5 years |
| Inspect knobs and valves | Every 3 months |
Print this out or save it on your phone. Seriously — having this schedule visible somewhere means you’ll actually follow it.
Final Thoughts
Maintaining a gas stove isn’t complicated. Most of it is just regular cleaning and paying attention to the small signs your stove is giving you — a weird flame color, a sticky knob, an unusual smell. These aren’t things to ignore and Google later. They’re little flags that say “hey, spend five minutes on me now so you don’t spend a lot later.”
The habits in this article took me years to actually build. Some of them I learned after paying unnecessarily for technician visits. A couple I learned from my parents, who somehow kept their old stove running perfectly for over 15 years.
It doesn’t take fancy tools or technical knowledge. A toothbrush, some dish soap, and ten minutes a week is genuinely enough to keep most stoves in excellent shape.
If you’re starting out with stove care and want to understand some of the troubleshooting side too, this is a great read: 9 Easy Gas Stove Repair Basics Troubleshooting Steps Anyone Can Try
Frequently Asked Questions (FAQs)
Q1. How often should I clean my gas stove burners? At minimum, do a quick clean of the burner caps weekly and a thorough deep clean once a month. If you cook daily or make heavy meals, bump up the frequency. Clogged burners are the number one cause of ignition and flame problems.
Q2. Why does my gas stove keep clicking even when it’s off? Usually, it’s moisture or food residue on the igniter. Clean the igniter tip with a dry toothbrush and let it fully air dry. If the clicking continues after that, the igniter module itself may need replacing.
Q3. Is a yellow flame on my gas stove dangerous? It’s not immediately dangerous, but it’s a sign of incomplete combustion. This produces more carbon monoxide than a healthy blue flame. Clean the burner ports, and if the yellow flame persists, have a technician check your gas pressure and air-to-gas ratio.
Q4. How do I know if my gas hose needs replacing? Check for visible cracks, stiffness, discoloration, or a persistent faint gas smell near the stove. If the hose is more than five years old, replace it proactively. It’s an inexpensive part and a major safety component.
Q5. Can I use any household cleaner on my gas stove? Avoid anything highly abrasive or bleach-based near metal and igniter components. Warm soapy water, baking soda paste, and white vinegar work well for most surfaces. Never spray liquid directly onto igniters or electrical components.

