

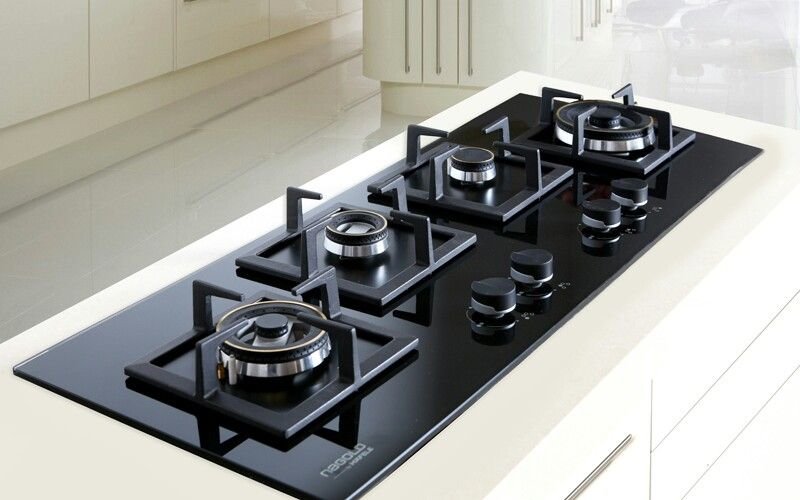
1. Clean the Burner Caps After Every Major Cook — Not Just When They Look Dirty
I learned this one the hard way. My stove started clicking non-stop one evening, and I genuinely thought something was broken inside. Called my uncle — he’s been fixing appliances for decades — and the first thing he asked was, “When did you last clean the burner caps?”
Honestly? I couldn’t remember.
Turns out, tiny food particles and grease had clogged the small gas ports around the burner cap. The flame was uneven, the igniter was working overtime, and I had been ignoring the real problem for weeks.
Here’s what I do now after every heavy cooking session:
- Remove the burner grates and caps once they cool down
- Soak them in warm soapy water for 15–20 minutes
- Use an old toothbrush to scrub the ports gently
- Rinse, dry completely, and put them back
That last part — drying completely — matters more than people think. Moisture left in the ports causes that annoying clicking sound that won’t stop even when the stove is off.
2. Use a Toothpick (Not a Toothbrush) for the Gas Ports
Most people reach for a brush when they see a clogged burner port. I did too. But bristles can actually push debris deeper into the holes.
A wooden toothpick or a straightened paper clip works way better. You just gently poke through each small hole around the burner head to clear out any buildup. It takes maybe five minutes and makes a noticeable difference in how evenly the flame spreads.
Just never use anything metallic that could scratch or enlarge the ports — that affects gas flow permanently.
3. The Igniter Needs Drying, Not Replacing
I almost spent money on a new igniter module once. The clicking wouldn’t stop, even when the stove was off. I assumed it was broken.
But before ordering parts, I tried something simple: I dried the igniter with a hair dryer on low heat for about two minutes.
Clicked it on — worked perfectly.
Moisture is the number one enemy of igniters. After cleaning, after boiling something that overflows, after a humid kitchen day — moisture sneaks in. Before assuming the part is dead, give it a proper drying. This trick alone has saved me two unnecessary repair calls.
If you want to understand more about what goes wrong with igniters and how to fix them without spending a lot, check out these 7 Powerful Gas Stove Repair Basics Ideas to Fix Ignition Problems — some really practical stuff there.
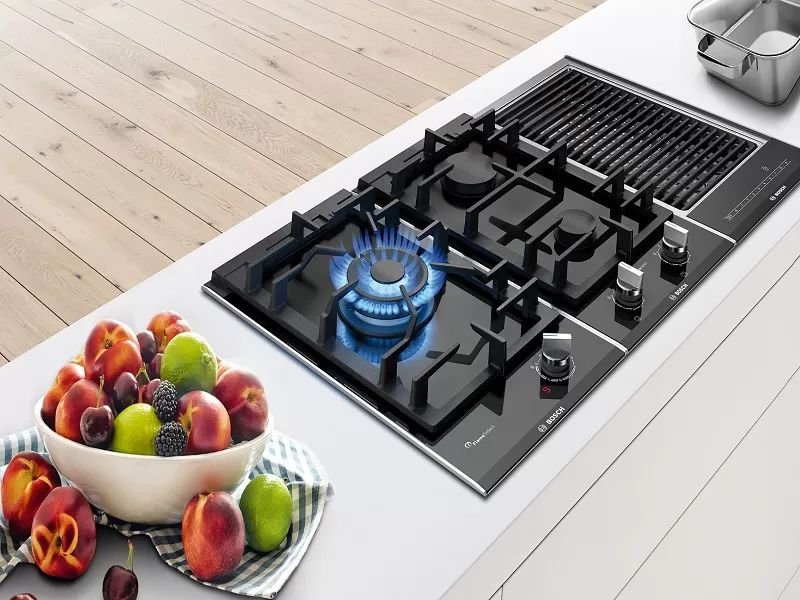
4. Check and Clean the Drip Pans Every Two Weeks
This one sounds obvious, but most people only clean drip pans when something smells burnt. By that point, grease has already baked onto the surface and you’re scrubbing for 30 minutes.
A quick two-minute wipe every couple of weeks keeps them clean without effort.
| Cleaning Frequency | Time Spent Per Session | Difficulty Level |
|---|---|---|
| After every cook | 2 minutes | Very Easy |
| Every two weeks | 5–8 minutes | Easy |
| Monthly | 15–20 minutes | Moderate |
| Only when dirty | 30–45 minutes | Hard + Soaking needed |
The difference is real. I switched to the bi-weekly routine eight months ago and haven’t had to do a deep scrub since.
5. Don’t Ignore a Yellow or Orange Flame
A healthy gas stove flame should be blue with a small inner cone. If you’re seeing yellow, orange, or flickering red — that’s a signal, not just an aesthetic thing.
What different flame colors usually mean:
| Flame Color | Likely Cause | What To Do |
|---|---|---|
| Blue (steady) | Normal combustion | Nothing — all good |
| Blue with yellow tips | Slightly clogged ports | Clean burner heads |
| Yellow/orange | Poor air-to-gas ratio | Clean ports + check air holes |
| Red or irregular | Possible gas pressure issue | Call a technician |
I once cooked with an orange flame for two weeks thinking it was “just the stove being old.” Nope. Clogged air inlet. Five minutes of cleaning fixed it completely.
6. Season Your Cast Iron Grates to Prevent Rust
This one genuinely surprised me. I didn’t know gas stove grates needed any kind of seasoning — I thought that was only for cast iron pans.
But after my grates started rusting (which made them look terrible and also transferred bits onto my pots), someone told me to treat them the same way you’d treat cast iron cookware.
Simple seasoning process:
- Wash the grates with soap and hot water
- Dry them completely — use a towel, then let them air dry for an hour
- Apply a very thin layer of vegetable oil or flaxseed oil with a cloth
- Place them in your oven at 375°F (190°C) for one hour
- Let them cool naturally in the oven
Do this once every few months and your grates will last years longer. The rust stops, they look better, and cleaning them becomes easier because food doesn’t stick as much.
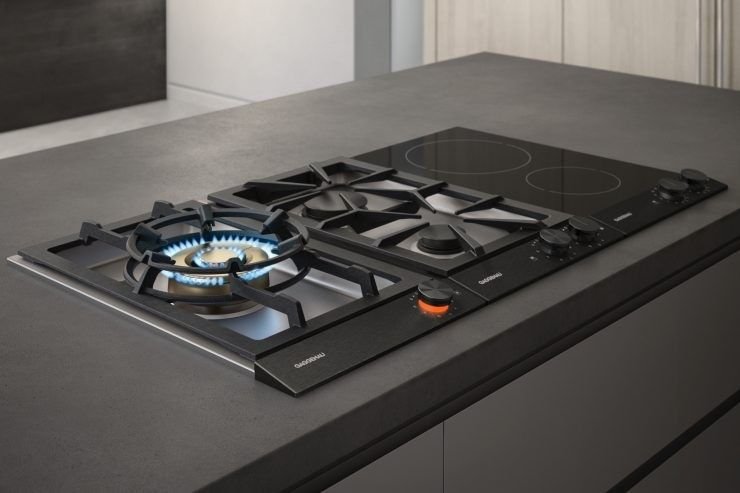
7. Ventilation Matters More Than You Think
I used to cook with the kitchen window shut in winter. Bad idea.
Gas stoves produce combustion byproducts — carbon monoxide being the one you really don’t want building up. A properly ventilated kitchen isn’t just about removing cooking smells, it’s about keeping the air safe.
My current setup:
- Range hood running on medium whenever I cook
- Kitchen window cracked open even slightly in winter
- CO detector installed near the stove (under PKR 2,000 online, absolutely worth it)
Speaking of safety habits, these 6 Essential Gas Stove Repair Basics Safety Ideas That Prevent Accidents are worth bookmarking — especially if you have kids in the kitchen.
8. Tighten the Knobs Before They Become a Problem
This one snuck up on me. One of my stove knobs started spinning loosely — not a huge deal at first, just slightly annoying. Then one day I thought I’d turned the burner off, but it was still slightly open.
Loose knobs are both a convenience issue and a safety issue.
Most knobs just pull straight off (no tools needed). Check if there’s a small screw inside or if the plastic grip has worn out. If it’s the grip, a bit of food-safe rubber tape can temporarily fix it. But if the knob keeps slipping past the “off” position, replace it — they’re inexpensive and usually easy to find by model number.
Quick knob check I do monthly:
- Pull each knob off
- Wipe the shaft with a dry cloth
- Check for grease buildup (which causes slipping)
- Push firmly back on and test the click into each position
Takes under three minutes. Gives real peace of mind.
9. The Burner Flame Pattern Can Tell You a Lot
Once you start paying attention to how your burners look on a normal day, you’ll immediately notice when something’s off. I think of it as the stove’s version of vital signs.
Visual flame health guide:
| What You See | What It Means |
|---|---|
| Even blue ring all around | Ports are clean, gas flow is good |
| Gaps in the flame ring | One or more ports are blocked |
| Flame lifting off burner | Gas pressure may be too high |
| Flame goes out randomly | Draft in kitchen or port issue |
| One side burning higher | Burner cap is uneven/misaligned |
That last one — uneven height — is usually just a burner cap that wasn’t placed back properly after cleaning. A tiny tilt causes a big difference in flame pattern. Just reseat it flat and centered.
For more detailed troubleshooting steps around burner flame issues, these 9 Easy Gas Stove Repair Basics Troubleshooting Steps Anyone Can Try are genuinely useful — especially if you’re not sure where to start.
10. Keep a Simple Maintenance Log
This might sound like overkill, but hear me out.
I started keeping a basic note on my phone — just a note in the default Notes app — where I jot down things like:
- Date I last deep-cleaned the burners
- When I replaced a knob
- Any unusual flame behavior and what fixed it
- When I last checked the gas connection fittings
It takes 30 seconds to update. But the payoff is real. When something goes wrong, I can immediately see what I did last and when. I stopped guessing. I stopped doing redundant cleaning. And when a repair person came once, I could tell them exactly what the stove had been doing and when — which cut the diagnosis time in half.
You don’t need any special app. Notes, WhatsApp to yourself, a sticky note on the inside of a cabinet door — whatever works.
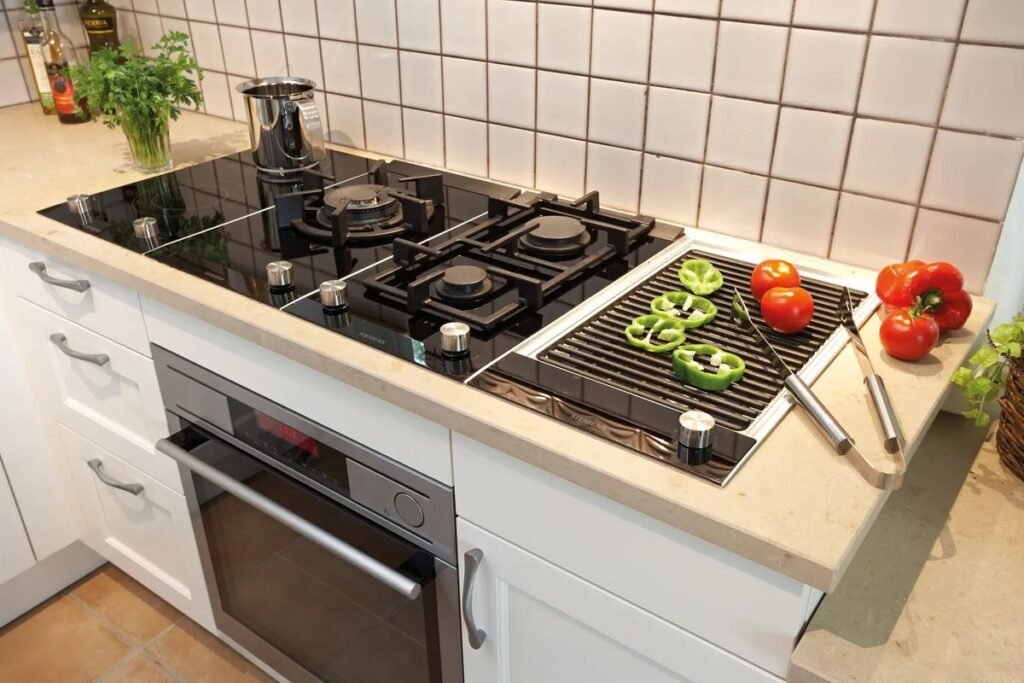
Common Mistakes People Make (Including Me)
- Putting wet burner caps back on — causes clicking that won’t stop and uneven flames
- Using steel wool on burner surfaces — scratches the enamel and creates rust-prone spots
- Skipping the air inlet holes during cleaning — those small holes under/around the burner affect combustion as much as the ports
- Assuming clicking = broken igniter — nine times out of ten, it’s just moisture or debris
- Over-tightening gas fittings — can crack the fitting; snug is enough, never forced
How Often Should You Do What? (Quick Reference)
| Maintenance Task | Frequency |
|---|---|
| Wipe down grates and drip pans | After every use (or daily) |
| Clean burner caps with toothbrush | Weekly |
| Clear gas ports with toothpick | Every 2–3 weeks |
| Deep clean entire stove top | Monthly |
| Season cast iron grates | Every 3–4 months |
| Check knobs and fittings | Monthly |
| Check flame pattern | Every use (just a glance) |
| Update maintenance log | After every task |
Final Thoughts
None of these tricks are complicated. That’s actually what frustrated me when I finally learned them — I had been dealing with clicking igniters, uneven flames, and rusty grates for years when five-minute fixes were available the whole time.
The biggest shift for me wasn’t learning one specific trick. It was starting to pay attention to the stove — treating it like something that needs regular care rather than just use. The flame pattern, the sound, the way knobs feel — your stove tells you a lot if you’re paying attention.
Start small. Pick two or three things from this list and build them into your routine. You’ll notice the difference within a week.
Also worth reading: If your stove has been giving you trouble and you want to tackle common issues yourself before calling anyone, this guide on 10 Proven Gas Stove Repair Basics Fixes That Actually Work covers a solid range of problems with straightforward solutions.
Frequently Asked Questions
Q1: How do I know if my gas stove burner is clogged? The most obvious signs are an uneven flame, gaps in the flame ring around the burner, a yellow or orange flame instead of blue, or a flame that’s noticeably weaker than usual. Sometimes the burner takes longer to ignite too. Start by removing the burner cap and checking the small ports for any visible debris or grease buildup — a clogged port is usually visible once you look closely.
Q2: Why does my gas stove keep clicking even when it’s off? This is almost always moisture. Water or food liquid has gotten into the igniter area — usually from a spill or from cleaning without fully drying. Use a hair dryer on low heat around the igniter for two to three minutes. If it keeps clicking after drying, the igniter may need replacement, but moisture is the cause about 90% of the time.
Q3: Is it safe to clean gas stove burners with water? Yes, but the drying part is critical. Soak the burner caps and heads in warm soapy water, scrub them clean, rinse well — but then dry them thoroughly before putting them back. Any moisture left in the gas ports or near the igniter will cause ignition problems. Let them air dry for at least 30 minutes after towel-drying, or use a hair dryer on low.
Q4: How long do gas stove burners last before needing replacement? With proper maintenance, burner caps and heads can last the entire lifespan of the stove — 15 years or more. What usually causes early failure is corrosion from never drying them properly, physical damage from dropping, or warping from extreme heat. The igniter electrodes do wear out eventually, typically after 5–8 years of regular use.
Q5: Can I do gas stove maintenance myself, or do I always need a technician? Most regular maintenance — cleaning burner caps, clearing gas ports, drying igniters, wiping down grates, checking knob tightness — is completely safe to do yourself. Where you should always call a professional is anything involving the gas line itself: checking for leaks, replacing internal valves, or working on the supply connection. A soapy water brush test on connection points can tell you if there’s a leak (bubbles = call someone), but the actual repair should be handled by a licensed technician.

